


Chapter 10. Record Section In-Depth
4. SCHEDULE RECORDING GUI
Page
100
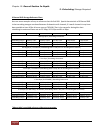
720X480 at 7.5 fps those are equivalent to 360X240 resolutions at 30 fps. So if you set 720X480 at
30 fps then it is equivalent to 360X240 at 120 fps so just on camera configuration of 720X480 at 30
fps you will change the fps indicator to “120/480”
• Quality: Select the quality of recording image. There are five quality levels to select. The
higher the picture quality is, the bigger the data size is. (Lowest < Low < Normal < high <
Highest)
• Post recording: After the event is triggered, set the period of time to continue the recording.
(Range: From 10 to 300 seconds)
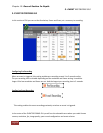
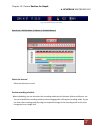
③Resolution, Speed (fps), Image quality, Post record configuration especially for those that are applied
to event such as motion or alarm events. If an event is triggered in the middle of continuous
recording, the recording mode is switched into event recording. And if the event is finished, it
returns to the continuous recording mode.
• The setup for resolution, quality and post recording are same with the setting on
Continuous recording
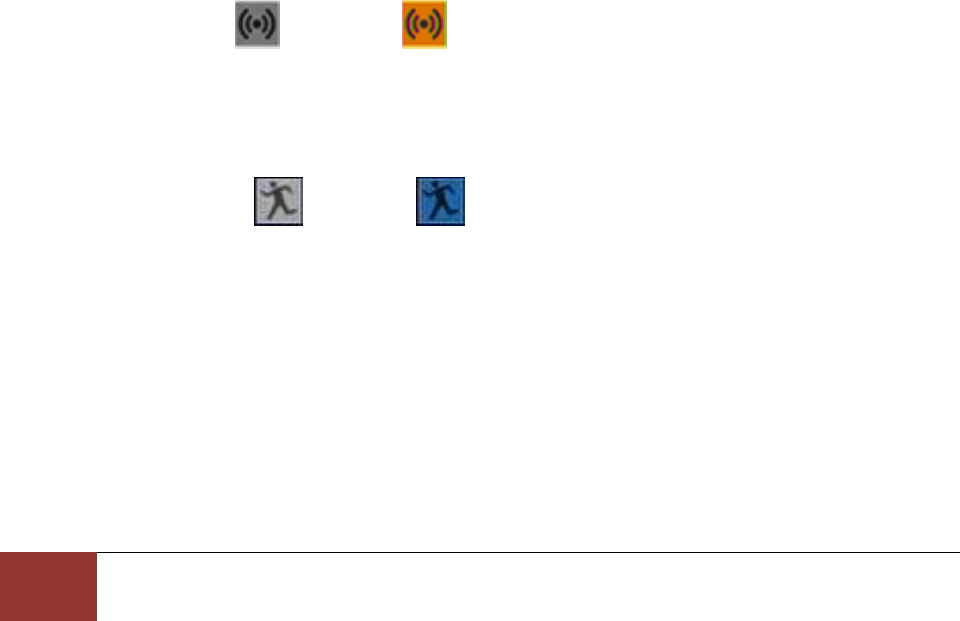
• Select the event: When an event is triggered, the event recording previously set is started.
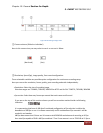
(Unselected Sensor – Grey) (Selected Sensor – Orange)
(Unselected Motion – Grey) (Selected Motion – Blue)
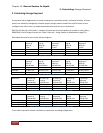
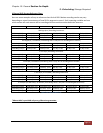
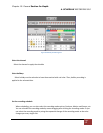
4. SCHEDULE RECORDING GUI
You can schedule the recording time per time or channel or day of the week or holidays. As it also
provide the event recording by the motion and sensor. When the schedule recording is in operation, “SR”
is displayed like the picture as below.