


Connect Frame to Tent
– Insert one pin into the end of main tent pole
at tent corner. (illus. 3, illus. 4)
– Go to opposite end of pole and gradually
apply pressure to the pole forming an arch
until you are able to insert the pin into the
pole end.
– Repeat for second and third main poles.
(illus. 3, illus. 4) This will raise the
center of the tent.
– Assemble side and front shock-corded poles.
1
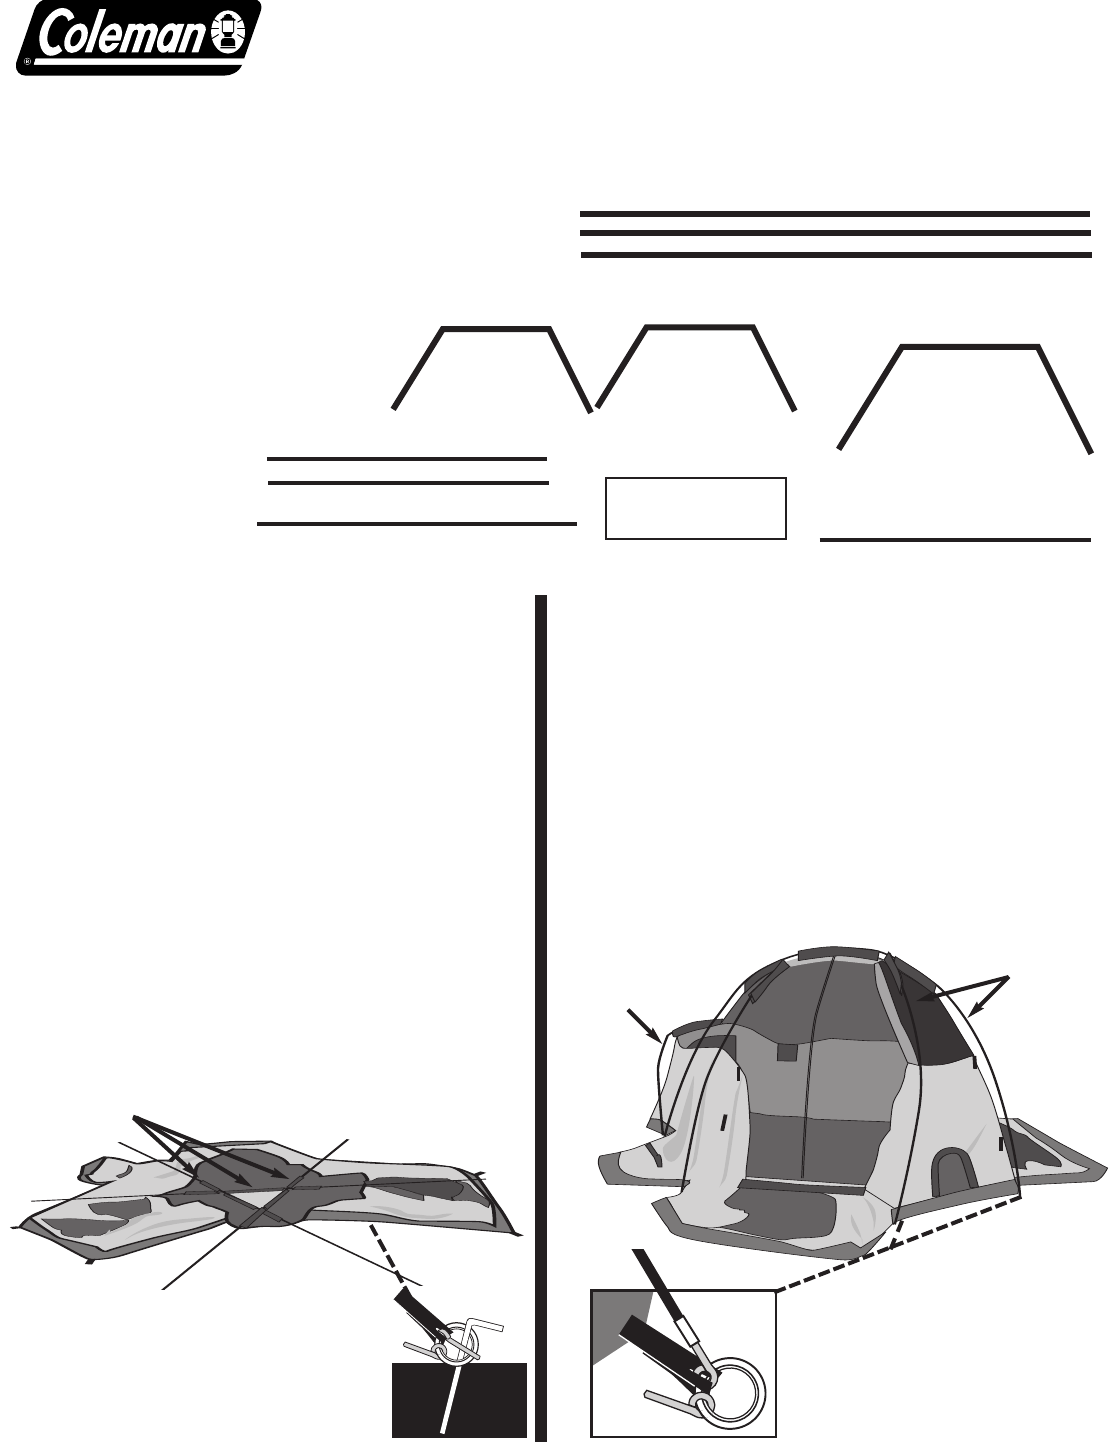
Layout & Positioning
of Tent, Pole Assembly
– Layout and position tent with front door
facing desired direction. (illus. 1)
– Unzip doors.
– Stake down tent corners only, using the
stake loops. Keep the floor taut.
(illus. 2)(Intermediate loops will be
staked later.)
– Assemble main tent poles by interlocking
shock-corded poles. (three poles)
– Insert the poles into pole sleeves.The
poles should cross forming a triangle in
the middle of tent. (illus. 1)
2
When You Are Ready
To Set Up Your Tent
– Select a level campsite clear of
rocks, branches and other hard
or sharp objects.
– Do not set up your tent under trees.
–
For best results in windy conditions,
position the end of tent into the wind.
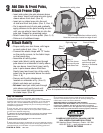
Front Entrance Pole (Gray)
Assembled Main poles
inserted through
pole sleeves
Instructions apply to Part Number 9230-174C
illus. 1
illus. 2
Tent stake
through ring
on stake loop
illus. 4
Tent center
frame set-up
Side Pole in
position see step 3
Center poles
Part No. 9230-3521
Part No. 9230-3541
Part No. 9230-3571
illus. 3
Insert pin into pole end
Rainfly
Part No.
9230-3561
(3) Main Tent Poles
(Black)
(2) Side Poles
Pet Den Pole
Part No. 9230-3591
(2) Side Rainfly Poles
Part No. 9230-3581
(1) Front Rainfly Pole
(Gray)
Part No. 9230-3562
POLE ASSEMBLY PARTS
Somerset Pass
™
17’x16’5”