Before You Get Started
A: Gather Your Components.
You will need:
1. A 19” or larger VGA PC monitor and VGA cable OR a television of any size.
2. A surge protector
We STRONGLY recommend that you use one that has the following specifications:
• UL-1449 Rated
• Clamping voltage of 330 or lower
• Joule rating of at least 400
• Response time of 10 nanoseconds or less
3. A power screw driver/drill to mount your cameras.
B: Unpack the box...
Check the contents against the items shown in this poster. If you
notice any damage or missing components, please contact Q-See
Customer Support at www.Q-See.com/Support
IMPORTANT! This walkthrough will allow you to test your cameras and connections before you mount them.
Note:
Be sure to register your product!
Visit www.Q-See.com, click SUPPORT
and then select the online registration form.
Complete the product registration form to receive
warranty/technical support benefits and to be notified of product updates
and free downloadable firmware updates to your DVR.
This poster is intended to help you get your Q-See security system up and running. There are many additional features which can be
customized to your specific needs. More information and instructions are available in the User Manual included on the CD that came
with your system or available for download from our website at www.Q-See.com.
For information on how to configure your system for remote monitoring on the Internet or on your smartphone, please refer to the
Remote Monitoring Guide also included on the accompanying CD.
Your DVR can be controlled using the included USB mouse, remote control or the function keys on the front of the unit. For the purposes of this guide, we will be giving instructions using the mouse. Because this
guide covers several models in the QS series of DVRs, components in photos may not exactly match those on your particular mode.
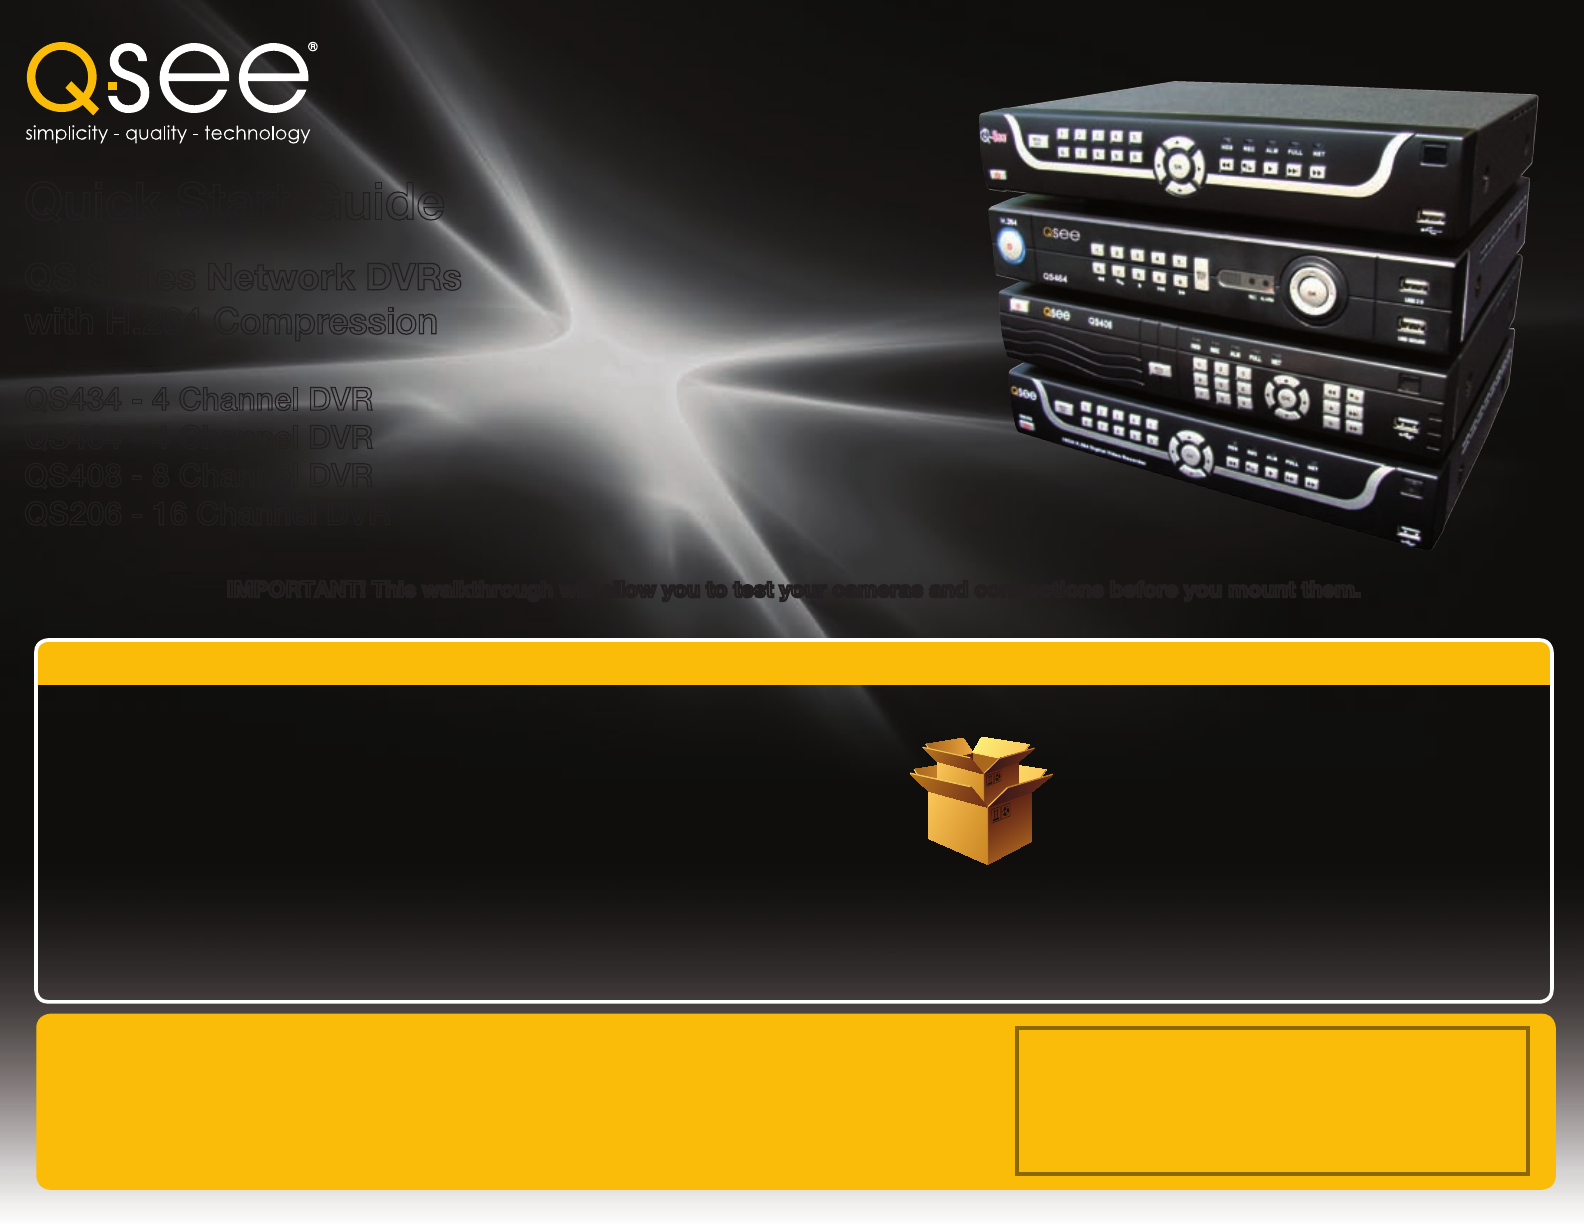
Quick Start Guide
QS Series Network DVRs
with H.264 Compression
QS434 - 4 Channel DVR
QS464 - 4 Channel DVR
QS408 - 8 Channel DVR
QS206 - 16 Channel DVR


