MCP 1000 • Installation
Installation, cont’d
2-8
MCP 1000 • Installation
2-9
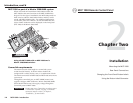
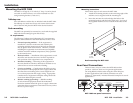
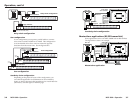
Changing the Front Panel Button Labels
The 16 buttons on the MCP 1000 are not marked for operation.
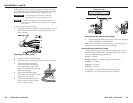
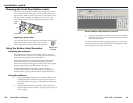
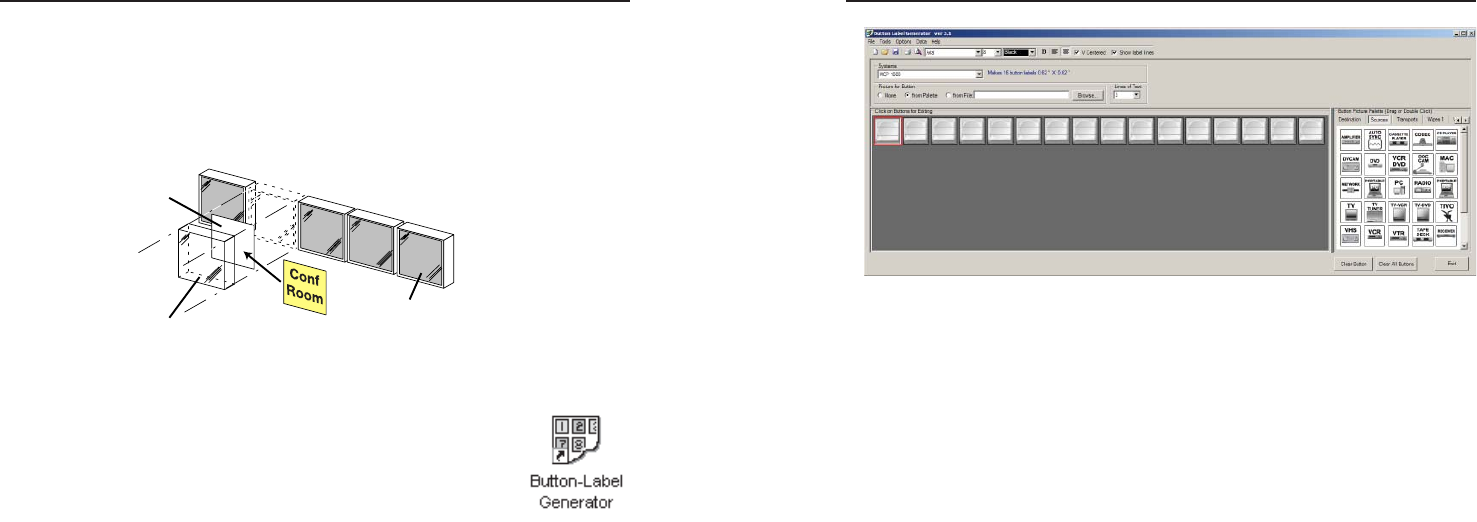
You can remove the button caps to reveal a label plate (see the
fi gure below). Remove each cap and insert a label (icon or text)
for each button to identify its assignment. You can use the
Extron Button Label Generator (page 2-8) to produce labels.
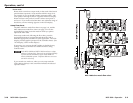
Key Cap
Clear Cover
Legend
Plate
Insert identification tag.
Replacing a button label
You can print labels on transparent or translucent material, and
then cut them from a sheet. Also, see the colored
button caps listed in the parts list in the appendix.
Using the Button Label Generator
Installing the software
The program is provided on a CD-ROM, and you can run it
from the CD drive. However, it is usually more convenient to
load and run the program from the hard drive.
To install the Button Label Generator program from the CD-
ROM to the hard drive, run SETUP.EXE from the CD and
follow the instructions that appear on the screen. The program
occupies approximately 0.5 MB of hard-drive space.
By default, the Windows installation program creates a
C:\BUTTONS directory, and it places an icon (Button-Label
Generator) into a group or folder named “Extron Electronics.”
Using the software
1. To start the Button Label Generator program, double-click
on the Button Label Generator icon (shown at the left) in
the Extron Electronics group or folder, and click OK when
prompted.
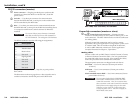
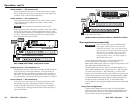
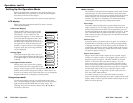
2. Under System selection, choose MCP 1000. The Extron’s
Button Label Generator window appears (see the fi gure on
the next page).
Extron’s Button Label Generator window
3. Using normal Windows controls, you can create and print
labels that can be placed in the button panel inserts on the
MCP 1000 front panel.
For more information about using the program, you can access
the Button Label Generator online help by selecting Show Help
from the Help menu on the main screen.


