


0150-0193C 14 Calibur DVMR
e
Triplex
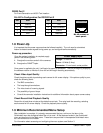
RS232 Port 2
For Event Generation and ASCII Text Insertion.
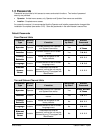
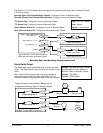
RJ-45 Pin Configuration For RS232 Port 2
Pin Use
Pin Use
1 Ground 5 TXD
2 Reserved 6 Not Connected
3 Not Connected 7 Ground
4 RXD 8 Reserved
82 3 4 5 6 71
RJ-45 socket on
back panel.
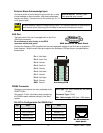
1.8 Power-Up
It is important that the power-up procedures be followed carefully. The unit uses its auto-detect
feature to detect camera signals during power-up, and configure itself automatically.
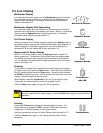
Power-up procedure
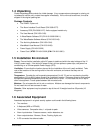
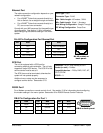
Power Supply Input
Once the system installation is complete, apply
power in the following order:
1. Energize the monitors and all of the cameras.
2. Energize the DVMR
e
Triplex.
Voltage: 12 Volt DC
Power: 60 Watt (5 Amp)
Connector: 2.1mm barrel, center positive
Once power is applied to the unit, it will begin its power-up procedure. The unit will begin by displaying
the software version on Monitor-A, then the unit will begin recording automatically.
Check Video Input Quality
Check the picture quality by selecting each camera for full screen display. If the picture quality is poor,
check the following items:
• The BNC connections.
• The loop-through terminations.
• The video levels of incoming signals.
• The possibility of ground loops.
• Consult the camera’s installation instructions for additional information about proper camera setup.
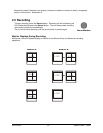
Check Record And Playback Quality
Record for at least three minutes at the default record rate. Then play back the recording, selecting
each camera for full screen display. Check the playback picture quality.
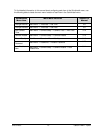
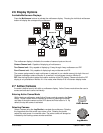
1.9 Minimum Recommended Menu Setup
After installation is complete, it is strongly recommended that, as a minimum, the items in the
QuickInstall menu be configured before the unit is used. All the features located in the QuickInstall
menu are also found in the Main menu. These items are provided in the separate QuickInstall menu
as a convenience for the installer.
For information about accessing and configuring the menu system, see Section 3.