


BusSecure User Manual Hardware Installation
0150-0263A / May 2003 11
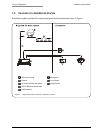
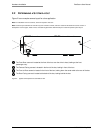
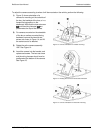
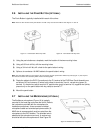
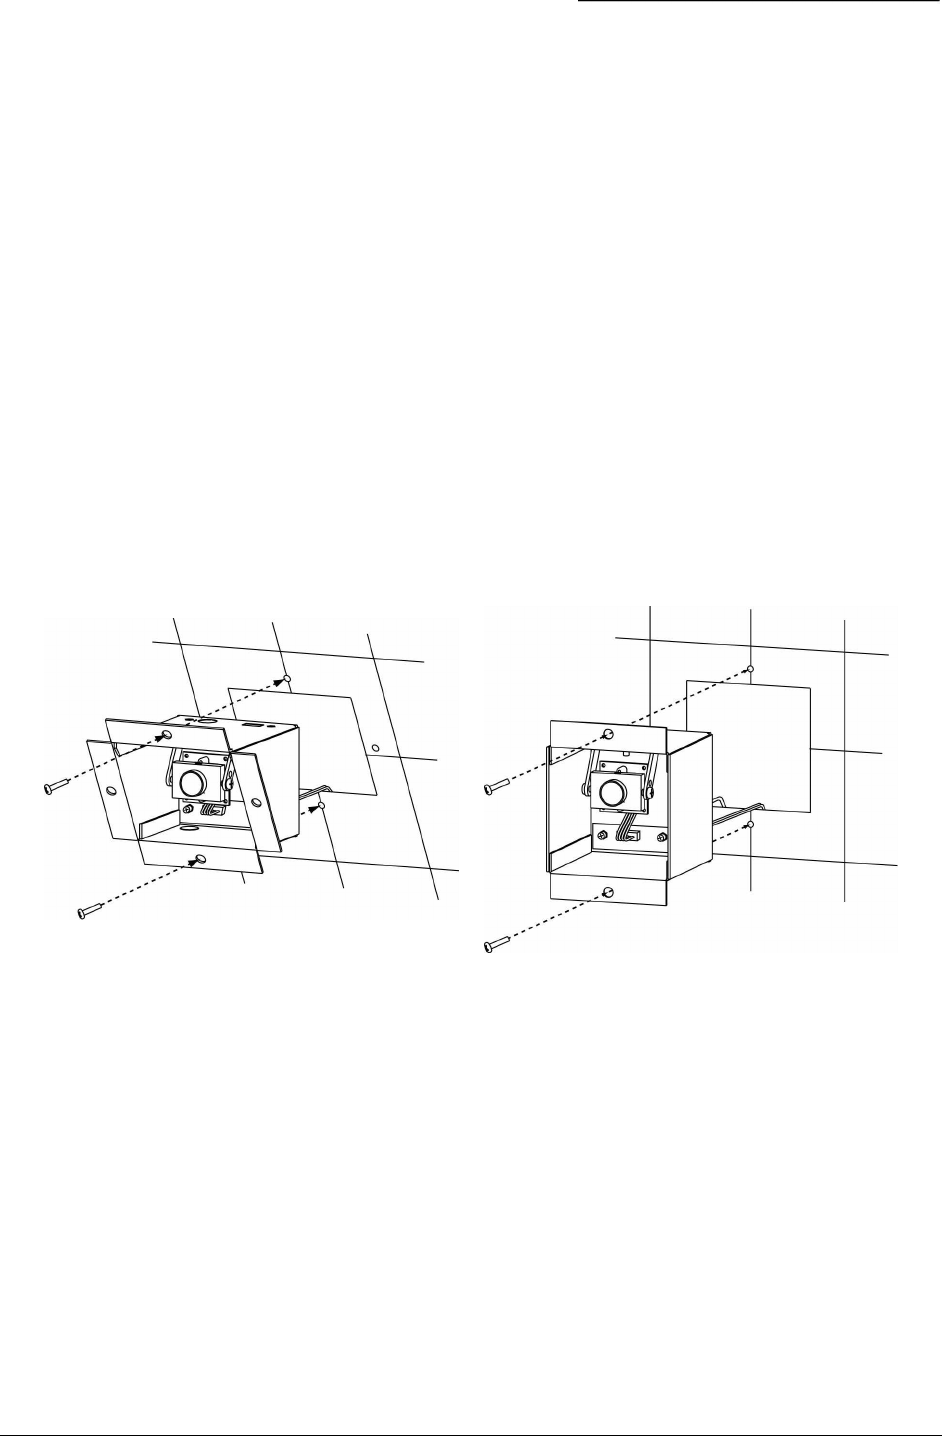
2.4.2 INSTALLING FLUSH-MOUNT CAMERA ASSEMBLIES
There are two types of flush-mount cameras—square and angled. Flush-mount camera assemblies are
mounted flush with the side panels of the vehicle.
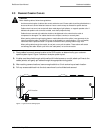
Note: The square bezel that holds the glass camera cover has countersunk holes in the back side that cover the two housing
screws. The housing and bezel screws are separate to allow access to the camera for focusing and adjusting while the housing is
held firmly in place.
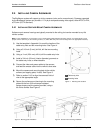
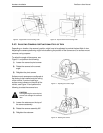
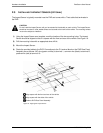
1) Verify that there is at least 6 inches (153 mm) of clearance behind the mounting location.
2) Cut a 3.4- by 3.4-inch (81 mm) hole in the appropriate location on the mounting surface.
3) Using the housing as a template, mark the location of the mounting holes.
4) Using a 3/16-inch (5 mm) drill bit, drill the mounting holes.
5) Connect the video and power cables to the camera assembly.
6) Mount the camera assembly to the vehicle surface using two fasteners screwed into panel nuts.
See Figure 7 or 8 (depending on the type of camera assembly being installed).
7) Refer to section 2.4.3 Adjusting Cameras for Functional Field of View to align the camera’s field of
view according to the appropriate angle.
8) Attach the cover plate to the housing. If you are installing a square housing, you must drill two
additional mounting holes for the cover plate. See Figure 9 or 10.
Figure 7. Angled flush-mount housing installation Figure 8. Square flush-mount housing installation