27
Step 4. Recording
This section explains the basic recording procedure on
the D1600.
During recording, the audio signal flows in the order of
input → mixer channel → recorder.
1. Adjust the recording level, and
record
Here’s how to record the audio that you specified in
“Assign audio inputs to the mixer” (→p.23).
If you wish to create a new song and record into it,
refer to “1. Creating a new song” (→p.21). Make
sure that the [RHSL] key is Off. (→p.112)
1 Check the recording mode.
Access the [RECORD] “RecMode” tab page.
Set “Select RecMode” to “Input” (i.e., the audio
input will be recorded).
Use the [CHANNEL] fader to set the recording
level.
• Press the [METER/TRACK VIEW] key.
• Press the “ ” button to select “PostFaderLev,”
and press the “OK” button.
• Gradually raise the [CHANNEL] fader, and the
level meter of the input channel will change
according to the input. Raise the level as far as
possible without allowing the level bar to reach
“CLP.”
2 Move the current time to the location where you
wish to begin recording. (→p.35)
Start recording from the beginning of the song
(“001.01.000” or “000:00.000”).
3 Press the [TRACK STATUS] key of the track that
you wish to record, to set the status to REC (LED
lit red).
4 Enter record-ready mode.
Press the [REC] key. (The [REC] and [PLAY] LEDs
will blink.)
5 Start recording.
Press the [PLAY] key. (The [REC] and [PLAY] LEDs
will light.)
Begin playing.
6 Stop recording.
When you have finished playing, press the [STOP]
key. (The [REC] and [PLAY] LEDs will turn off.)
When you have finished recording, verify that the
performance was recorded correctly.
7 Move to the beginning of the song (→p.35).
8 Specify the track(s) for playback.
Press the [TRACK STATUS] key of the track you
recorded, to set its status to PLAY (LED lit green).
9 Begin playback.
Press the [PLAY] key. (The [PLAY] LED will light.)
0 Stop playback.
When you are finished playing back, press the
[STOP] key. (The [PLAY] LED will turn off.)
2. Recording on virtual tracks
The D1600 has sixteen tracks, and each of these tracks
has eight virtual tracks.
For example when recording a solo part, you can
switch between several virtual tracks to record differ-
ent performances on each, and select the best perfor-
mance later. Or when using bounce (ping-pong)
recording, you can specify an unrecorded virtual track
as the recording destination, so that you can mixdown
into two tracks without erasing any of the sixteen
tracks. (→p.29)
Recording on a virtual track
1 Select the virtual track.
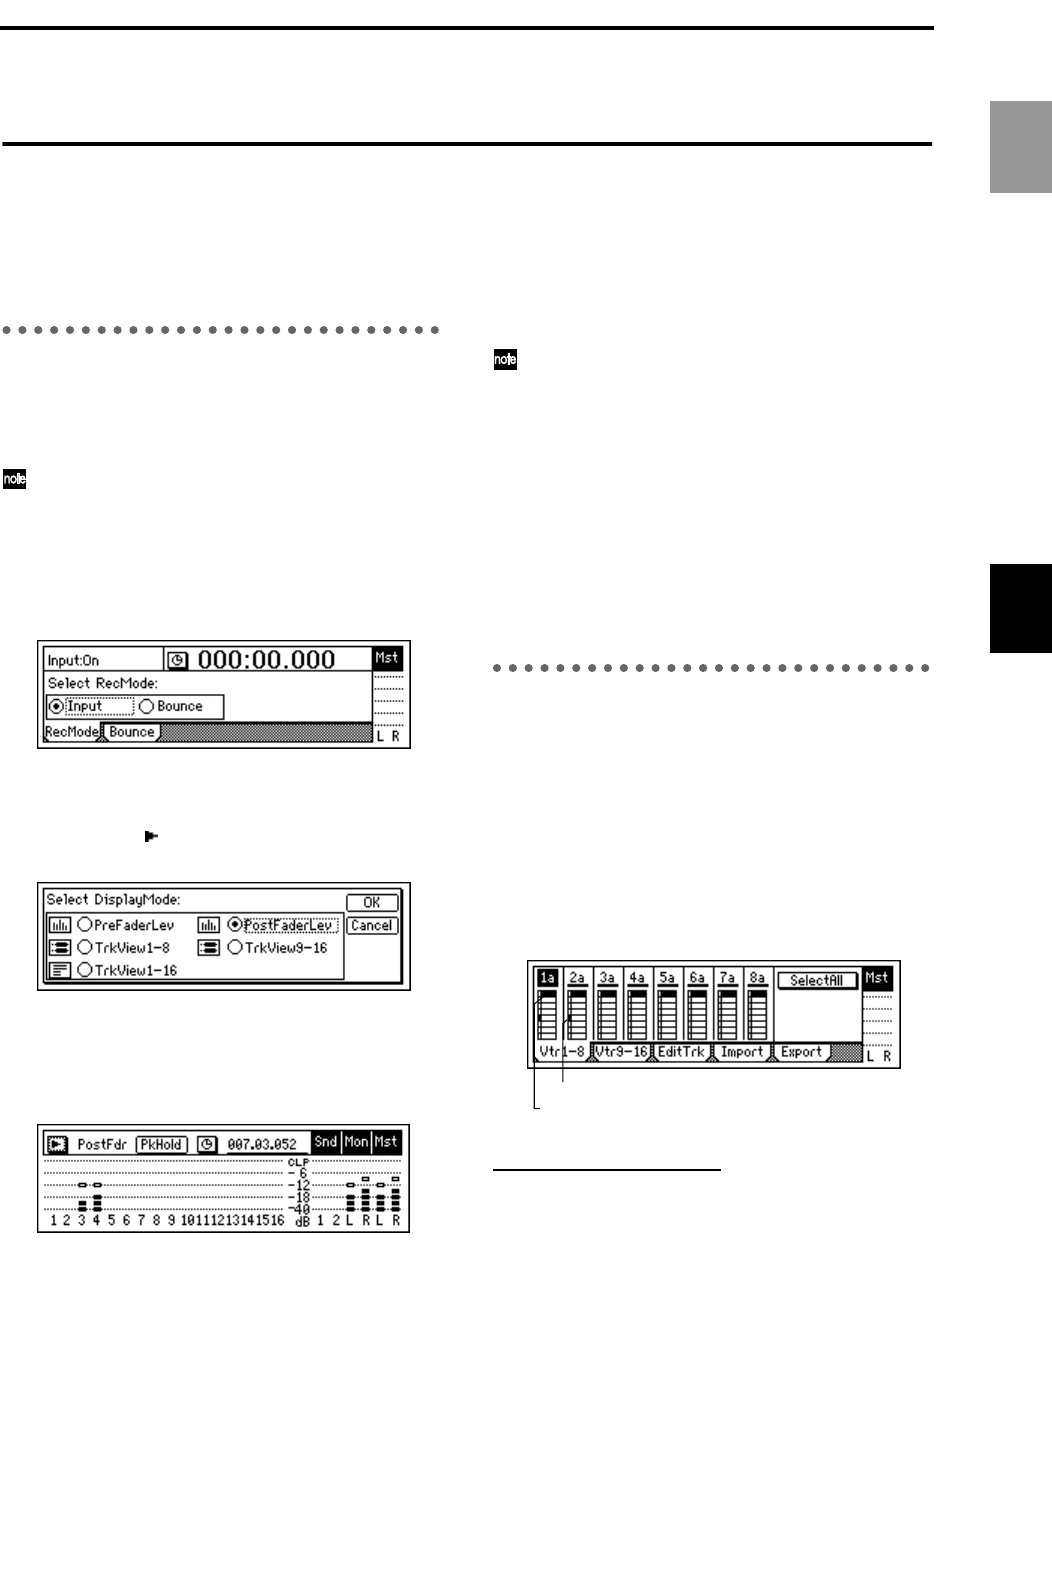
In the [TRACK] “Vtr1–8” or “Vtr9–16” tab page,
select the track that you wish to record, and use the
[VALUE] dial to select an open virtual track.
2 Adjust the recording level of the input device,
and record.
Refer to “1. Analog inputs” and “1. Adjust the
recording level, and record” (→p.23).
Recorded tracks
Selected track
Basic operation
Recording


