18 1. Basic Setup and Operation
For assistance call 1(800) 332-2119
Computer Video Adjustments
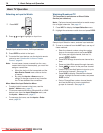
Power on the computer.
1.
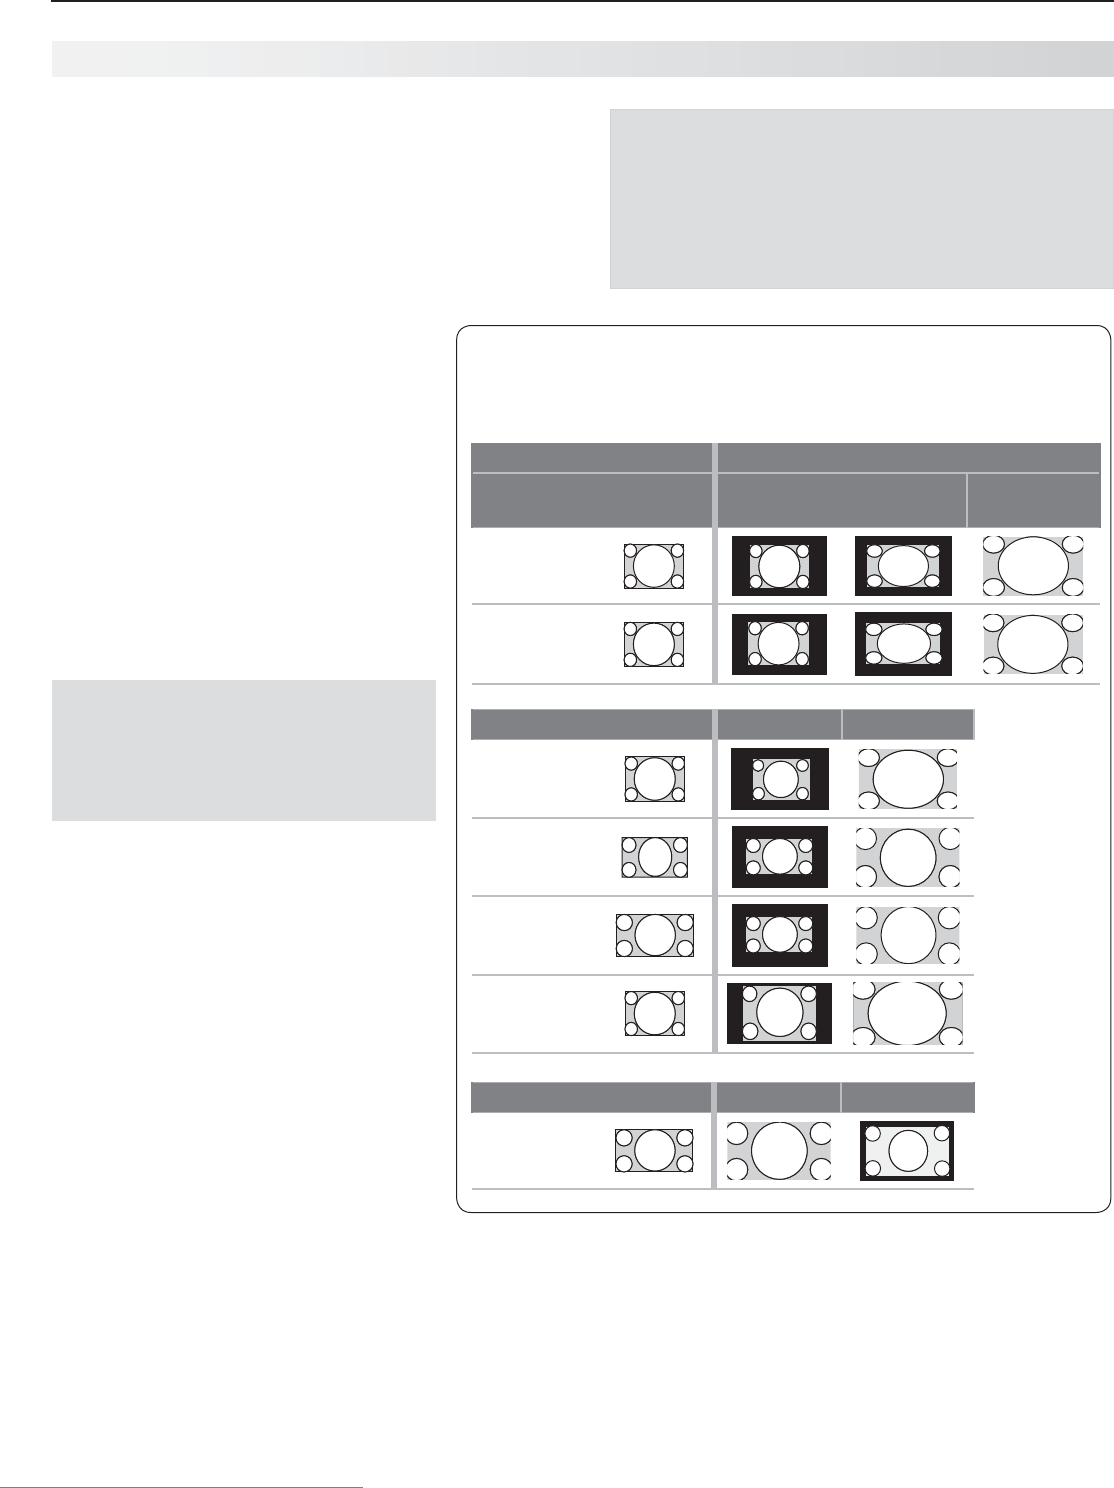
Select
2.
PC from the Input Selection menu. To do
this, press
INPUT
to open the Input Selection menu,
move the highlight to the PC icon, and press
ENTER.
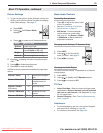
Working from the computer, change the resolution
3.
of the computer image. View the computer image
on the TV and maximize the computer
resolution while maintaining a suitable
aspect ratio for the image.
Perform TV video adjustments.
4.
Press
VIDEO
repeatedly to access video-
adjustment options.
Press
5.
FORMAT
repeatedly to find the
picture shape best suited to the
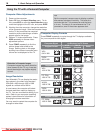
image. See the chart on this page
showing how different computer reso-
lutions can be displayed on the TV.
Image Resolution
Your Mitsubishi TV can display the resolu-
tions shown in the chart from standard
VGA (640 x 480) through 1920 x 1080
signals at a refresh rate of 60 Hz.
In most cases, the computer will select
the best resolution match to display on
the TV. You can override this setting if you
wish. Refer to your computer operating
system’s instructions for information on
changing the screen resolution.
You may need to restart the computer for
changes to take effect.
Using the TV with a Personal Computer
Distortion in Computer Images
Computer images may show distortion
when viewed on the TV, e.g., lines that
should be straight may appear slightly
curved.
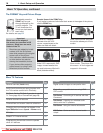
Computer Display Formats
Press
FORMAT
repeatedly to cycle through the TV displays available
for your computer’s video signal.
Computer Signal
As Displayed on TV Screen
Original Format
4 X 3
Standard
16 X 9
Standard
Zoom
VGA
640 X 480
SVGA
800 X 600
Original Format Standard Zoom
XGA
1024 X 768
PC 720p
1280 X 720
WXGA
1360 X 768
SXGA
1280 X 1024
Original Format Standard Reduce
PC 1080p
1920 X 1080
Tip
Set the computer’s screen saver to display a pattern
after several minutes of inactivity. This acts as a
reminder that the TV is powered on and the lamp
is in use. The lamp is in use whenever the TV is
powered on, even if the screen appears dark.
Downloaded From TV-Manual.com Manuals


