


60
SETUPS
EN
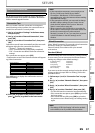
BD-Live Setting
You can limit Internet access for BD-Live discs.
(The default setting is “Allow”.)
1) Use [K / L] to select “BD-Live Setting”, then press
[OK].
2) Use [K / L] to select the desired setting, then press
[OK].
“Allow”:
Internet access is permitted for all BD-Live contents.
“Limited Allow”:
Internet access is permitted only for BD-Live contents
which have content owner certificates. Internet access
without the certificates is prohibited.
“Prohibit”:
Internet access is prohibited for all BD-Live contents.
3) Press [BACK U] to go back to the previous screen,
or press [ (home)] to go back to the home menu.
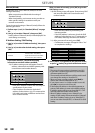
Network Status
You can check the status of network settings.
1) Use [K / L] to select “Network Status”, then press
[OK].
• Network setting list will be displayed.
• MAC address of this unit will be displayed in the list.
2) Press [BACK U] to go back to the previous screen,
or press [ (home)] to go back to the home menu.
If you connect this unit to the network wirelessly, select
“Wireless Connection” and set up necessary settings.
Wireless Router
In order to use a wireless network, you must set up the
connection to the wireless router.
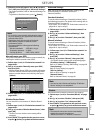
Find wireless network
Search for wireless networks automatically and select the
wireless network name (SSID) from the list.
1) Follow steps 1) to 2) in “Standard (Wired)” on page 57.
2) Use [K / L] to select “Wireless Connection”, then
press [OK].
3) Use [K / L] to select “Wireless Router”, then press
[OK].
4) Use [K / L] to select “Find wireless network”, then
press [OK].
• This unit will start searching for wireless networks
automatically.
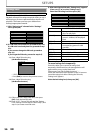
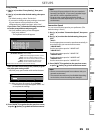
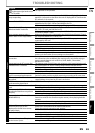
5) The list of wireless networks will be displayed. Use
[K / L] to select the appropriate wireless network
name (SSID), then press [OK].
6) Use [K / L] to select the authentication setting of
the selected wireless network.
• For a wireless network with authentication setting,
select the authentication setting, according to the
security type of the wireless network.
• For a wireless network without authentication setting,
select “None”.
“None”:
Set the authentication setting to “None”.
“WEP”:
Set the authentication setting to “WEP”.
“WPA-PSK (TKIP)”:
Set the authentication setting to “WPA-PSK (TKIP)”.
“WPA-PSK (AES)”:
Set the authentication setting to “WPA-PSK (AES)”.
“WPA2-PSK (TKIP)”:
Set the authentication setting to “WPA2-PSK (TKIP)”.
“WPA2-PSK (AES)”:
Set the authentication setting to “WPA2-PSK (AES)”.
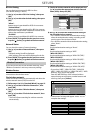
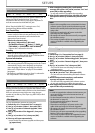
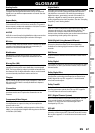
• If you select “WEP”, “WPA-PSK (TKIP)”, “WPA-PSK
(AES)”, “WPA2-PSK (TKIP)” or “WPA2-PSK (AES)”, “WEP/
WPA Key” entry screen will appear.
Enter the WEP/WPA key of the selected wireless
network using cursor buttons, number buttons and
color key, then press [Yellow].
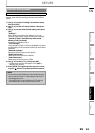
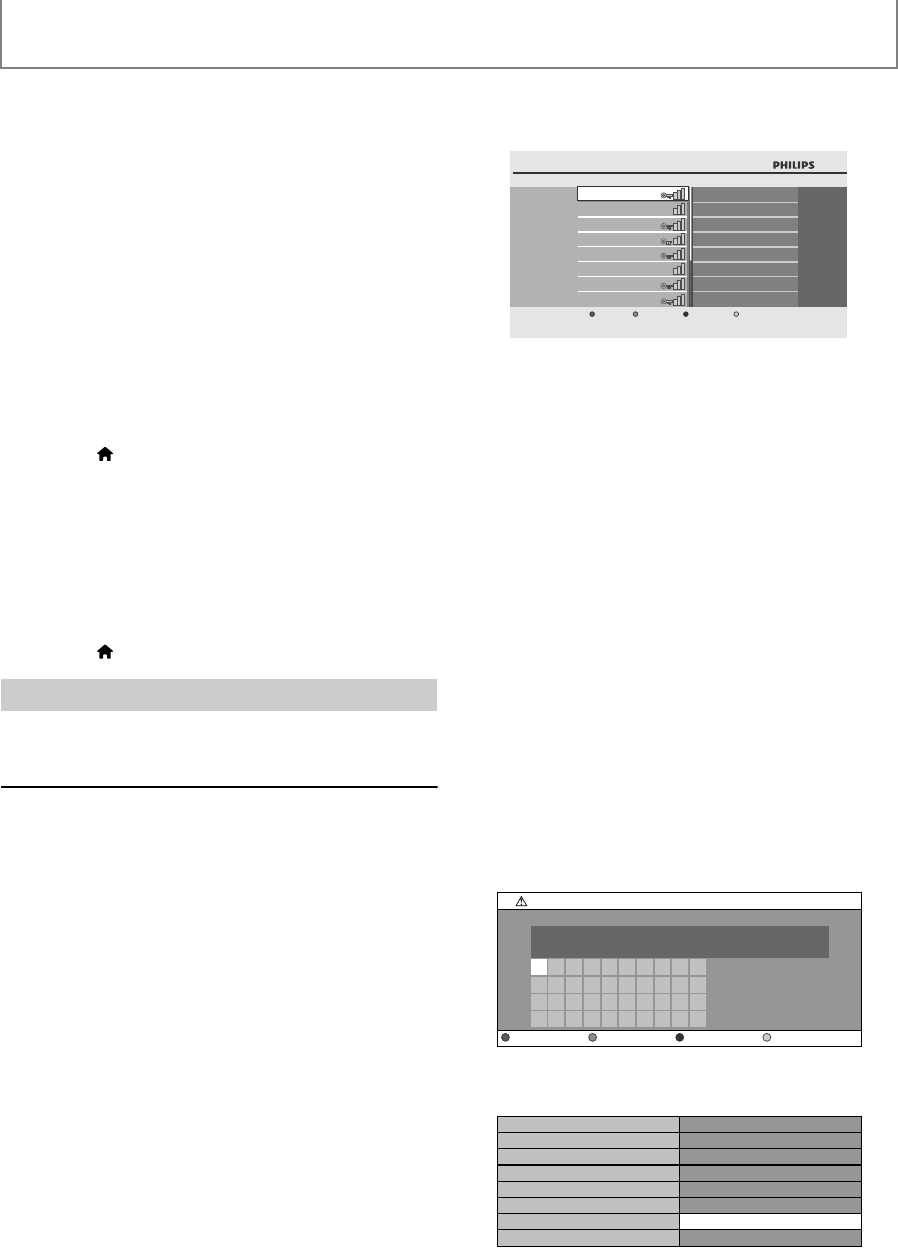
• Confirmation message will appear. Select “Yes” to
complete the settings.
Wireless Connection
Settings | ... | Wireless Router
Find wireless network
AP1
None
WEP
WPA-PSK (TKIP)
WPA2-PSK (TKIP)
WPA2-PSK (AES)
WPA-PSK (AES)
AP2
AP3
AP4
AP5
AP6
AP7
AP8
Page Down
WEP/WPA Authentication
1
a
k
u
2
b
l
v
3
c
m
w
4
d
n
x
5
e
o
y
6
f
p
z
7
g
q
.
8
h
r
-
9
i
s
_
0
j
t
OK
a/A/@
WEP/WPA Authentication
WEP/WPA Key
Clear All Clear OK
SSID AP1
WPA2-PSK (AES)
Is Setting OK?
Ye s
No
xxxxxxxxxxxxxxxxxxxxx...
WEP/WPA Authentication
WEP/WPA Key