Chapter 1 9
Preparing for Installation
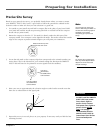
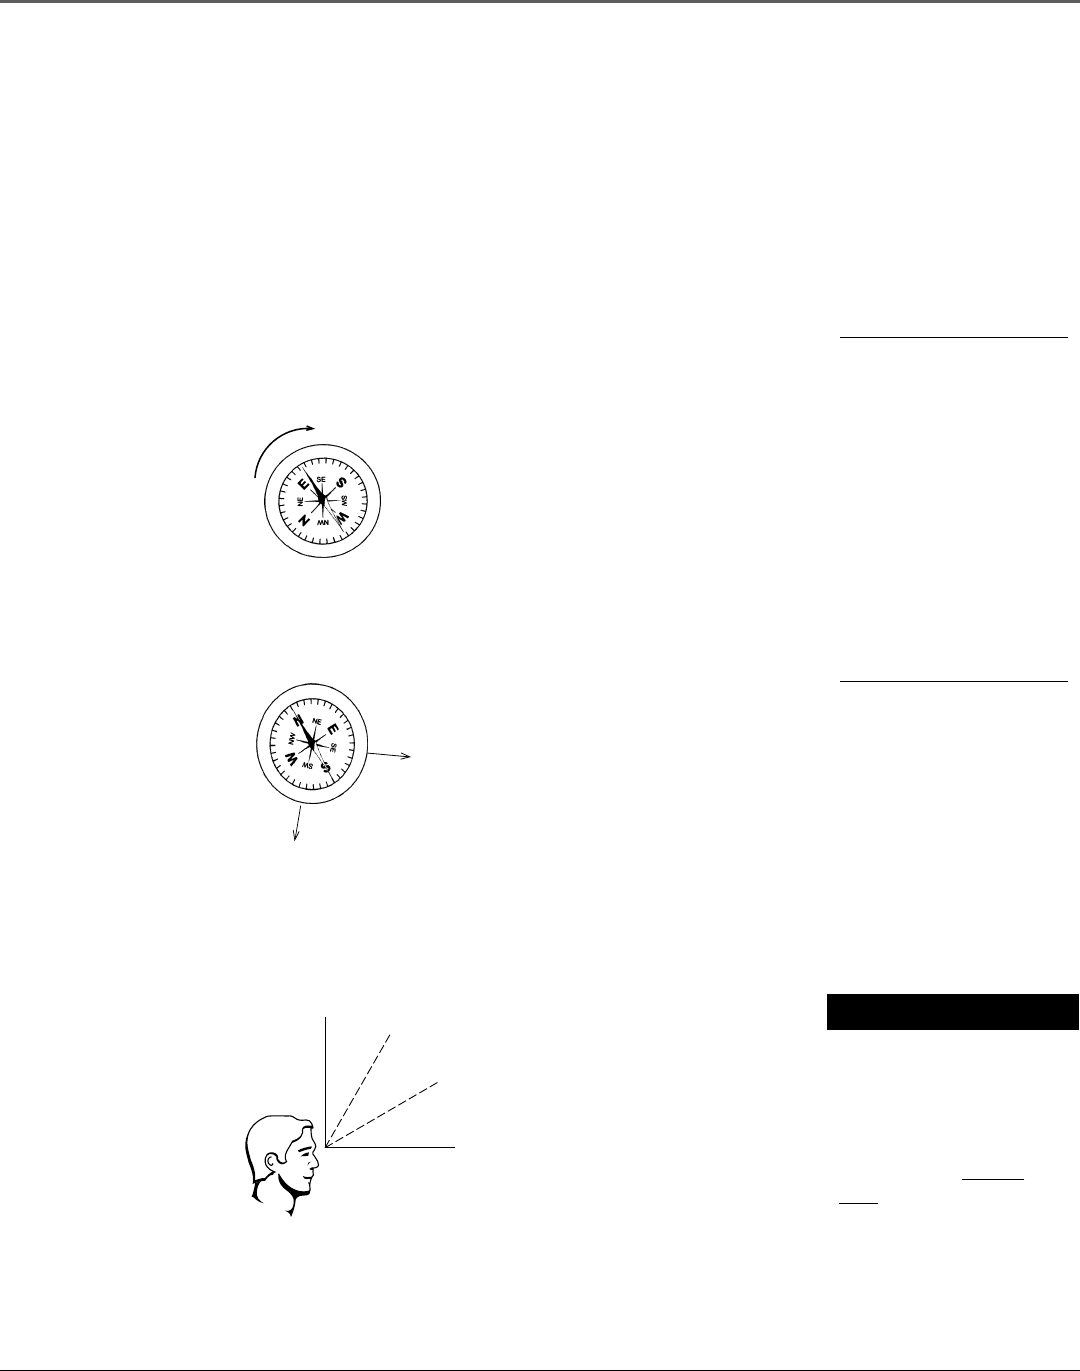
3. Locate the tick mark on the compass edge that corresponds to the azimuth number you
wrote down. This is the direction of your azimuth setting (the direction the
DIRECTV
PLUS™
dish will need to be pointed to receive signals from the satellites).
WARNING
Do NOT install the DIRECTV
PLUS™ dish near power
lines, electric lights or
power circuits. Contact
with power lines, lights or
power circuits
may be
fatal. It is strongly
recommended that the
DIRECTV PLUS™ dish be
located more than 20 feet
from overhead power
lines.
Tip
Try to keep the compass away
from any metal objects. Metal
objects can cause inaccurate
compass readings.
Precise Site Survey
Based on your general site survey, you probably already know where you want to mount
your
DIRECTV PLUS™
dish, but it’s a good idea to follow the procedures outlined in this
section in order to make sure that your site selection is a good one.
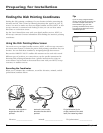
1. Go outside to your install site and hold a compass flat in the palm of your hand. Hold
your hand still until the needle stops moving (the dark or colored half of the compass
needle always points north).
2. Rotate the compass so that the “N” (for north) is directly under the dark part of the
compass needle. Your compass is now aligned with north. The marks around the outside
edge of the compass represent azimuth degrees you will point your antenna to.
90°
0°
30°
60°
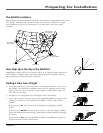
If you live in Miami,
the satellite will be
to the southwest
If you live in
San Francisco,
the satellite will be
to the southeast
Rotate until N lines up with
the dark half of the arrow
Note
You may want to review the
section “Mounting the Mast” to
consider the mounting options
available to you before
completing your precise site
survey.
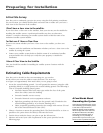
4. Raise your arm to approximately the elevation angle recorded earlier to make sure that
there are no obstructions in the signal path.
5. Repeat this survey in several places on your property if necessary until you find the best
mounting location.


