mp3, wma and jpeg files
Your player also supports playback of mp3, wma
and jpeg files. During playback of mp3 and wma
files and stop mode of jpeg files, the following
screen appears:
•Use keys to navigate to different
files or directories.
•Press ENTER to play the file highlighted.
• When viewing JPEG files, press
keys will rotate or flip picture respectively.
• When listening to mp3 or wma files, press
TIME and then input values with the
numeric keys on the remote control to
access directly to a specific file or time of a
file.
Program playback (mp3 and WMA files)
1. Use keys to select the file you
want to add to the program list and then
press MARK (remote control). Repeat this
step to program more.
2. Press PROG (remote control) to display the
program list and press to start the
program playback.
•To delete a file from the list, press PROG,
use keys to select the file from
the program list and press MARK to delete
it.
• The entire program list will be deleted
when OPEN/CLOSE is pressed.
Bookmark
12 disc locations can be stored as long as the disc
remains in the player and the player remains
powered on. Press MARK (remote control) to
show or hide the bookmark menu.
1. Press to select a free bookmark
and then press ENTER to create a bookmark
at the point you press ENTER.
2. Repeat step 1 to create more bookmarks.
3. Press to select a created bookmark
and then press to start playback of the
selected bookmark.
4. Press to select an unwanted
bookmark and then press CLEAR to clear
the unwanted bookmark.
Playback information
Press DISPLAY (remote control) repeatedly
during playback to show various playback
information on the screen. They include current
title and chapter and playback time.
Audio and subtitle settings
Press AUDIO (for audio) or SUBTITLE (for
subtitle) on the remote control repeatedly for
corresponding setting.
Tips: For VCD playback, press AUDIO for audio
channel selection: mono left, mono right, mix
mono or stereo. Press MENU/PBC repeatedly to
select PBC mode (if available on the disc) on or
off.
Angle setting
Press ANGLE (remote control) repeatedly to
select angle setting (if available on the DVD disc).
BOOKMARK:
1
Quick start
1. Press ON/OFF on the player to switch it on.
2. Press OPEN DOOR to open the disc
compartment door. Place a disc in the tray
with the printed side up. Push back the
compartment door. The player will
automatically try to read and play the disc.
If a menu appears, one of its options can be
selected to start playing the disc. Select it
using keys and then press
ENTER.
3. To stop playback, press .The player stores
the point where playback was interrupted.
If you press again, playback resumes
from this point. To stop playback
completely or to start from the beginning,
press twice.
Accelerated playback
During playback, press / one or more
times to vary the speed and direction of the
accelerated playback. Press to resume the
normal playback.
Still image
During playback, press once to freeze frame.
Frame advance
Press STEP (remote control) to activate STEP
mode. Each press of STEP will advance forward
image by image. Press to resume the normal
playback.
Slow motion
During playback, press SLOW (remote control)
one or more times to vary the speed and
direction of the slow motion playback. Press
to resume normal playback.
Changing chapter/track
During playback, press / to go to the
previous or next chapter/track.
Safety information
FCC information
This device complies with Part 15 of the FCC
Rules. Operation is subject to the following two
conditions: (1) This device may not cause harmful
interference, and (2) this device must accept any
interference received, including interference
that may cause undesired operation.
In accordance with FCC requirements, changes or
modifications not expressly approved by
Thomson Inc. could void the user’s authority to
operate this product.
This device generates and uses radio frequency
(RF) energy, and if not installed and used
properly, this equipment may cause interference
to radio and television reception.
If this equipment does cause interference to
radio or television reception (which you can
determine by turning the equipment off and
on), try to correct the interference by one or
more of the following measures:
• Reorient the receiving antenna (that is, the
antenna for the radio or television that is
"receiving" the interference).
• Move the unit away from the equipment
that is receiving interference.
•Plug the unit into a different wall outlet so
that the unit and the equipment receiving
interference are on different branch circuits.
If these measures do not eliminate the
interference, please consult your dealer or an
experienced radio/television technician for
additional suggestions.
Also, the Federal Communications Commission
has prepared a helpful booklet, "How To
Identify and Resolve Radio TV Interference
Problems." This booklet is available from the
U.S. Government Printing Office, Washington,
DC 20402. Please specify stock number 004-000-
00345-4 when ordering copies.
This product complies with DHHS Rules 21 CFR
Subchapter J. Applicable at the date of
manufacture.
For your safety
Main plug is used as the disconnect device, it
shall remain readily operable and should not be
obstructed during intended used. To be
completely disconnected the apparatus from
supply mains, the main plug of the apparatus
shall be disconnected from the mains socket
outlet completely.
This power unit is intended to be correctly
oriented in a vertical or floor mount
position.
Have a Blast-Just Not in your
eardrums!
Make sure you turn down the
volume on the unit before you put
on headphones. Increase the
volume to the desired level only after
headphone are in place.
WARNING: TO PREVENT FIRE
OR ELECTRICAL
SHOCK HAZARD,
DO NOT EXPOSE THIS PRODUCT
TO RAIN OR MOISTURE.
SEE MARKING ON BOTTOM / BACK OF PRODUCT
CAUTION
RISK OF ELECTRIC SHOCK
DO NOT OPEN
THE EXCLAMATION
POINT WITHIN THE
TRIANGLE IS A
WARNING SIGN
ALERTING YOU OF
IMPORTANT
INSTRUCTIONS
ACCOMPANYING
THE PRODUCT.
THE LIGHTNING
FLASH AND ARROW-
HEAD WITHIN THE
TRIANGLE IS A
WARNING SIGN
ALERTING YOU OF
"DANGEROUS
VOLTAGE" INSIDE
THE PRODUCT.
CAUTION: TO REDUCE THE
RISK OF ELECTRIC SHOCK,
DO NOT REMOVE COVER
(OR BACK). NO USER-
SERVICEABLE PARTS IN-
SIDE. REFER SERVICING
TO QUALIFIED SERVICE
PERSONNEL.
GEFAHR EINES
ELEKTRISCHEN SCHLAGS
Precautions
General precautions
•Water and Moisture - Do not use this
product near water for example, near a
bathtub, wash bowl, kitchen sink, or
laundry tub; in a wet basement; or near a
swimming pool; and the like. Do not spill
liquids on your Portable DVD or its
components as they may touch dangerous
voltage points or short-out parts that could
result in a fire or electric shock. To clean
your Portable DVD use a soft slightly damp
cloth. Always allow all the components to
dry completely before using again.
•Cleaning - Unplug this product from the
wall outlet before cleaning. Do not use
liquid cleaners or aerosol cleaners. Use a
damp cloth for cleaning.
• Heat - The product should be placed away
from heat sources such as radiators, heat
registers, stoves, or other products
(including amplifiers) that produce heat. Do
not expose the Portable DVD or any of its
components to extreme heat or cold. Do
not expose the player to direct sunlight.
• Attachments - Do not use attachments not
recommended by the product manufacturer
as they may cause hazards.
• Servicing - Do not attempt to service this
product yourself as opening or removing
covers may expose you to dangerous
voltage or other hazards. Refer all servicing
to qualified service personnel.
• AC/DC power adapter cords should be
routed so that they are not likely to be
walked on or pinched by items placed upon
or against them, paying particular attention
to cords at plugs, convenience receptacles,
and the point where they exit from the
product.
• Power Sources - This product should be
operated only from the type of power
source indicated on the marking label. If
you are not sure of the type of power
supply to your home, consult your product
dealer or local power company. Do not use
any battery other than the orginal ones
provided by Thomson.
Precautions when watching
• When using your Portable DVD player do
not sit or stand too close to the screen.
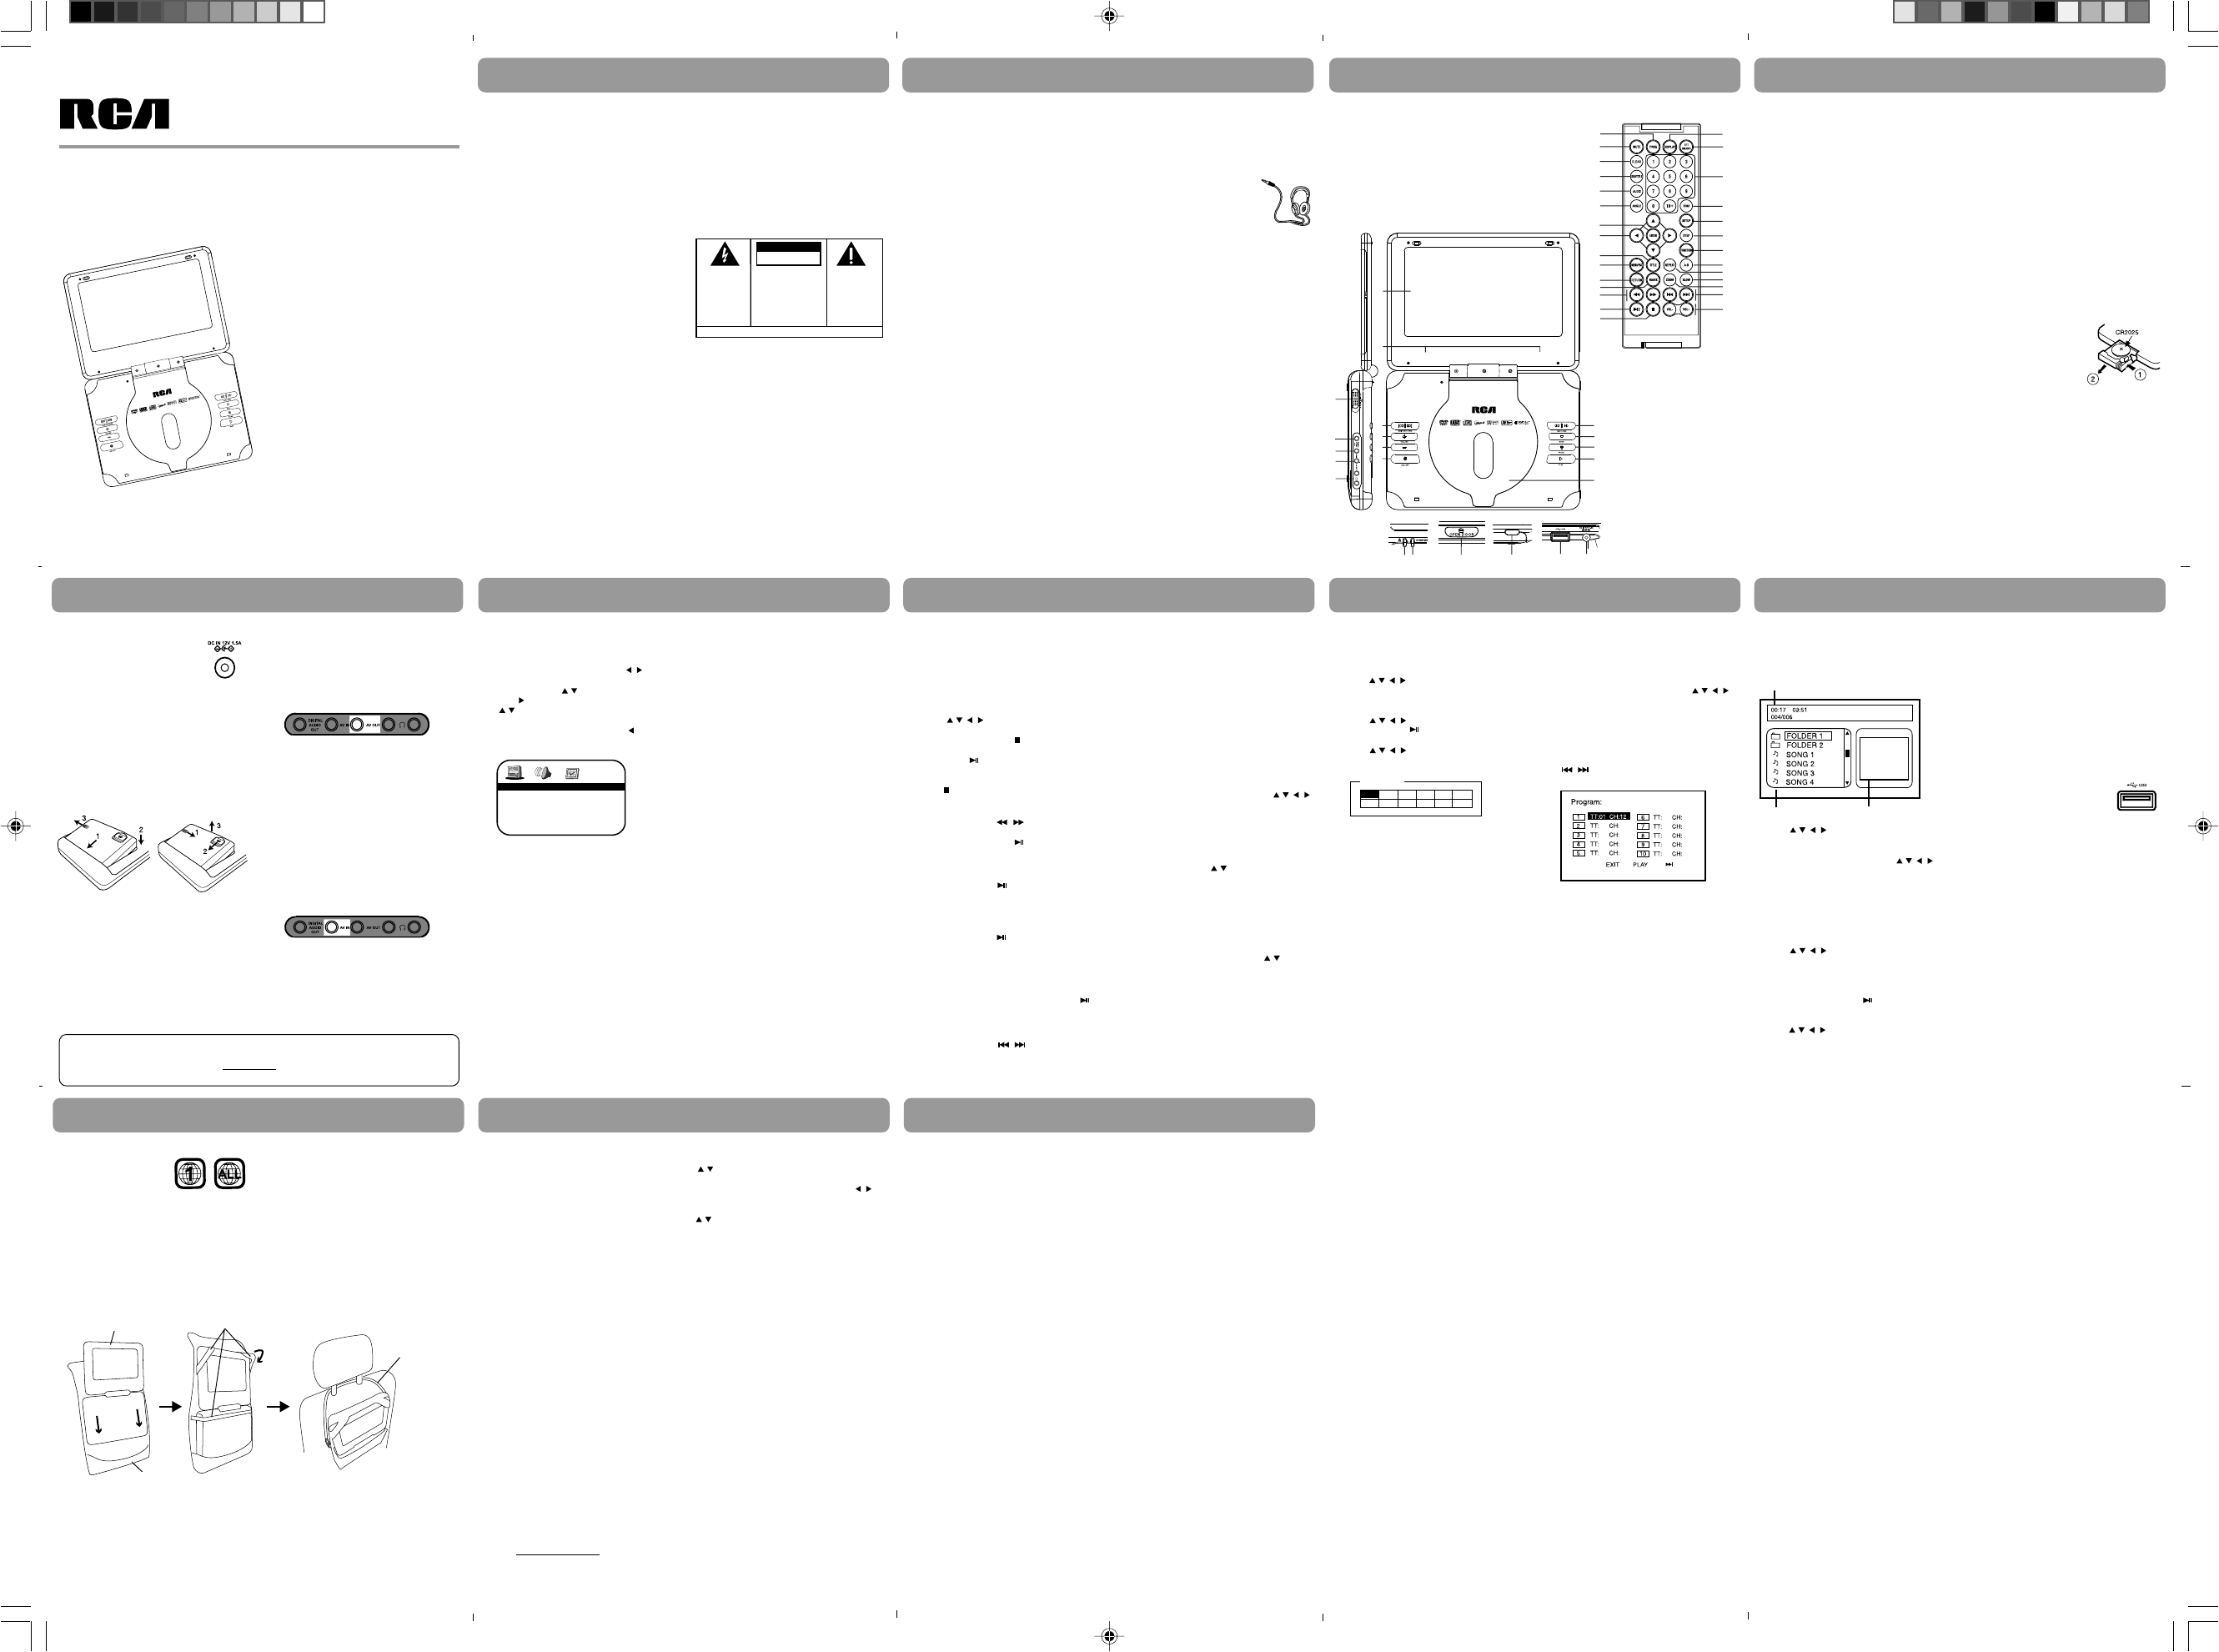
General Controls
English
Remote control
Main unit
1
2
3
4
5
6
7
8
9
10
11
12
13
14
15
16
17 18 19
21 22
20
23
24
25
26
27
28
29
30
31
32
34
33
35
36
37
50
49
48
47
46
45
44
43
42
41
40
39
38
General Controls
DRC628
user manual
manual de usuario
EN/E
It is important to read this instruction prior to using your new product for the first time.
Es importante leer este manual antes de usar por vez primera su euipo.
Tocom: 5643 1270
1. Function switch (DVD/USB/AV IN)
2. Digital audio output jack
3. AV input jack
4. AV output jack
5. Headphone jacks
6. LCD display
7. Speakers
8. Skips backward or forward a chapter/track
9. Increases the volume
10. Decreases the volume
11. Powers on or off the player
12. Searches backward or forward
13. Stops playback
14. Pauses playback
15. Starts playback
16. Disc compartment door
17. Power/low battery indicator
18. Battery charging indicator
19. Opens the disc compartment door
20. Remote control sensor
21. USB connector
22. Power jack
23. Enters the program mode
24. Mutes the sound output
25. Clears input in menus
26. Selects the subtitle setting
27. Selects the audio setting
28. Selects the angle setting
29. Confirms selection
30. Navigation keys in the menus
31. Enters the title menu
32. Enters the disc menu or VCD PBC menu
33. Returns to the main menu
34. Accesses the bookmark function
35. Searches backward or forward
36. Starts or pauses playback
37. Stops playback
38. Selects the display information
39. Turns the LCD display on or off
40. Numeric input keys
41. Enters the search menu
42. Enters the player’s setup meuu
43. Enters the step advance mode
44. Adjusts the screen’s brightness, contrast and
color saturation
45. Enters A-B repeat mode
46. Selects a repeat mode
47. Enters the slow playback mode
48. Enters the zoom mode
49. Skips backward or forward a chapter/track
50. Adjusts volume
Using the remote control
• Remove the plastic tab from the battery
compartment before first use.
•To replace the battery, slide the release lock
to the right and pull out the battery tray.
(One button type, CR2025 battery required)
• When using the remote control, make sure
you are pointing to the remote sensor
located at the front of the player.
Connecting power adapter
• Connect the AC/DC or car power
adapter to the power jack of the
player.
• Connect the other side of the
power adapter with the wall
plug or car power plug.
•Turn on the power.
•Disconnect the adapter if the set is not used
for a period of time.
Using the battery
Follow the illustrations below to install or
remove the battery on the back of the player.
Secure the battery with the lock and unlock slide
on the battery.
Charging the battery
• When the battery is low, the power/low
battery indicator is red (instead of green).
Connect the power adapter to the power
jack of the player.
•Turn off the power to start charging.
• The battery charging indicator is red when
charging and will turn green when the
battery is fully charged.
• The battery cannot be charged while the
player is being used.
External connections
This player can output sound and picture to
external devices. To do so, slide the Function
Switch on the left side of the player to the DVD
position. Always switch off the player before
connecting any devices.
1. Connect the black connector of the AV
cable to the AV OUT jack of the player.
2. Connect the yellow (for video), red and
white (for audio) connectors to the AV
input jacks of the external device.
• For better sound output quality, connect a
coaxial digital output cable (provided) to
the DIGITAL AUDIO OUT jack of the player
and connect to the external device.
This player can also be used as a display for
other devices, such as DVD player, game console
etc. To do so, slide the Function Switch on the
left side of the unit to the AV IN position. Always
switch off the player before connecting any
devices.
1. Connect the black connector of the AV
cable to the AV IN jack of the player.
2. Connect the yellow (for video), red and
white (for audio) connectors to the AV
output jacks of the external device.
Power and connections
NOTE: The RBRC seal on the rechargeable battery used in your Thomson Inc product indicates that
we are participating in a program to collect and recycle rechargeable batteries. For more
information, go to the RBRC web site at
www.rbrc.org, or call 1-800-822-8837, or contact a local
recycling center.
Accessories
Check that all the following accessories come
with your player in the package:
1. Remote control x 1
2. AV cable x 1
3. Coaxial digital output cable x 1
4. Lithium ion polymer battery x 1
5. AC/DC power adapter x 1
6. Car power adapter x 1
7. Carrying case x 1
8. Carrying/mounting strap x 1
Player setup
Player setup
Press SETUP and the player’s setup menu will
show on the screen.
1. Select a menu (General setup, Audio setup
and Preference page) icon using keys.
2. Select one of the available options under
each icon using keys.
3. Press key to access the submenus and use
keys to select an option.
4. Press ENTER to confirm your selections.
5. Return to a previous menu using key.
6. To exit from the player menu, press SETUP
again.
General Setup
To setup:
1) TV display – to select the screen format.
2) OSD language – to select the player mennu
language.
3) Closed captions – to turn closed captions
function on or off.
4) Password – to set the password for parental
control. Use the numeric keys on the
remote control for a 4-digit password setup.
Audio Setup
To setup:
1) Digital audio – to select the digital audio
output format.
2) Dolby digital settings – to set the dynamic
range compression.
Preference Page
To setup:
1) Audio – to select the audio language.
2) Subtitle – to select the subtitle language.
3) Disc menu – to select the disc menu
language.
DVD playback
Repeat playback
During playback, press REPEAT (remote control)
repeatedly to select repeating a chapter, a title
(DVD discs), all items on the disc or cancelling
the repeat playback function.
A-B repeat
During playback, press A-B (remote control)
once at the start and press A-B again at the end
of a desired repeat section. The section will
repeat continuously until you press A-B to
resume normal playback.
Zoom
During playback, press ZOOM (remote control)
repeatedly to select a zoom in or out option to
enlarge or reduce the image size. Press
to view other parts of the enlarged image.
Searching
Press TIME (remote control) to show the search
menu on the screen. For DVD, you can direct
access to a title, chapter, title time, chapter time
on the disc by pressing to scroll to the
current title, chapter, title time or chapter time
and then press ENTER. Press the desired values
with the numeric input keys on the remote
control to access directly to the desired title,
chapter or time.
You may also press TIME during DVD playback
to view the current audio, subtitle, angle, repeat
and time display settings by pressing . If
necessary, press ENTER to change the current
settings.
Accessing disc menu
At anytime during playback, press MENU/PBC
(remote control) to access DVD’s menu. Press
TITLE to access DVD’s title menu (if available).
DVD playback
Program playback
Program enables playback of chapters or tracks
in desired sequence. Press PROG (remote
control) to show or hide the program menu. The
program will be erased when the disc is
unloaded or the player is powered off.
1. Highlight an input field by using
keys. “TT” stands for title and “CH” for
chapter.
2. Use the numeric keys to input values.
3. Repeat steps 1 and 2 to program more.
Maximum 20 programs can be created.
4. Highlight “PLAY” on the screen and press
ENTER to start the program playback. Press
/ to go to the previous or next input
page.
Screen saver & power saving
Screen saver will show when the player is in idle
for more than 5 minutes. Press any key to de-
activate it. If there is no further key activation
for another 5 minutes, the LCD screen will shut
down for power saving. Press any key to turn
the screen on again.
Muting
Press MUTE (remote control) to cut the sound
output. Press again to restore.
Playback of other media formats
U.S. Limited Warranty
What your warranty covers:
• Defects in materials or workmanship.
For how long after your purchase:
• 90 days from date of purchase - unit
exchange, which includes parts and labor.
91 days to 1 year from date of purchase -
unit exchange, which includes parts only;
you pay the labor.
What we will do:
•Provide you with a new, or at our option, a
refurbished unit. The exchange unit is
under warranty for the remainder of the
original product’s warranty period.
•Proof of purchase in the form of a bill of
sale or receipted invoice which is evidence
that the product is within the warranty
period must be presented to obtain
warranty service. For rental firms, proof of
first rental is also required.
How to make a warranty claim:
•Properly pack your unit. Include any cables,
etc., which were originally provided with
the product. We recommend using the
original carton and packing materials.
•Include evidence of purchase date such as
the bill of sale. Also print your name and
address and a description of the defect.
Send via standard UPS or its equivalent to:
Thomson Inc.,
Product Exchange Center,
11721 B Alameda Avenue,
Socorro, Texas 79927
•Insure your shipment for of loss or damage.
Thomson accepts no liability in case of
damage or loss en route to Thomson.
• Pay any charges billed to you by the
Exchange Center for service not covered by
the warranty.
•A new or refurbished unit will be shipped
to you freight prepaid.
What your warranty does not cover:
• Customer instruction. (Your Owner’s Manual
provides information regarding operating
Instructions and user controls. For
additional information, ask your dealer.)
•Installation and set-up service adjustments.
• Batteries.
• Damage from misuse or neglect.
•Products which have been modified or
incorporated into other products.
•Products purchased or serviced outside the
USA.
• Acts of nature, such as but not limited to
lightning damage.
Product Registration:
•Please complete and mail the Product
registration Card packed with your unit. It
will make it easier to contact you should it
ever be necessary. The return of the card is
not required for warranty coverage.
Limitation of Warranty:
• THE WARRANTY STATED ABOVE IS THE
ONLY WARRANTY APPLICABLE TO THIS
PRODUCT. ALL OTHER WARRANTIES,
EXPRESS OR IMPLIED (INCLUDING ALL
IMPLIED WARRANTIES OF
MERCHANTABILITY OR FITNESS FOR A
PARTICULAR PURPOSE) ARE HEREBY
DISCLAIMED. NO VERBAL OR WRITTEN
INFORMATION GIVEN BY THOMSON INC.,
ITS AGENTS OR EMPLOYEES SHALL CREATE
A GUARANTY OR IN ANY WAY INCREASE
THE SCOPE OF THIS WARRANTY.
• REPAIR OR REPLACEMENT AS PROVIDED
UNDER THIS WARRANTY IS THE EXCLUSIVE
REMEDY OF THE CONSUMER. THOMSON
INC. SHALL NOT BE LIABLE FOR INCIDENTAL
OR CONSEQUENTIAL DAMAGES RESULTING
FROM THE USE OF THIS PRODUCT OR
ARISING OUT OF ANY BREACH OF ANY
EXPRESS OR IMPLIED WARRANTY ON THIS
PRODUCT. THIS DISCLAIMER OF
WARRANTIES AND LIMITED WARRANTY ARE
GOVERNED BY THE LAWS OF THE STATE OF
INDIANA. EXCEPT TO THE EXTENT
PROHIBITED BY APPLICABLE LAW, ANY
IMPLIED WARRANTY OF MERCHANTABILITY
OR FITNESS FOR A PARTICULAR PURPOSE
ON THIS PRODUCT IS LIMITED TO THE
APPLICABLE WARRANTY PERIOD SET FORTH
ABOVE.
How state law relates to this warranty:
• Some states do not allow the exclusion nor
limitation of incidental or consequential
damages, or limitations on how long an
implied warranty lasts, so the above
limitations or exclusions may not apply to
you.
File directory
Picture preview
Playback information
4) Parental – to select the parental level.
• Parental feature disables playback of certain
DVDs based on their ratings from 1 (most
restrictive) to 8 (least restrictive). DVDs that
are rated above the level you set will not
play until the correct password is entered.
If a password has been set, you cannot
change the rating without entering the
correct password. Refer to “General Setup >
Password” to setup the password.
5) Default – to restore menus to default
values.
TVG Setup
TVGuardian (TVG) is the Foul Language Filtering
technology to remove offensive language from
the programs you watch. You need to purchase a
license to activate this feature. For more
information, refer to More Information - More
on TVGuardian.
More on TVGuardian
The license provides you with a 5 digit activation
code. Input the activation code in this setup
menu with the numeric keys on the remote
control. Press ENTER to confirm. When
activation is successful, a message “TVG
ACTIVATED…” shows at the bottom of the
menu. After you have activated TVG, more
settings can be defined.
TVG Mode:
Select among Off, Tolerant, Moderate and Strict
with increasing filtering standards.
Word Subset Filtering:
In addition to the main TVG mode listed above,
you can turn certain word subsets on or off:
Damn and hell - filters out variations of “Damn”
and “Hell”.
Religious - filters out references to deity. To
watch religious programs, turn this word subset
off.
Sexual - filters sexually explicit languages.
CC Mode:
CC Off - captions are never displayed.
ON Mute (default) - captions are displayed when
offensive language is being filtered.
CC Continous - captions are displayed
continually.
CC Channel:
To use the TVG captioning features while
watching a DVD movie, your television must be
capable of displaying closed captions. Make sure
that your TV CC is set to CCI or CI (closed caption
on channel), and that the CC channel on your
DVD player is set to CC2 (default setting).
Refer to
www.tvguardian.com for details.
TVG
-- GENERAL SETUP PAGE --
TV DISPLAY Wide
OSD LANGUAGE ENG
CLOSED CAPTIONS ON
PASSWORD
CAUTION
• Danger of explosion if
battery is incorrectly
installed.
• Replace only with the
same or equivalent
type of battery.
DVD regional code
Your DVD player has been
designed to process regional
management information
that is stored on DVD discs.
The regional code for your player is 1 (The U.S.,
U.S. Territories and Canada). Only DVD discs that
have regional codes of 1 or ALL (for all regions)
can be played by your player.
More information
Car mounting
You can easily mount the player on the back of a car seat with the help of the carrying case. See
illustration below:
Carrying case
Elasticated strap
Troubleshooting tipsMore information
IMPORTER
Comercializadora Thomson de México, S.A. de C.V.
Álvaro Obregón No. 151. Piso 13.
Col. Roma. Delegación Cuauhtémoc
C.P. 06700. México, D.F.
Telefono: 52-55-11-020360
RFC: CTM-980723-KS5
EXPORTER
Thomson Inc.
P. O. Box 1976
Indianapolis, IN 46206 - 1976
©2007 Thomson Inc.
Trademark(s) ® Registered
Marque(s) ® Deposée(s)
Marca(s) ® Registrada(s)
www.rcaaudiovideo.com
Printed in China / Impreso en China
The unit is not working.
•Turn off the power, and then turn it on
again.
• Make sure power cord or battery is
properly connected and battery is not
empty.
• The unit cannot operate when the car
adaptor power supply voltage is above 16V.
There is no sound or picture.
• Check the connection to the mains socket
or battery.
• Make sure the power switch is on.
• Make sure the power outlet is operational.
• Make sure the power cord is not damaged.
• Make sure the volume is not set too low.
There is no sound or sound quality is poor.
• Make sure the audio jacks are securely
connected.
• Make sure the audio connector is not
damaged.
• Make sure the volume is turned up.
• Make sure you have set the player’s audio
settings correctly.
• Make sure you have entered the correct AV
input for your TV.
• Make sure the audio is not set to mute.
There is no picture or picture quality is
poor.
• Make sure that the Function Switch is on
the proper position.
• Make sure the video jacks are securely
connected.
• Make sure you have entered the correct AV
input for your TV.
• Make sure the video connector is not
damaged.
• Make sure you have set the player’s video
settings correctly.
• Make sure the battery level is not low.
It is impossible to read the disc
• Make sure the disc is inserted with the
printed side up.
• Make sure the disc is not warped, damaged,
deformed, stained or scratched.
• Check that the disc format is supported by
the player.
• Check that the disc’s regional code matches
that of the player. This player’s regional
code is 1.
Remote control is not working
• Battery may be empty.
• Make sure you are pointing to the remote
sensor on the player while using.
You have forgotten your rating password.
• Enter 9688 in the password menu to clear
the memory. Keep this master password out
of the reach of children. Refer to “Player
Setup” for details.
The player
Carrying/mounting
strap
Specifications
• Model: DRC628
• TV System: NTSC
• Supported disc formats: DVD, SVCD, VCD,
CD, HDCD, CD-R, CD-RW, DVD+/-R, DVD+/-
RW
• Supported file formats: MPEG, MP3, WMA,
JPEG
• DVD regional code: 1
•AV input: Composite x 1
•AV output: Composite x 1
• Power requirement: DC in 12V (power
adapter bundled)
• Power consumption: <10W
• Operating temperature: 5
o
C to 35
o
C (41
o
F to
95
o
F)
• Operating humidity: 5% to 90% (no
condensation)
•Size (with battery): 233(W) x 168(D) x 41(H)
mm
•Weight (with battery): 2.5kg
Install Remove
Audio CD
•Your player also supports playback of audio
CD. Playback starts automatically after an
audio CD is loaded.
• Bookmark and program playback are
available for audio CD, refer to “Bookmark”
and “Program Playback” for details. You
only need to input the desired track
numbers for program playback.
• During playback, press TIME repeatedly and
then input values with the numeric keys on
the remote control to access directly to a
track or specific time of the track or disc.
Playback via USB connector
The mp3, wma and jpeg files stored
on a USB device can be played via
the USB connector on the back side
of the player. After connecting the
USB device, slide the Function Switch on the left
side of the player to the USB position. Playback
operations are the same as files on discs as
shown above.
Display setup
Press FUNCTION (remote control) and then press
to select among BRIGHT (for brightness),
CONTRAST (for contrast) and COLOR (for color
saturation). Adjust the values by pressing .
To restore settings to the default values, press
to select RESET and then press ENTER.
DVD copy protection
This product incorporates copyright protection
technology that is protected by U.S. patents and
other intellectual property rights. Use of this
copyright protection technology must be
authorized by Macrovision Corporation, and is
intended for home and other limited consumer
uses only unless otherwise authorized by
Macrovision. Reverse engineering or disassembly
is prohibited.
• This warranty gives you specific legal rights,
and you also may have other rights that
vary from state to state.
If you purchased your product outside the
USA:
• This warranty does not apply. Contact your
dealer for warranty information.
The descriptions and characteristics in this
owner’s manual are for the purpose of general
reference only and not as a guarantee. In order
to provide you with the highest quality product,
we may make changes or modifications without
prior notice. The English version serves as the
final reference on all product and operational
details should any discrepancies arise in other
languages.


