


74
Chapter 6 Using the Built-in Effects
Making Chorus Settings
Here’s how to adjust parameters such as modulation depth
and speed for the chorus sound.
■ Procedure for Setting Chorus
1. Select the patch for which Chorus is to be set, and press
[EFFECTS] to go into Patch Edit mode.
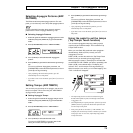
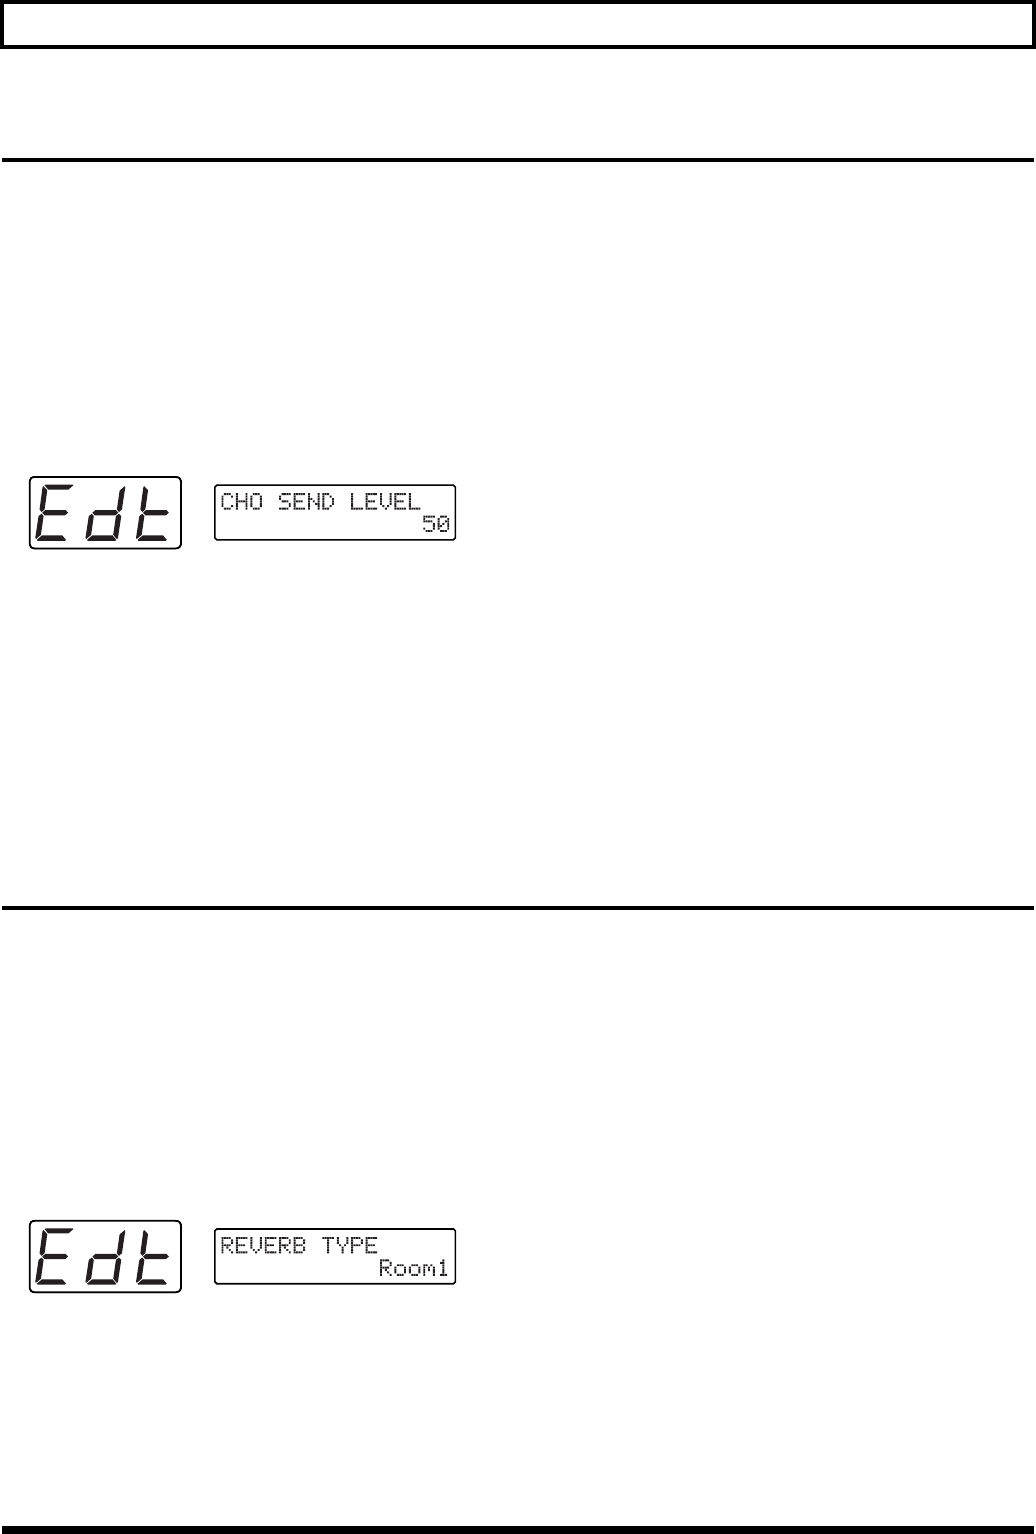
2. Use [PARAMETER] to select the CHORUS-related
parameter.
For a description of the chorus parameter types, “Chorus
parameters and their significance.”
fig.6-02
3. Use [VALUE] to choose the setting value.
For the setting values, see the subsequent section,
“Chorus parameters and their significance.”
4. Repeat steps 2 to 3 to set all chorus parameters.
5. Press [WRITE] to perform the Patch Write operation (p.
36).
* After performing the Patch Write operation, you will
automatically return to Play mode.
* If you don’t want to save the Patch, press [PLAY] to return to
Play mode.
◆ Chorus parameters and their significance
CHO SEND LEVEL (Chorus Send Level)
Specifies the volume of the chorus.
Increasing this setting will raise the volume.
CHORUS RATE
Specifies the modulation frequency of the chorus effect.
Higher values result in a faster modulation (cycle).
CHORUS DEPTH
Specifies the modulation depth of the chorus effect.
As this setting is increased, the modulation will become
deeper.
CHORUS PRE-DELAY
Specifies the delay between when the original sound is heard
and when chorusing begins.
Higher settings will make the sound more spacious.
CHORUS FEEDBACK
Adjusts the amount of chorus sound that is returned (fed
back) to the input of the chorus.
Higher settings create more complex chorusing.
Making Reverb Settings
With the GR-33 you can pick one of eight types (REVERB
TYPE), and then freely make your own settings to reverb
amount and length. Depending on the type you select, delay
(an effect that repeats a sound, sort of like a mountain echo),
is also available.
■ Procedure for Setting Reverb
1. Select the patch for which Reverb is to be set, and press
[EFFECTS] to go into Patch Edit mode.
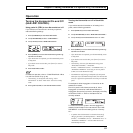
2. Press [PARAMETER] to select “REVERB TYPE.”
fig.6-01
3. Use [VALUE] to select the reverb type.
For the setting values, see the subsequent section,
“Reverb parameters and their significance.”
4. Use [PARAMETER] to choose a reverb parameter that
has not set.
For a description of the reverb parameter types, “Reverb
parameters and their significance.”
5. Use [VALUE] to choose the value.
6. Repeat steps 4 to 5 to set all reverb parameters.
7. Press [WRITE] to perform the Patch Write operation (p.
36).
* After performing the Patch Write operation, you will
automatically return to Play mode.
* If you don’t want to save the Patch, press [PLAY] to return to
Play mode.
◆ Reverb parameters and their significance
REVERB TYPE (Reverb/Delay Type)
Selects a type of reverb or delay.
Room1: Short reverb with high density
Room2: Short reverb with low density.
Stage1: Reverb with much subsequent reverberation
Stage2: Reverb with strong early reflections