


Chapter 5 Special Editing and Recording/Playback
86 Chapter 5 Special Editing and Recording/Playback
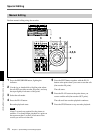
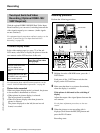
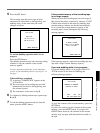
• SYSTEM MENU screen displayed when using
the SDTI(QSDI) interface (DSBK-150)
Note
When neither the DSBK-140 nor the DSBK-150 is
installed in the unit, the setup menu appears
instead of the system menu.
In explaining the subsequent steps of this operating
procedure, illustrations of screens shown when
using the i.LINK interface are used. You can apply
the same operating procedure also when using the
SDTI(QSDI) interface.
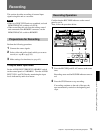
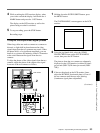
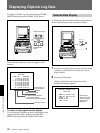
2 Press the SET button.
The screen changes as follows, allowing you to
select a desired group of items for dubbing.
• A/V: Audio and video
• A/V/TC: Audio, video and timecode
• A/V/TC/CM: Audio, video, timecode, and
cassette memroy (ClipLink log data)
Digitally Dubbing Signals in DVCAM Format (Optional DSBK-140 or DSBK-
150 Required)
SYSTEM MENU
SDTI DUBBING
SYSTEM MENU
i.LINK DUBBING
A/V
A/V/TC
A/V/TC/CM
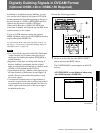
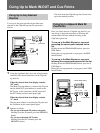
3 Using the jog/shuttle dial, select a desired group of
items for dubbing, then press the SET button.
The menu screen changes as follows.
(Example: The screen displayed when A/V/TC/
CM is selected.)
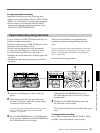
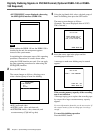
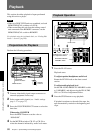
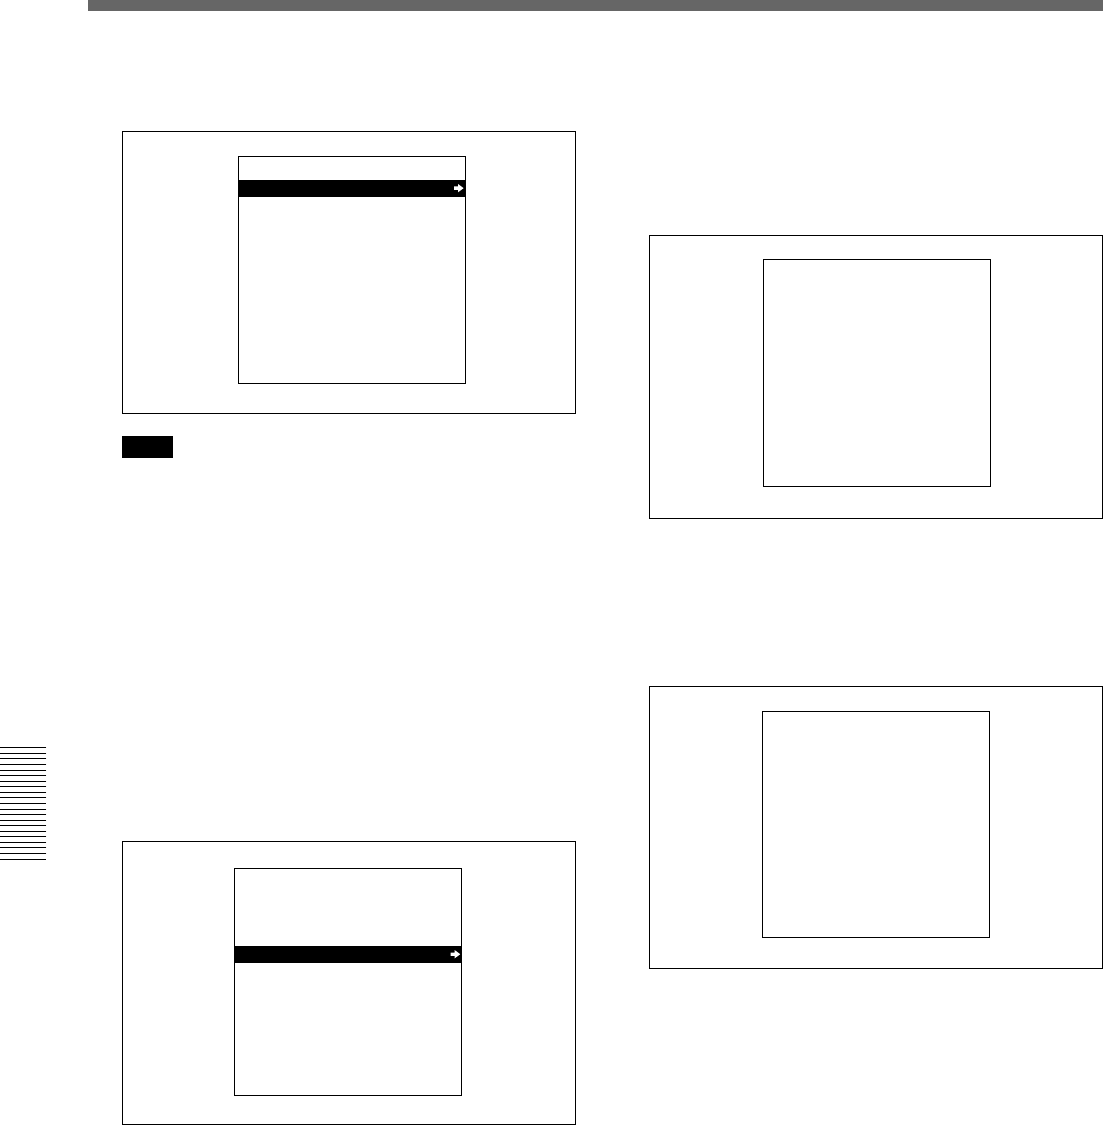
4 Insert the source tape in the player and the
recording tape in this unit.
A message to make sure dubbing may be started
appears.
If the cassette memory capacity of the recording
tape is not sufficient
A message urging you to replace the recording tape
by a tape with a larger cassette memory capacity
appears.
For more information about this, see the next section “If
the cassette memory of the recording tape is not large
enough”.
To cancel the dubbing operation
Press the MENU button.
i.LINK DUBBING
(A/V/TC/CM)
INSERT RECORD TAPE IN
THIS VTR AND SOURCE
TAPE IN THE PLAYER VTR.
ABORT:MENU KEY
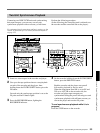
i.LINK DUBBING
(A/V/TC/CM)
START i.LINK DUBBING?
START:SET KEY
ABORT:MENU KEY