


30
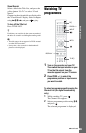
Recording a TV
Programme to the HDD
This section introduces the basic operation
to record a current TV programme to the
hard disk (HDD). For an explanation of how
to make timer recordings, see page 38 or
page 47.
b
The recording destination is HDD only.
1 Turn on the recorder and your TV.
Then switch the input selector on your
TV so that the signal from the
recorder appears on your TV screen.
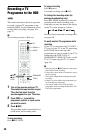
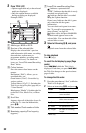
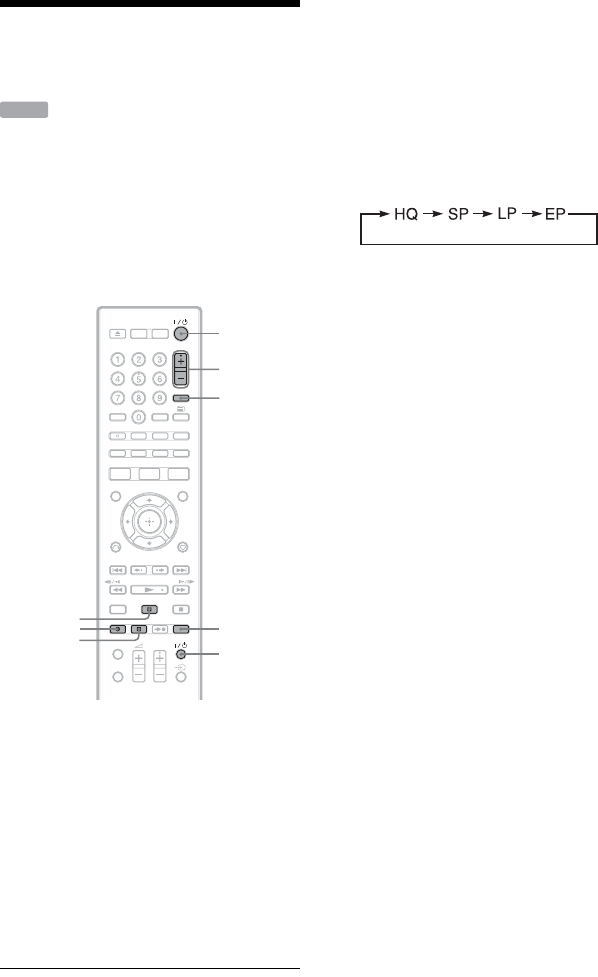
2 Press PROG +/– to select the
programme position or input source
you want to record.
3 Press z REC.
The recording mode is automatically set
to DR mode, and recording starts.
To stop recording
Press x REC STOP.
To pause recording
Press X (pause).
To resume recording, press z REC.
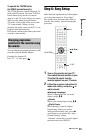
To change the recording mode (for
analogue broadcasting only)
Press REC MODE repeatedly to select the
recording mode before recording starts.
Each time you press the button, the display
on the TV screen changes as follows:
For more details about the recording mode,
see page 109.
To watch another TV programme while
recording
If your TV is connected to the T LINE 3 –
TV jack, set your TV to the TV input using
the TV/DVD button and select the
programme you want to watch. If your TV is
connected to the LINE 2 OUT or
COMPONENT VIDEO OUT jacks, set the
TV to TV input using the TV
t button
(page 22).
b
• After pressing the z REC button, it may take a
short while to start recording.
• It may take a short while for recorder to stop or
pause recording.
• You cannot change the recording mode while
recording.
• If there is a power failure, the programme you
are recording may be erased.
• You cannot watch a PAY-TV/Canal Plus
programme while recording another PAY-TV/
Canal Plus programme.
HDD
PROG +/–
REC MODE
z REC
x REC
STOP
X
INPUT
[/1
TV [/1