


Chapter 7 Menus
74
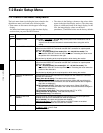
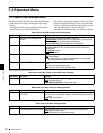
7-2 Basic Setup Menu
a) This is supported from firmware version 1.4. b) This is supported from firmware version 1.5.
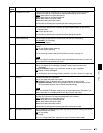
7-2-2 Basic Menu Operations
This section describes the basic menu display and how to
change the settings.
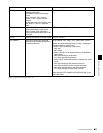
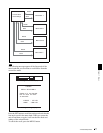
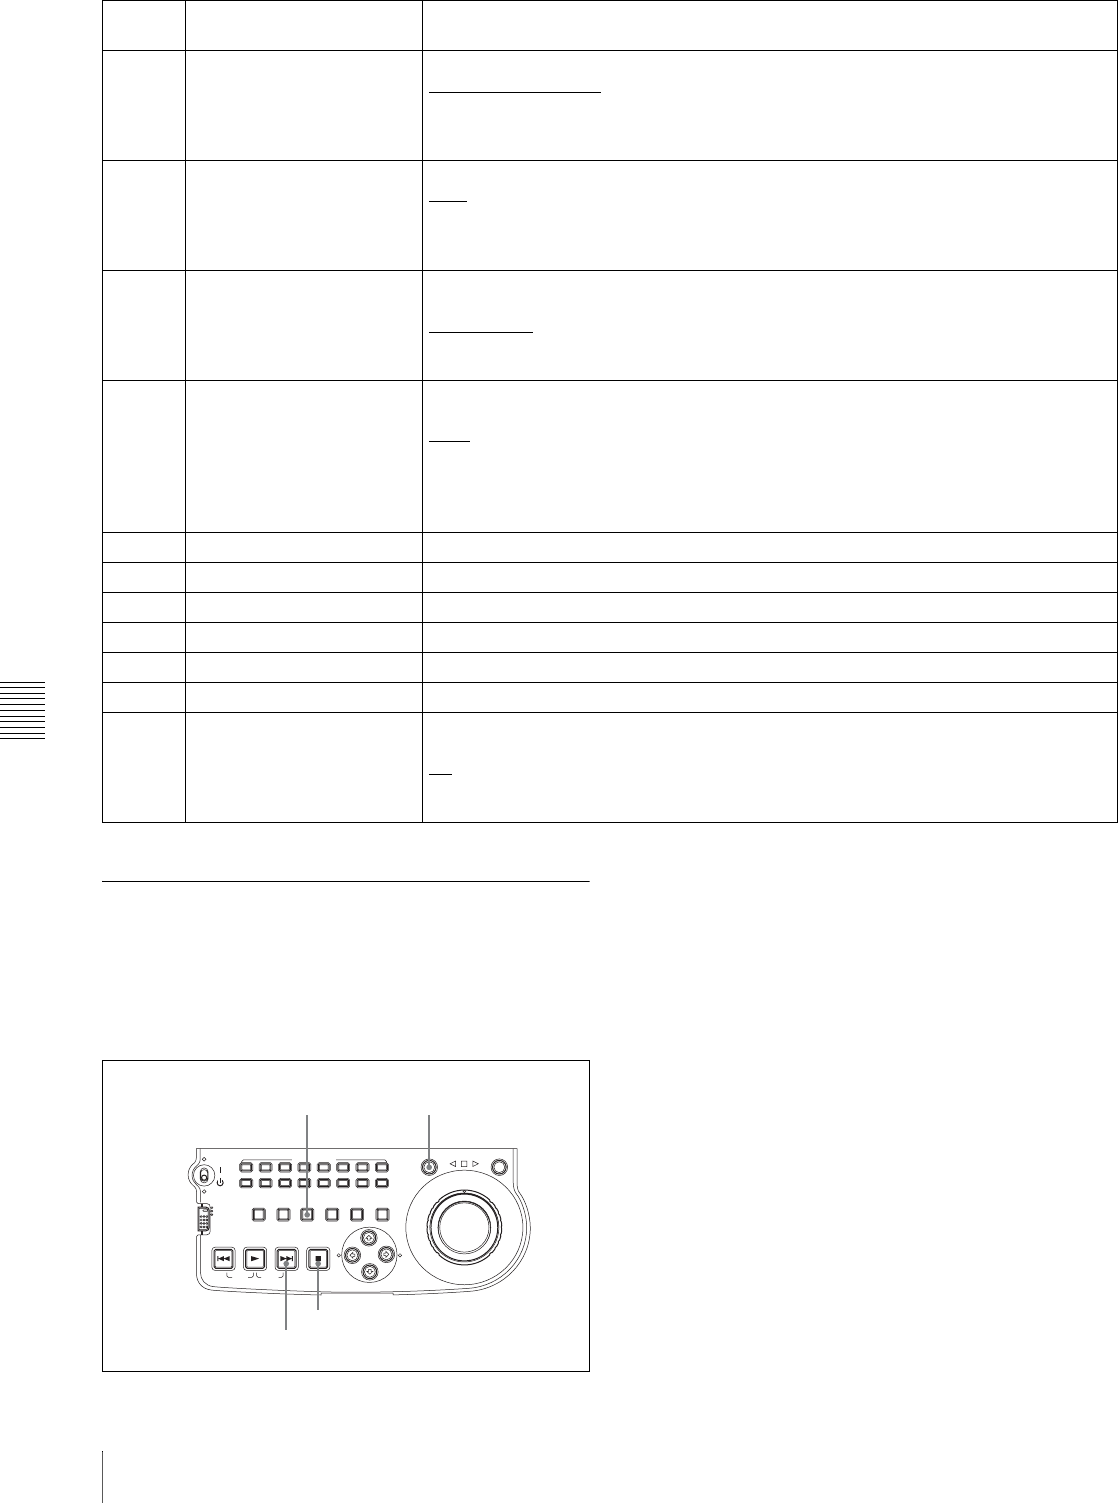
Displaying the menu
Press the MENU button.
The SHUTTLE button and NEXT button light and the
setting of the currently selected menu item appears in the
image display and status display. (The STOP button also
lights when a menu item with sub-items is selected.)
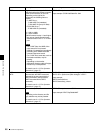
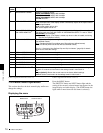
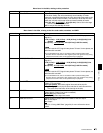
031 RECORDING FORMAT Select the recording format.
IMX50 (IMX 50Mbps)
: MPEG IMX 50 Mbps
IMX40 (IMX 40Mbps): MPEG IMX 40 Mbps
IMX30 (IMX 30Mbps): MPEG IMX 30 Mbps
DVCAM: DVCAM
032 LCD MONITOR MODE Set the aspect ratio for the image display.
auto
: the aspect ratio of the display screen automatically adjusts to the aspect ratio of
the input material.
16:9: set the aspect ratio to 16:9.
4:3: set the aspect ratio to 4:3.
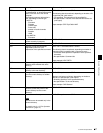
034 MENU STATUS DISPLAY
ON VIDEO MONITOR
a)
Specify whether to display the setup menu status at the left edge of the status display
line when basic menu item 005 “DISPLAY INFORMATION SELECT” is set to “T&sta.”
dis (disable)
: Do not display.
ena (enable): Display. (The display is visible only when no disc is loaded, and during
insertion and ejection of a disc.)
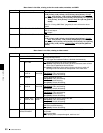
036 FILE NAMING FORM
b)
Specify the clip and clip list naming format. (Specify whether to allow use of files with
user-defined names.)
C****
: Standard format (Do not allow use of files with user-defined names)
free: Free format (Allow use of files with user-defined names)
See 6-1-3 “Assigning User-Defined Clip and Clip List Names” (page 59) for details
about how to make the settings.
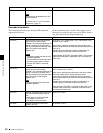
B01 RECALL SETUP BANK-1 Set to “on” to recall menu settings from menu bank 1.
B02 RECALL SETUP BANK-2 Set to “on” to recall menu settings from menu bank 2.
B03 RECALL SETUP BANK-3 Set to “on” to recall menu settings from menu bank 3.
B11 SAVE SETUP BANK-1 Set to “on” to save current menu settings to menu bank 1.
B12 SAVE SETUP BANK-2 Set to “on” to save current menu settings to menu bank 2.
B13 SAVE SETUP BANK-3 Set to “on” to save current menu settings to menu bank 3.
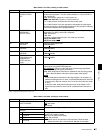
B20 RESET SETUP MENU
a)
Set to “on” to return the settings of the current menu to the factory default settings. Set
to “bank-4” to set the current menu to the settings saved in menu bank 4.
off
on (on (default)): Return the current menu to the factory default settings.
bank-4: Set the current menu to the settings saved in menu bank 4.
Item
number
Item name Settings
ACCESS
L
R
NETWORK
LOCAL
REMOTE
AUDIO MONITOR
L
R
CH-1
CH-2 CH-3 CH-4 CH-5 CH-6 CH-7 CH-8
SHUTTLE JOG
THUMBNAIL
ESSENCE
MARK
MARK1
MARK2
IN
OUT
MENU
S.SEL
SET
RESET SHIFT
TOP F REV F FWD END
PREV NEXTPLAY STOP
CLIP
MENU
SYSTEM
MENU
SUBCLIP
STOP button
MENU button SHUTTLE button
NEXT button