


Chapter 7 Menus
76
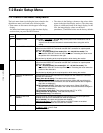
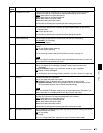
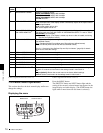
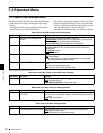
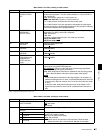
7-2 Basic Setup Menu
This saves the new setting value, and the menu display
disappears from the image display and status display.
To abandon making a change
Press the MENU button before pressing the SET
button.
The menu display disappears from the image display
and status display without the new setting value being
saved.
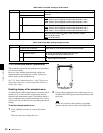
Resetting the menu settings to their
factory default values
To reset the current active menu settings to their factory
default values, proceed as follows.
1
Press the MENU button.
The menu appears in the image display and status
display.
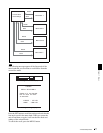
2
Press the RESET button.
The message “INITIALIZE ALL ITEMS TO
FACTORY RESET VALUES?” appears in the image
display and a message “Init setup” appears in the status
display.
To abandon operations and return to the setup
menu display
Press the RESET button again.
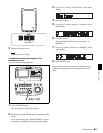
3
Press the SET button.
The menu settings are reset to their factory default
settings.
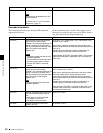
Switching between 525(U) line, 525(J) line
and 625 line modes (menu item 013)
To switch between 525(U) line, 525(J) line and 625 line
operation modes, proceed as follows.
1
Press the MENU button.
2
Turn the jog dial or shuttle dial to display menu item
013 in the time data display.
3
Hold down the SHUTTLE button, and turn the jog dial
or shuttle dial to set menu item 013 to “on.”
4
Press the SET button.
5
Hold down the SHUTTLE button, and turn the jog dial
or shuttle dial to select the line mode 525(U), 525(J) or
625.
6
Press the SET button.
7
Turn the unit off (move the on/standby switch to the 1
position to put the unit in the standby state).
Next time the unit is turned on (when the unit is put in the
operating state by moving the on/standby switch to the @
position), it operates in the new mode.
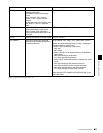
Menu bank operations (menu items B01 to
B13)
This unit allows menu settings to be saved in what are
termed “menu banks.” Saved sets of menu settings can be
recalled for use as required.
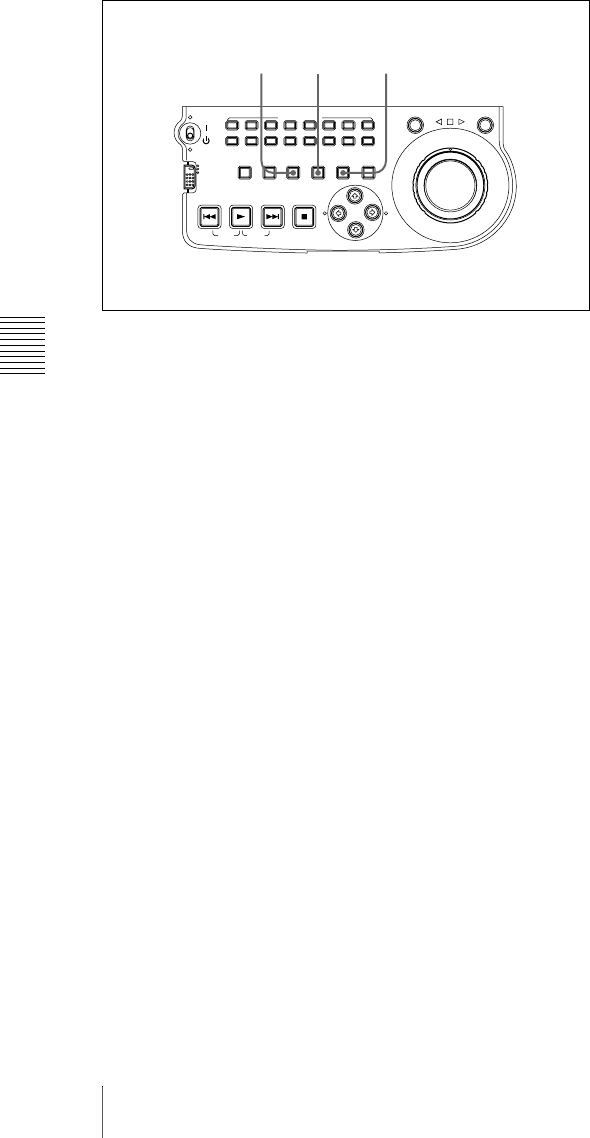
To jump to menu item B01
You can recall any required menu by turning the jog dial
or shuttle dial after pressing the MENU button.
If you press the MENU button first, then the COUNTER
button, you can jump directly to menu item B01 or H01.
The recalled menu item toggles between B01 and H01
every time you press the COUNTER button.
Saving the current active menu settings
Set one of basic menu items B11 “SAVE SETUP BANK-
1” to B13 “SAVE SETUP BANK-3” to “on,” depending
on which of the menu banks you wish to save in, then press
the SET button.
Recalling settings from a menu bank
Set one of basic menu items B01 “RECALL SETUP
BANK-1” to B03 “RECALL SETUP BANK-3” to “on,”
depending on which of the menu banks you wish to recall
from, then press the SET button.
To recall menu bank 4, select “bank-4” under menu item
B20 “RESET SETUP MENU.”
1)
1) This is supported from firmware version 1.4.
Refer to the maintenance manual for more information
about menu bank 4.
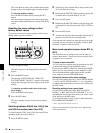
ACCESS
L
R
NETWORK
LOCAL
REMOTE
AUDIO MONITOR
L
R
CH-1
CH-2 CH-3 CH-4 CH-5 CH-6 CH-7 CH-8
SHUTTLE JOG
THUMBNAIL
ESSENCE
MARK
MARK1
MARK2
IN
OUT
MENU
S.SEL
SET
RESET SHIFT
TOP F REV F FWD END
PREV NEXTPLAY STOP
CLIP
MENU
SYSTEM
MENU
SUBCLIP
123