2-18
Section 2 — Installation
NOTE:
The black cables must go in the slot before the red cables; the black cables
are shorter than the red.
9. Secure the cables by placing a lock-washer and hex nut (removed
earlier) over each end of the cables.
10. Similarly, place the pair of new red cables over the proper studs in the
Primary and Redundant Power Supplies and secure the cables with
lock washers and hex nuts.
11. Torque all four hex nuts to 80 inch pounds (6.7 foot pounds) (9 Newton
meters).
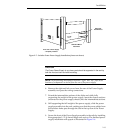
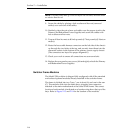
12. Route the loose cable harness connectors on the left side of the chassis
up through the two holes at the top, and securely insert them into the
connector sockets in the bottom of the primary power supply chassis.
(The connectors are keyed for proper alignment.)
13. Check your work to ensure all connections are secure and safe.
14. Replace the rear panel access covers (left and right) on both the Primary
and Redundant Power Supplies.
Switcher Frame Modules
The Model 2200 switcher is shipped fully configured with all the standard
and ordered optional modules already installed in the switcher frame.
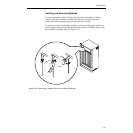
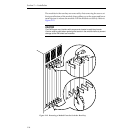
The frame is divided into two “bays,” one in front (A) and one in the rear
(C). The modules slide into the frame bays, plugging into connectors
attached to the main motherboard at the center of the frame. The correct
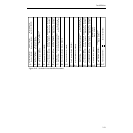
location of each module is indicated on a location strip above the top of the
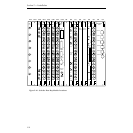
bays. Refer to Figure 2-13 and 2-14 for the location of the modules.


