


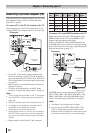
Chapter 5: Setting up your TV
27
3無
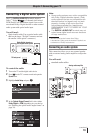
Press p or q to select a channel position to be
skipped and press . A will appear in the
box. To remove the , press again.
To add a channel to the channel memory:
Highlight the checked box next to the channel number
you want to add, and then press to remove the tick.
To block channels in the channel memory:
You can block specific channels. You will not be able to
tune blocked channels unless you unlock them.
( Page 42 Locking channels)
To manually add digital subchannels on a
physical channel:
Use the Channel Numbers and the Dash ( ) on
the remote control to enter the channel number (for
example, 56–1).
If the channel is found, the number will be added to
the list and the box will be unchecked.
If the channel is not found, a message will appear.
Note: Skipped channels cannot be selected with
or ; however, they can still be accessed
using the number keys on the remote control.
To remove encrypted channels from the
channel memory:
If an encrypted channel is accidentally added to the
channel list by programming channels, you can remove
the unwanted encrypted (non-viewable) channel while
you are channel surfing. When you tune to an encrypted
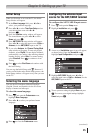
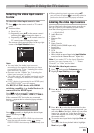
channel, the following message will appear.
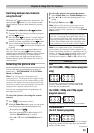
Digital Channel Is Encrypted - Press 1 on remote to remove channel
Press while the message is on the screen to remove
the unnecessary channel from the channel list.
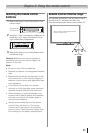
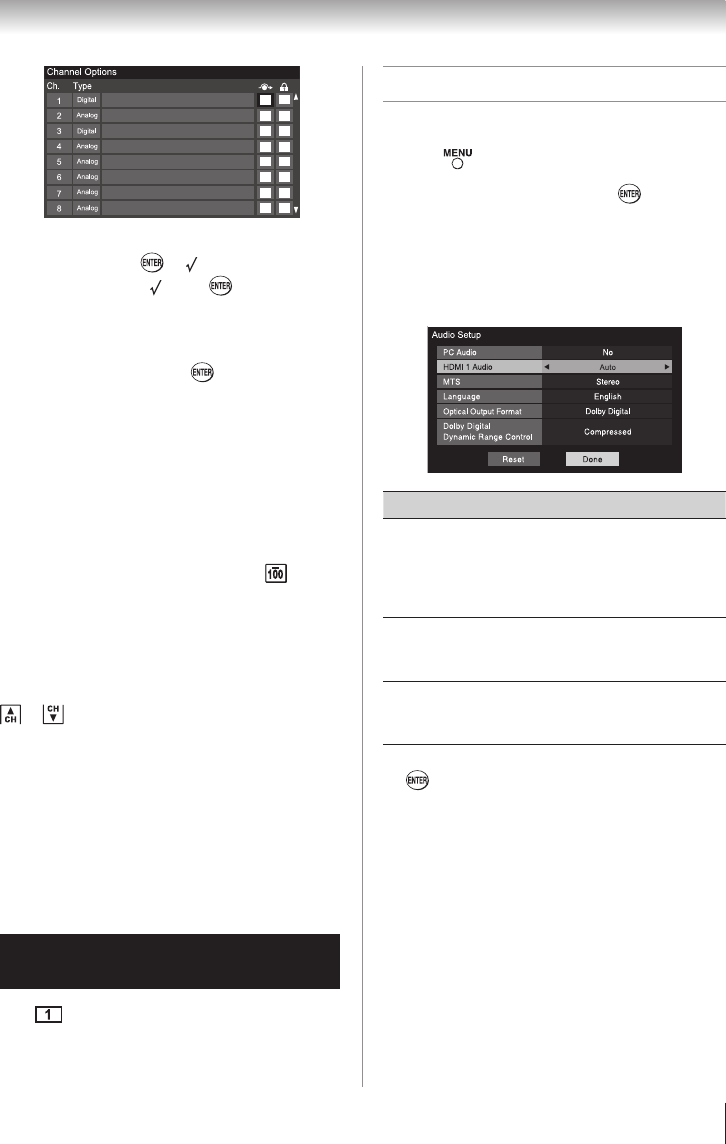
Setting the HDMI
®
audio mode
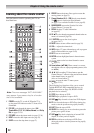
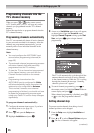
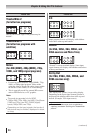
To set the HDMI audio mode:
1無
Press and open the Sound menu.
2無
Highlight Audio Setup and press .
3無
Press p or q to select HDMI 1 Audio and
then press t or u to select the HDMI 1 audio
mode (Auto, Digital, or Analog). (Auto is the
recommended mode.) See “Connecting an HDMI
or DVI device to the HDMI input” ( page 17).
Mode Description
Auto
When viewing the HDMI 1 input, if
digital audio from the HDMI input is
available, it will be output. If not, the
TV will automatically detect and output
analog audio from the PC Audio input.
Digital
When viewing the HDMI 1 input,
digital audio from the HDMI input will
be output.
Analog
When viewing the HDMI 1 input,
analog audio from the PC Audio input
will be output.
4無
To save your settings, highlight Done and press
.
Note: Because the PC and HDMI-1 inputs
share the same set of analog audio inputs, the
PC Audio menu setting influences the HDMI 1
Audio menu setting. If PC Audio is set to “No,”
the HDMI 1 Audio setting changes to “Auto.”
If PC Audio is set to “Yes,” the HDMI 1 Audio
setting is set to “Digital” and is grayed out in
the menu. (Also see item 3 on page 13 and
“Setting the PC Audio” on page 44.)