


19EN 19EN
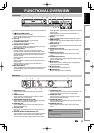
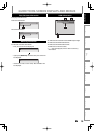
Disc
Management
Recording
PlaybackIntroduction
Connections
Basic Setup
Editing Function Setup
Others
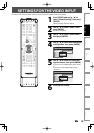
SETTINGS FOR THE VIDEO INPUT
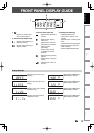
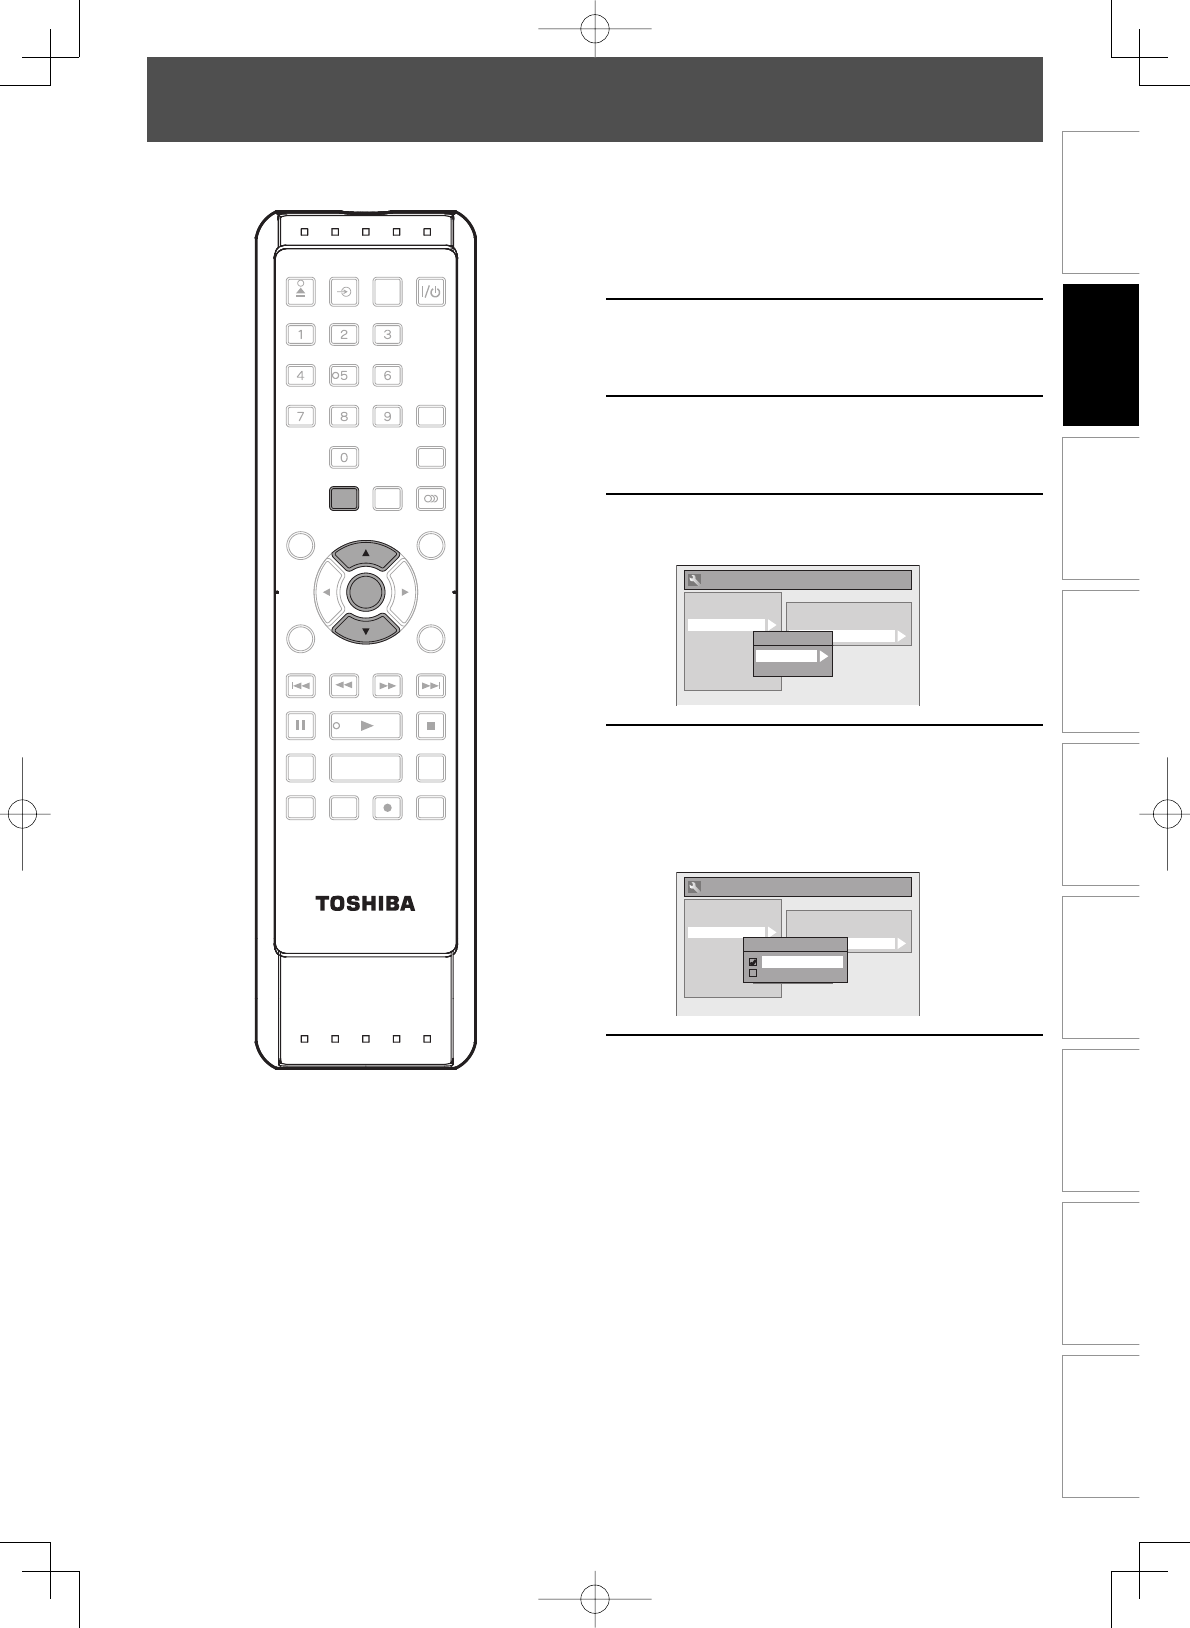
SE-R0265
OPEN/
CLOSE
INPUT
SELECT
HDMI
.@/: ABC
GHI
PQRS TUV
SPACE
SETUP DISPLAY AUDIO
TOP MENU
CLEAR RETURN
MENU/LIST
WXYZ
JKL MNO
DEF
ENTER
SKIP REV
PLAY
REC MODE ZOOMRECREPEAT
PAU SE
TIME SLIP
1.3x / 0.8x PLAY
INSTANT SKIP
STOP
FWD SKIP
TIMER
PROG.
SATELLITE
LINK
ENTER
SETUP
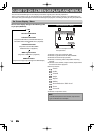
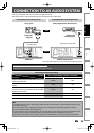
You must let the unit know which video input jack you are using before making a recording.
1
Press [SETUP] and use [K / L] to
select “General Setting”, then press
[ENTER].
“General Setting” menu will appear.
2
Use [K / L] to select “Video”, then
press [ENTER].
Submenu will appear.
3
Use [K / L] to select “Select Video”,
then press [ENTER].
4
Use [K / L] to select desired external
input position, then press [ENTER].
General Setting
Playback
Display
Video
Recording
Clock
DivX
HDMI
Reset All
Progressive Scan
TV Aspect
Video Input
Select Video
L1 (Rear)
L2 (Front)
5
Use [K / L] to select the input jack
type to connect, then press [ENTER].
If you want to use VIDEO IN jack, select “Video
In”.
If you want to use S-VIDEO IN jack, select
“S-Video In”.
General Setting
Playback
Display
Video
Recording
Clock
DivX
HDMI
Reset All
Progressive Scan
TV Aspect
Video Input
Select Video
L1 (Rear)
L2 (Front)
L1 (Rear)
Video In
S-Video In
6
Press [SETUP] to exit.