version 1.0 09192001
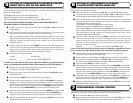
USER’S GUIDE
for NG-ATH33, NG-ATH18, and NG-IR
Make sure to set your TV to channel 2, 3, or 4
as directed by your satellite receiver manual.
This manual makes reference to “mode
keys.” These are the
TV, SAT, DVD, and VCR
keys at the top of the remote control.
After you have programmed the remote, you’ll
use the mode keys to select which device
you want the remote control to operate.
BEFORE YOU
BEGIN
1 3
4
SELECT
TV SAT
POWER
DVD
CANCEL INFO
GUIDE
THEME BROWSE
MENU
CHAN
VOL
RECALL
TV/VIDEO
ENTER
SYS INFO
RECORD
1
2
3
4
5
6
7
8
0
9
MUTE
VCR
PAGE
VIEW
▲
▼
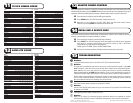
Before you can set up or operate the remote control, you must
install two Alkaline AA batteries.
Remove the battery compartment cover on the back of your
remote control.
Check battery polarity carefully, and install the batteries as
shown in the illustration to the right.
Replace the battery compartment cover.
Option 1
Place the receiver base station in the
room where your equipment is located.
Choose a location near an electrical
outlet on an opposing wall to where the
equipment is installed. Point the front of
the base station towards the equipment.
Try to use your remote from your chosen
location to confirm that it is within the
operating view of your equipment.
Plug the AC power adapter into the wall
outlet. Attach the small plug from the
transformer into the jack on the base station.
The power light should flash and go out. The
light will only go on when it is receiving a
command from the Around the House
Remote. The base station is ready to use.
Option 2
Using Your Control Cables
With the proper connection, you can hide
the receiver base station behind your
entertainment system and still control all
your equipment. First, plug the control cable
into the back of the base station receiver.
The emitter end of the control cable must
then be placed in front of each piece of
equipment you want to communicate with
the remote control sensor. The remote
control sensor is commonly identifiable by a
small plastic window.
You may have to try different locations for
optimum performance. You can permanently
attach the emitters using the peel-and-stick
backing. This attachment should not
interfere with normal operation.
INSTALL
BATTERIES
2
RECEIVER BASE
INSTALLATION
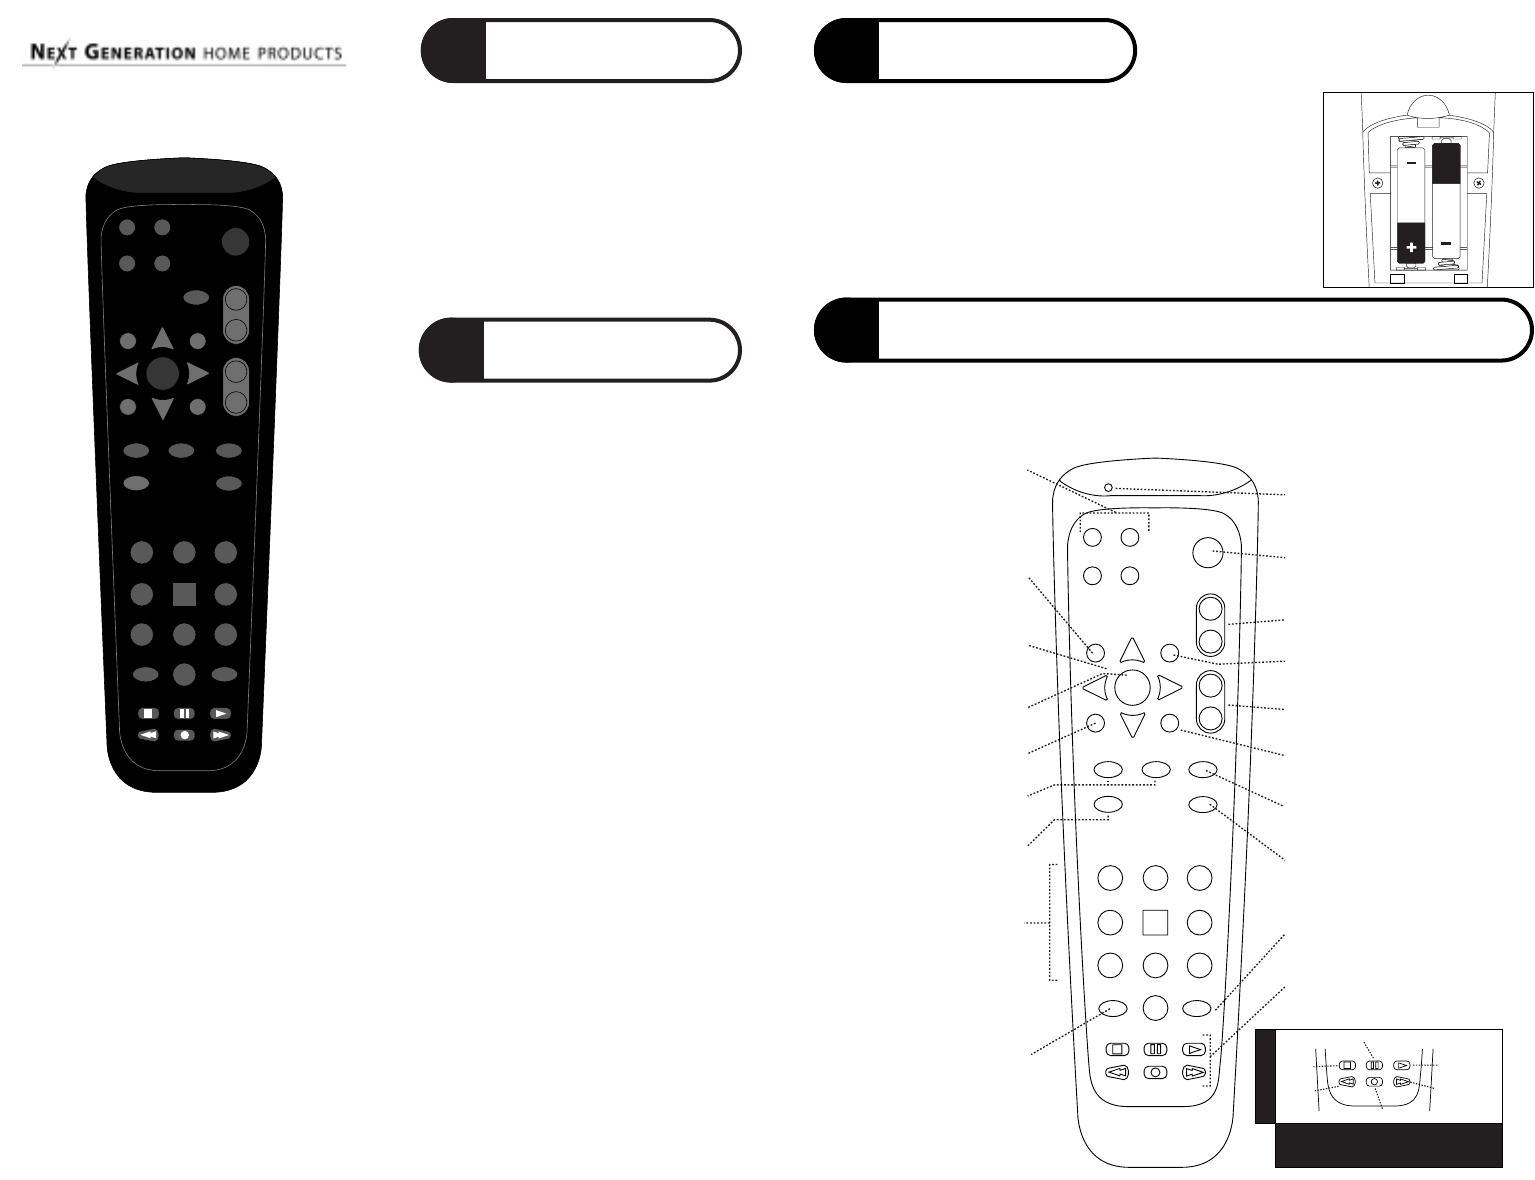
KNOW YOUR REMOTE
b
c
d
VIEW exits out of
on-screen menus
NUMBER KEYS allow
direct access to specific
channels and menu options
CHAN changes the
channel up and down
MODE KEYS allow you to
select which device your remote
will operate. They are also used
to setup the remote control
RECORD does not operate VCR
record. Use the VCR Record
button (see illustration below)
INFO displays channel and
program information
CANCEL cancels the
current procedure
SELECT chooses the
highlighted item in the menu
PAGE moves the menu
forward and backward
one page
RECALL tunes to the last
channel that was viewed
POWER used in conjunction with
the device Keys, the Power key
lets you turn devices on and off
SIGNAL LED lights up when the
remote is transmitting signal, and
during certain setup procedures
VOL turns the
volume up and down
GUIDE displays the
program guide
FOUR-WAY CURSOR KEYS
allow you to navigate through
the on-screen menus
MENU brings up the
main on-screen menu
SYS INFO displays information
about the satellite receiver
TV/VIDEO switches inputs
on the Satellite Receiver and
TV when in SAT or TV mode;
and acts as the TV/VCR button
when in VCR mode
VCR KEYS perform standard
VCR functions (see illustration below)
SELECT
CHAN
VOL
1
2
3
4
6
7
8
0
9
5
TV/VIDEO SYS INFO
ENTER
▲
▼
RECALL
RECORD
PAG E
VIEW
INFO
GUIDE MENU
TV SAT
POWER
DVD VCR
CANCEL
BROWSE
THEME
PAUSE
PLAY
REWIND
FAST FORWARD
STOP
RECORD
VCR/DVD KEYS
To initiate recording on the VCR,
press RECORD twice.
The diagram below shows the functions of special keys for your satellite receiver. Refer to your
satellite receiver manual for descriptions of specific functions.
NOTE: keys are marked for Dish
Network
®
functions. For other satellite receivers, keys may have different functions.
This device complies with Part 15 of the FCC Rules. Operation is
subject to the following two conditions: (1) this device may not
cause harmful interference, and (2) this device must accept any
interference received, including interference that may cause
undesired operation.
This equipment has been tested and found to comply with the
limits for a Class B digital device, pursuant to Part 15 of the FCC
Rules. These limits are designed to provide reasonable protection
against harmful interference in a residential installation. This
equipment generates, uses and can radiate radio frequency
energy and, if not installed and used in accordance with the
instructions, may cause harmful interference to radio
communications. However, there is no guarantee that interference
will not occur in a particular installation. If this equipment does
cause harmful interference to radio or television reception, which
can be determined by turning the equipment off and on, the user is
encouraged to try to correct the interference by one or more of the
following measures:
• Reorient or relocate the receiving antenna.
• Increase the separation between the equipment and receiver.
• Connect the equipment into an outlet on a circuit different from
that to which the receiver is connected.
• Consult the dealer or an experienced radio/TV technician for help.