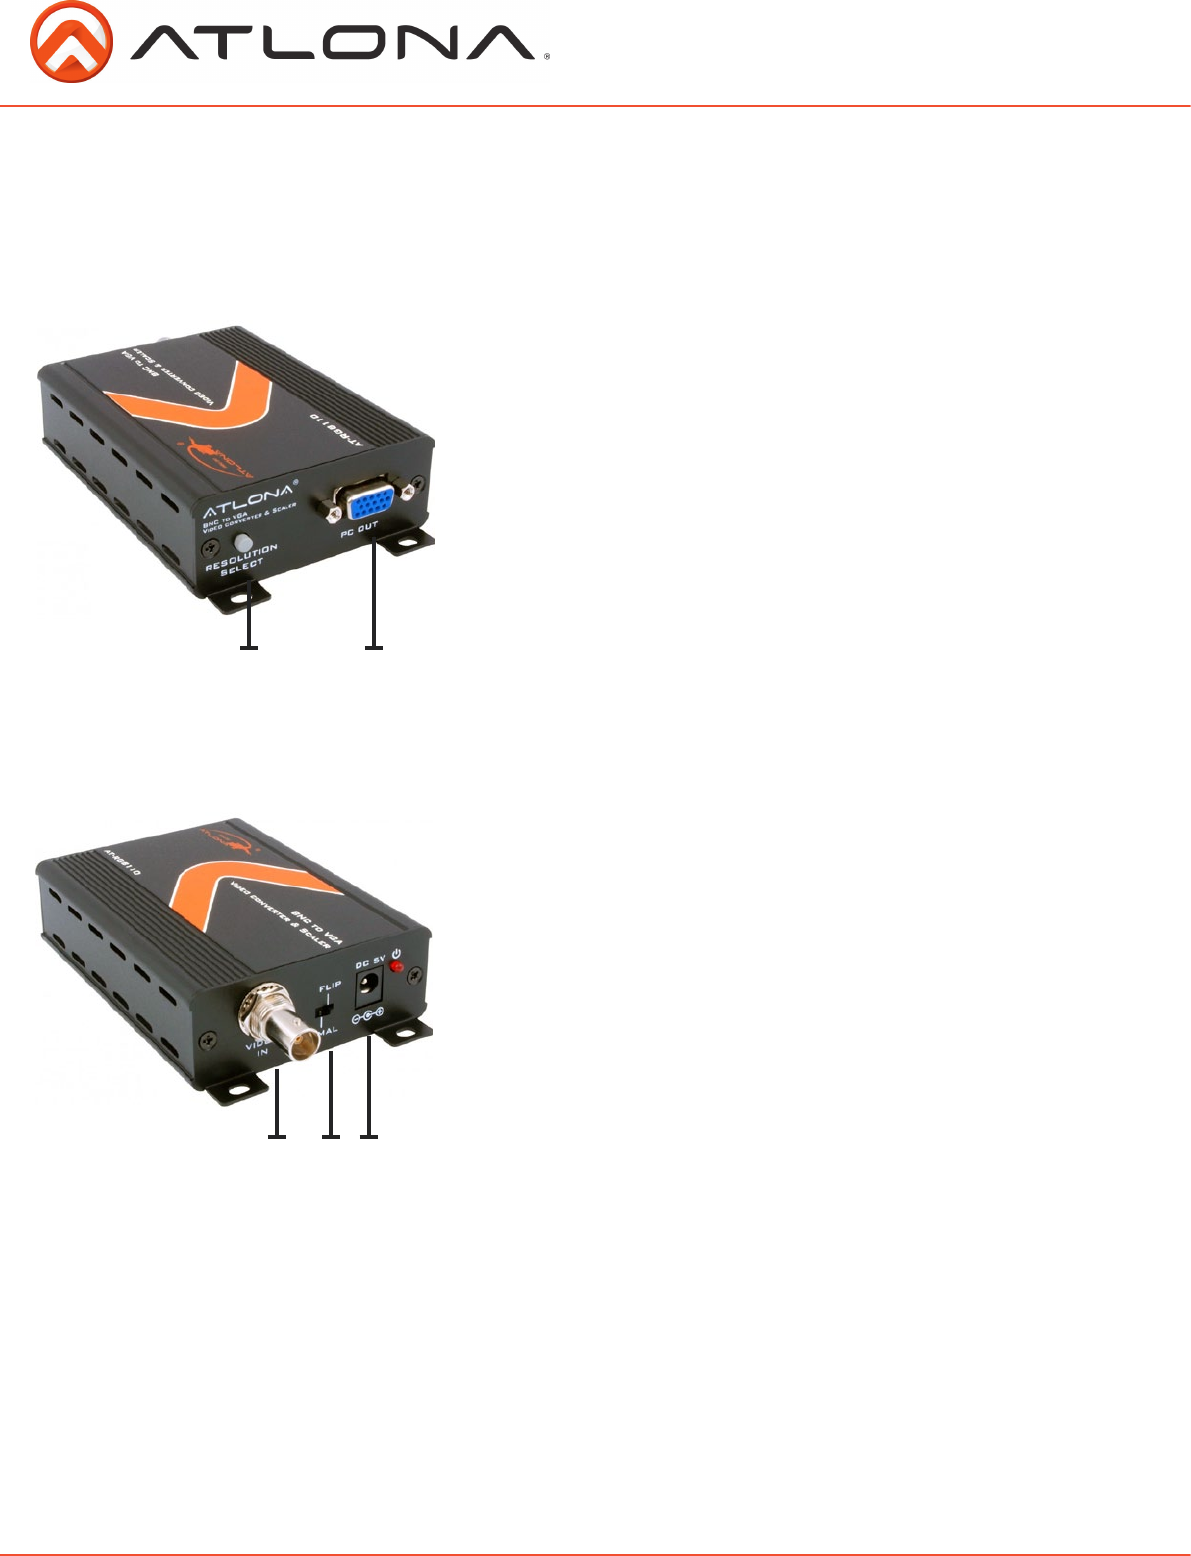
5.1. Front Panel
1. Resolution select: Press and release the grey button re-
peatedly to select the highest resolution your computer moni-
tor will accept. Your options are 640 X 480 (VGA), 800 X 600
(SVGA), 1024 X 768 (XGA), 1440 X 900 (WXGA+)
The AT-RGB110 will display the output resolution on the monitor
each time the button is pressed.
2. PC out: Connect the RGB output port of the AT-RGB110
to the RGB input port of your computer monitor. You will need a
RGB (HD15 male) to connect to the AT-RGB110.
5.2. Rear Panel
1. Composite video (BNC) in: Connect the input port of the
AT-RGB110 to the output port of a source such as a security cam-
era or DVD. Use the included BNC to RCA adaptor when using a
cable with an RCA connector.
2. Flip/Normal dip switch: Select Flip functionality when
using a security camera that is mounted upside down on a ceil-
ing. Electronically flips the image sent from a camera so that the
image isn’t upside down when viewed on a monitor.
3. Power: Plug the 5V DC power supply into the unit and
connect the adaptor to AC wall outlet. Green light is on when
connected.
PANEL DESCRIPTION
1 2
1 2 3
atlona.com
Toll free: 1-877-536-3976
Local: 1-408-962-0515
3


