


Setting System (continued)
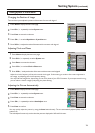
Changing the Position of Image
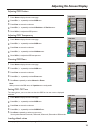
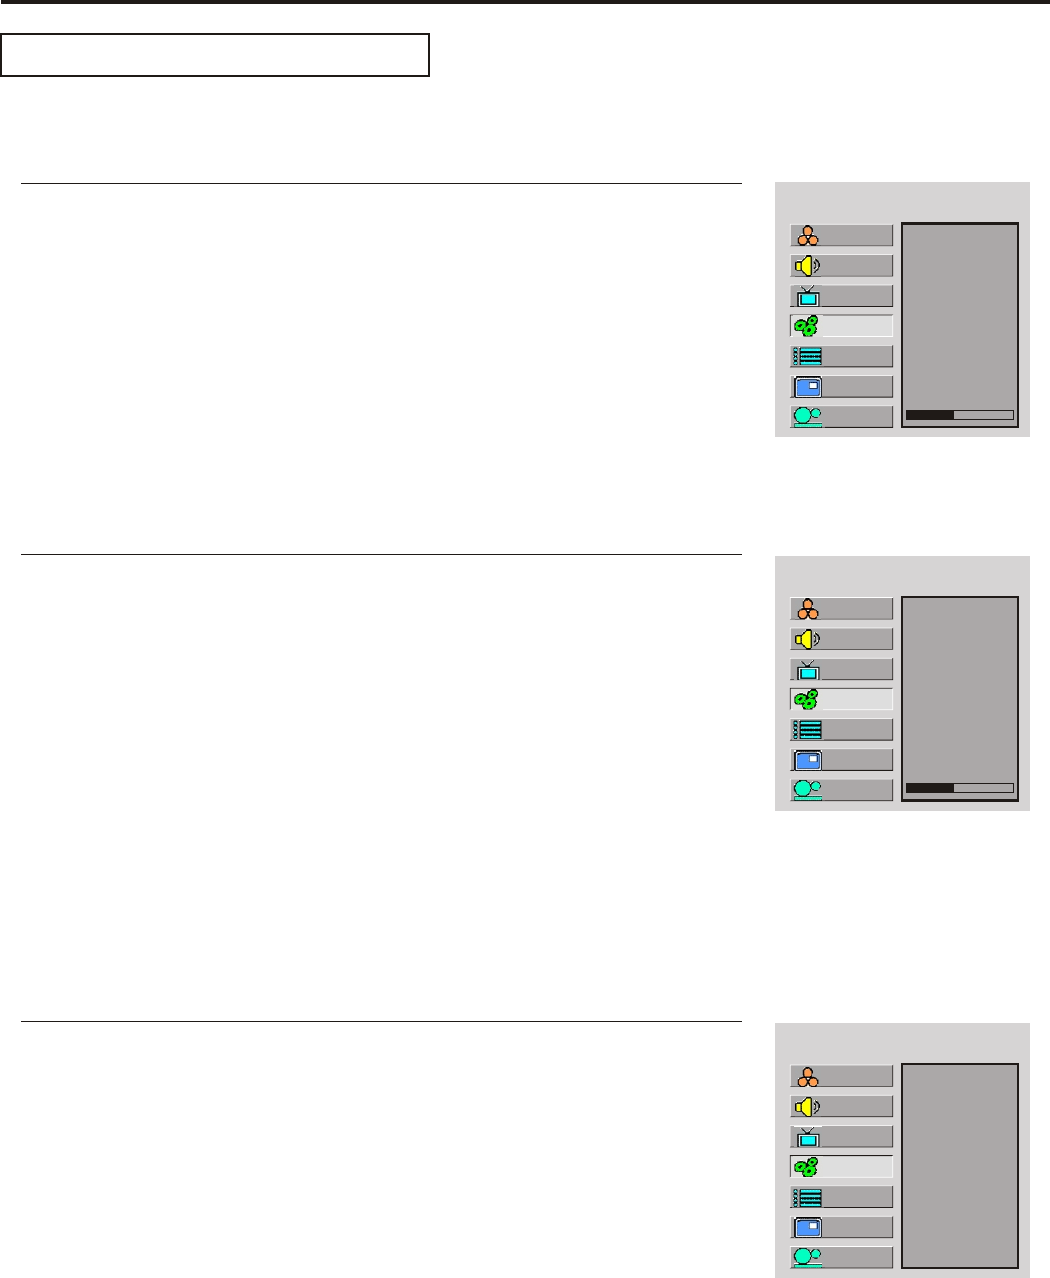
Press Menu to display the menu main page.
1
Press CH5/6 to select H position or V position item.
4
Press VOL+/- to adjust the value of the item until the screen is well-aligned.
5
The unit allows you to adjust the position of the screen if it is not well-aligned.
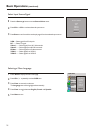
MAIN MENU
H Position
V Position
Clock
Phase
Auto Adjust
Aspect Ratio
Resolution
Default
40
Press CH repeatedly to select System item.5/6
2
Press Enter to access the submenu.
3
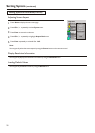
Setting System In D-Sub Mode
Adjusting Clock and Phase
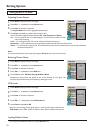
MAIN MENU
H Position
V Position
Clock
Phase
Auto Adjust
Aspect Ratio
Resolution
Default
40
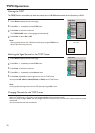
Press Menu to display the menu main page.
1
Press CH5/6 to select Clock or Phase item.
4
Press VOL+/- to adjust the value of the item until the screen is well-aligned.
5
Press CH repeatedly to select System item.5/6
2
Press Enter to access the submenu.
3
Adjust the clock frequency of the set's internal clock signal. If shimmering or rainbow-like noise is apparent in
the image, try adjusting the clock frequency setting.
You may find that images blur, depending on the clock phase of your PC's Processor. If you experience blurring ,
you can obtain a clearer image by adjusting the phase setting.
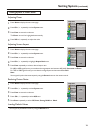
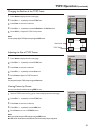
You may quickly adjust the picture by using the Auto button directly. The unit automatically adjusts phase, clock or
position, etc.
The Auto Adjust function only works when the picture is displayed in 16:9 with full screen.
Adjusting the Picture Automatically
Press Menu to display the menu main page.
1
Press CH repeatedly to select System item.5/6
2
Press Enter to access the submenu.
3
Press CH5/6 repeatedly to select Auto Adjust item.
4
Press Enter to confirm.
5
MAIN MENU
H Position
V Position
Clock
Phase
Auto Adjust
Aspect Ratio
Resolution
Default
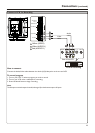
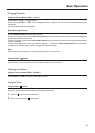
Setup
Picture
Sound
CH
System
OSD
TVPC
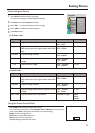
Setup
Picture
Sound
CH
System
OSD
TVPC
Setup
Picture
Sound
CH
System
OSD
TVPC
24