2. Configuration diagrams
2. CONFIGURATION DIAGRAMS
2.1 Ov erview
CAUTION: The first tile after the CompactLink must be correctly connected to the power and functionally OK,
otherwise the wall will not start up !
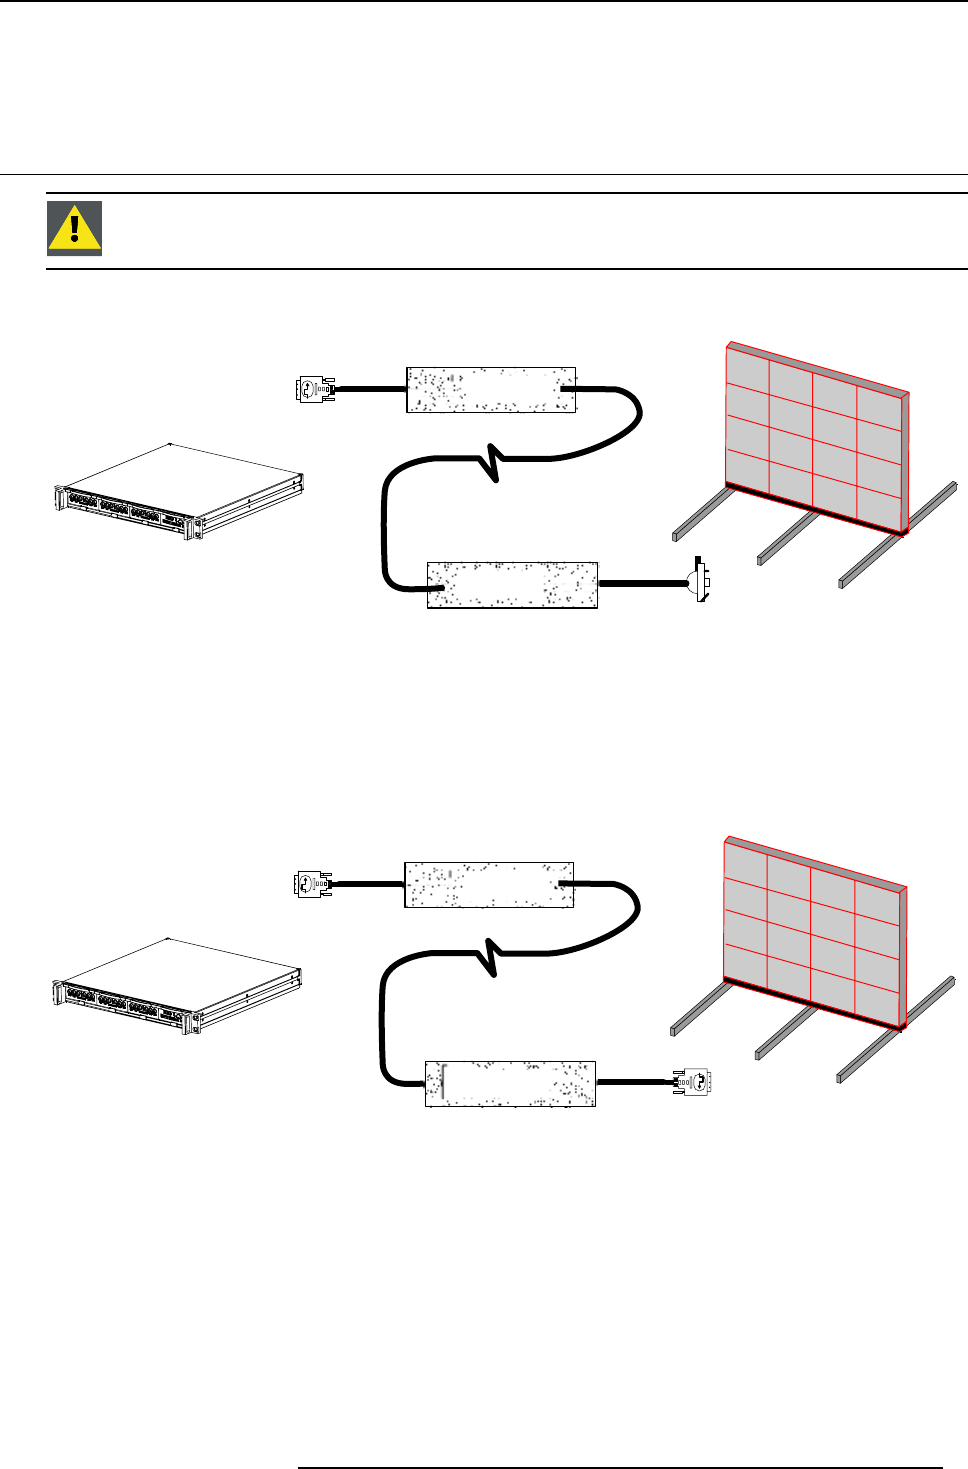
Between Digitizer and outdoor LEDwall
Transmitter
Receiver
A
B
C
D
C
E
F
Image 2-1
Digitizer - CompactLink - Outdoor ledwall
A Digitizer
B DVI - DVI 600mm cable
C Waterproof housing
D CompactLink 50
E DVI – MDR 26 waterproof input cable
F Outdoor LEDwall (DLite, SLite, OLite)
Between Digitizer and indoor LEDwall
Transmitter
A
B
C
D
C
E
F
Receiver
Image 2-2
Digitizer - CompactLink - Indoor ledwall
A Digitizer
B DVI - DVI 600mm cable
C Waterproof housing
D CompactLink 50
E DVI – DVI cable 600mm
F Indoor LEDwall (ILite)
R5976867 COMPACTLINK 12/04/2007
3


