


Operation 19
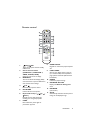
Operation
Starting up the projector
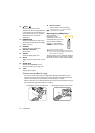
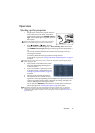
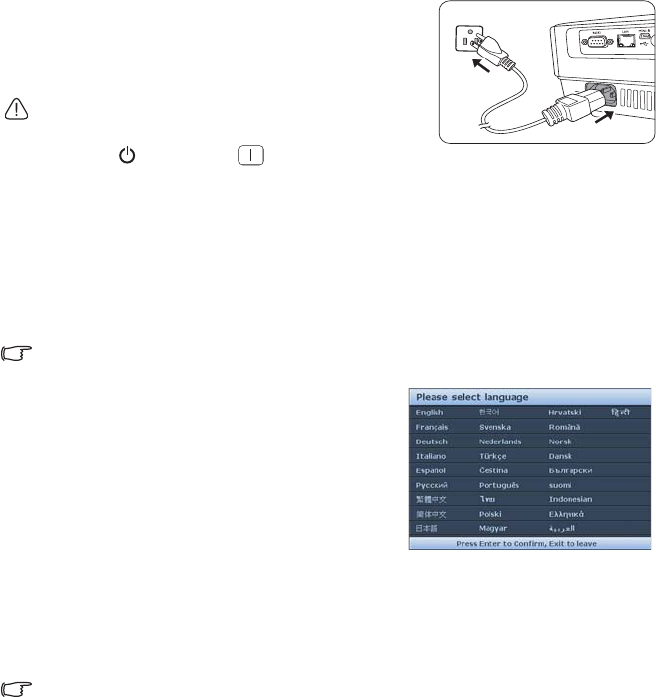
1. Plug the power cord into the projector and into a
power outlet. Turn on the power outlet switch
(where fitted). Check that the POWER indicator
light on the projector lights orange after power has
been applied.
Please use the original accessories (e.g. power cord) only with the
device to avoid possible dangers such as electric shock and fire.
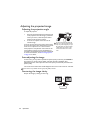
2. Press POWER or ON to start the
projector. As soon as the lamp lights up, a "Power On Ring Tone" will be heard.
The POWER indicator light flashes green and stays green when the projector is
on.
The start up procedure takes about 30 seconds. In the later stage of start up, a
startup logo is projected.
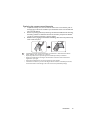
(If necessary) Rotate the focus ring to adjust the image clearness.
To turn off the ring tone, see "Turning off the Power On/Off Ring Tone" on page 34
for details.
If the projector is still hot from previous activity, it will run the cooling fan for approximately 90 seconds
before energizing the lamp.
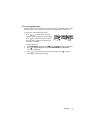
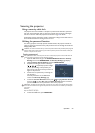
3. If the projector is activated for the first time,
select your OSD language following the on-
screen instructions.
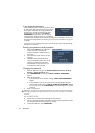
4. If you are prompted for a password, press the
arrow keys to enter a six-digit password. See
"Utilizing the password function" on page 23
for details.
5. Switch all of the connected equipment on.
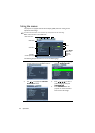
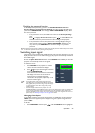
6. The projector will start to search for input
signals. The current input signal being scanned displays in the upper left corner of the
screen. If the projector doesn't detect a valid signal, the message “No Signal” will
continue displaying until an input signal is found.
You can also press SOURCE on the projector or remote control to select your
desired input signal. See "Switching input signal" on page 25 for details.
If the frequency/resolution of the input signal exceeds the projector's operating range, you will see the
message “Out of Range” displayed on the background screen. Please change to an input signal which is
compatible with the projector's resolution or set the input signal to a lower setting. See "Timing chart" on
page 60 for details.