


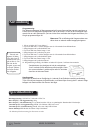
| 3 |
LVM-601.2
MADE IN SWEDEN
Assembly
The wall mount with a TV fitted are rather heavy,
so make sure that the wall you intend to mount it
on is solid. If not, you have to reinforce the wall
with a minimum 15mm plywood board in order
to make a safe installation. Pay attention that
screws are not included for mounting the
bracket in the wall. Screw should have maxi-
mum Ø 6mm, the head should have Ø of 12-16mm. Minimum 150 kg safe working load/
screw!
Before you start, make sure that you have the following tools available:
Drilling machine, drills, Philips 2 Screwdriver, (Pozidrive 2 Screwdriver), water level,
wrench (or 8 & 10mm fixed tool). Pay attention to electrical screwdriver may not be used
when assembly the wall mount.
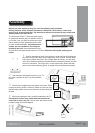
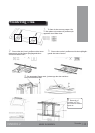
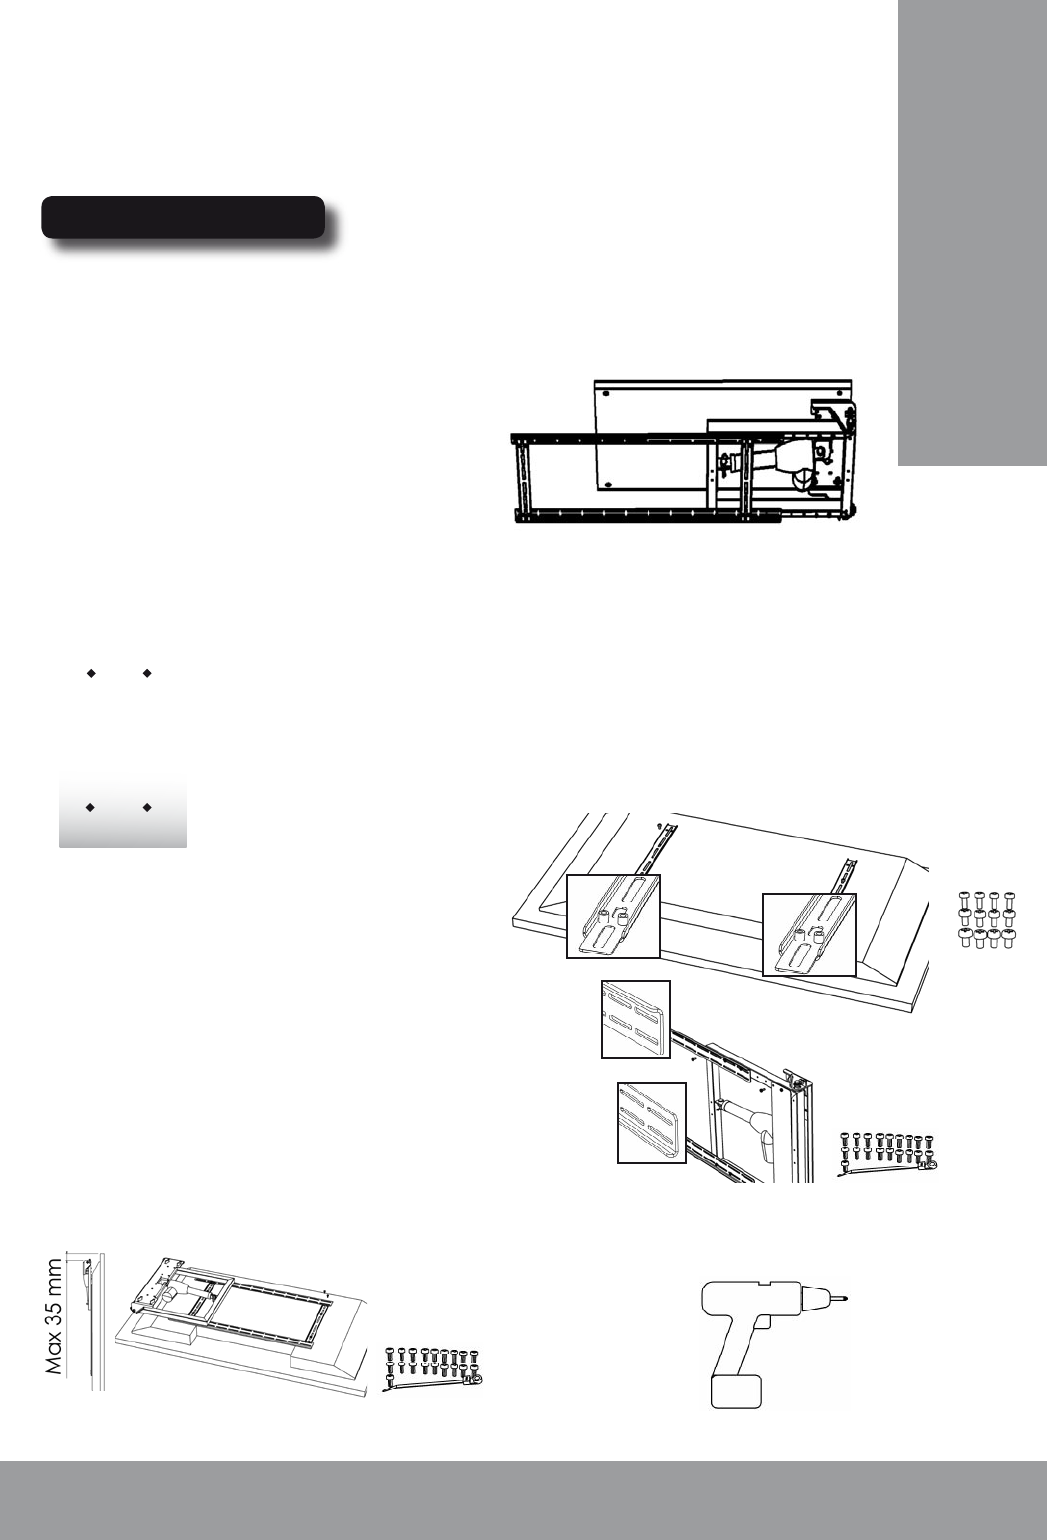
2. Use the screw that match the size of your TV
to fix the U-profiles on the TV as the illustration
shows.
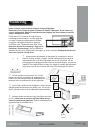
3. Fasten the L-profiles and cover plate to the frame. Three
screws on each L-profile is minimum. Make sure that you use
the self tapping M4 screws as the frame do not have any lead
threads.
X
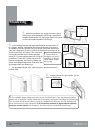
4. Mount the package to the U-profiles fastened on the TV.
Pay attention to have max 35mm distance between the
outer end of mount and TV. If this is more, the mount will not
be able to open the full 90 degrees.
M4 (4+4+4 pcs)
M5 (4+4+4 pcs)
M6 (4+4+4 pcs)
M8 (4+4+4 pcs)
English
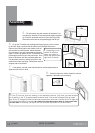
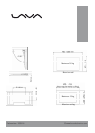
1. Use the template on back of the gift box to mark the four fixing holes for
the mount on the wall. Make sure to align them 100% vertical. Drill the holes
and securely fasten the screws. Do not tight them all the way, you will need
about 5mm clearance between the head and the wall when you hook the wall
mount on the screws. For larger units, or less stable walls, please also drill
some of the centre fastening points. (Located close to the actuator bracket).