


MODEL: CDR1660 / CDR0860 / CDR0460 H.264 STAND-ALONE DVR USER MANUAL V 2.6
67
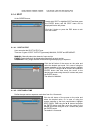
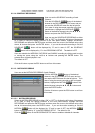
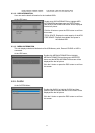
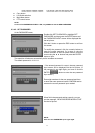
8.2.1.6. ALARM RECORDING
User can set the ALARM RECORDING of each Channel.
Click the ALARM (
) button of the desired
channel in the RECORDING SETUP menu and you
can see the SENSOR menu like the left picture.
Or in case of using the remote controller or the front
panel buttons, highlight the ALARM (
) button
of the desired channel using the ▲,▼,◀, ▶ buttons
and press the ENTER button.
Click the X button or press the ESC button to exit
from this screen.
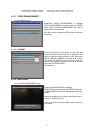
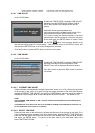
8.2.1.6.1. ALARM RECORDING
Select the ALARM RECORDING to either “ON” or “OFF” by clicking the left button of the mouse.
Or in case of using the remote controller or the front panel buttons, highlight ALARM
RECORDING and press the ENTER button and then move the cursor to the desired value using
the ▲, ▼ buttons and press
the ENTER button. If you set the alarm recording to ON, the
ALARM (
) button will be displayed by “O” and in case of OFF, the ALARM( ) button
will be displayed by “X” in the RECORDING SETUP. The default is ON.
Click the
button in the RECORDING SETUP menu to enable or disable all channels.
8.2.1.6.2. PRE RECORDING TIME
Refer to chapter 8.2.1.5.2. PRE RECORDING TIME
on page 66.
8.2.1.6.3. POST RECORDING TIME
Refer to chapter 8.2.1.5.3. POST RECORDING TIME
on page 66.
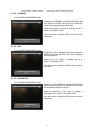
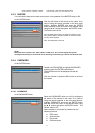
8.2.1.6.4. SENSOR INPUT TYPE
Select the sensor input type or the type of the circuit to be used with each channel by clicking the
left button of the mouse. Or in case of using the remote controller or the front panel buttons,
highlight SENSOR INPUT TYPE and press the ENTER button and then move the cursor to the
desired value using the ▲, ▼ buttons and press
the ENTER button.
Available options are normally closed (NC), normally open (NO) and not used.
The default value is “NORMAL OPEN’.
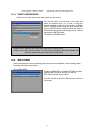
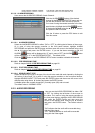
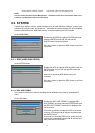
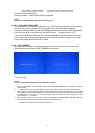
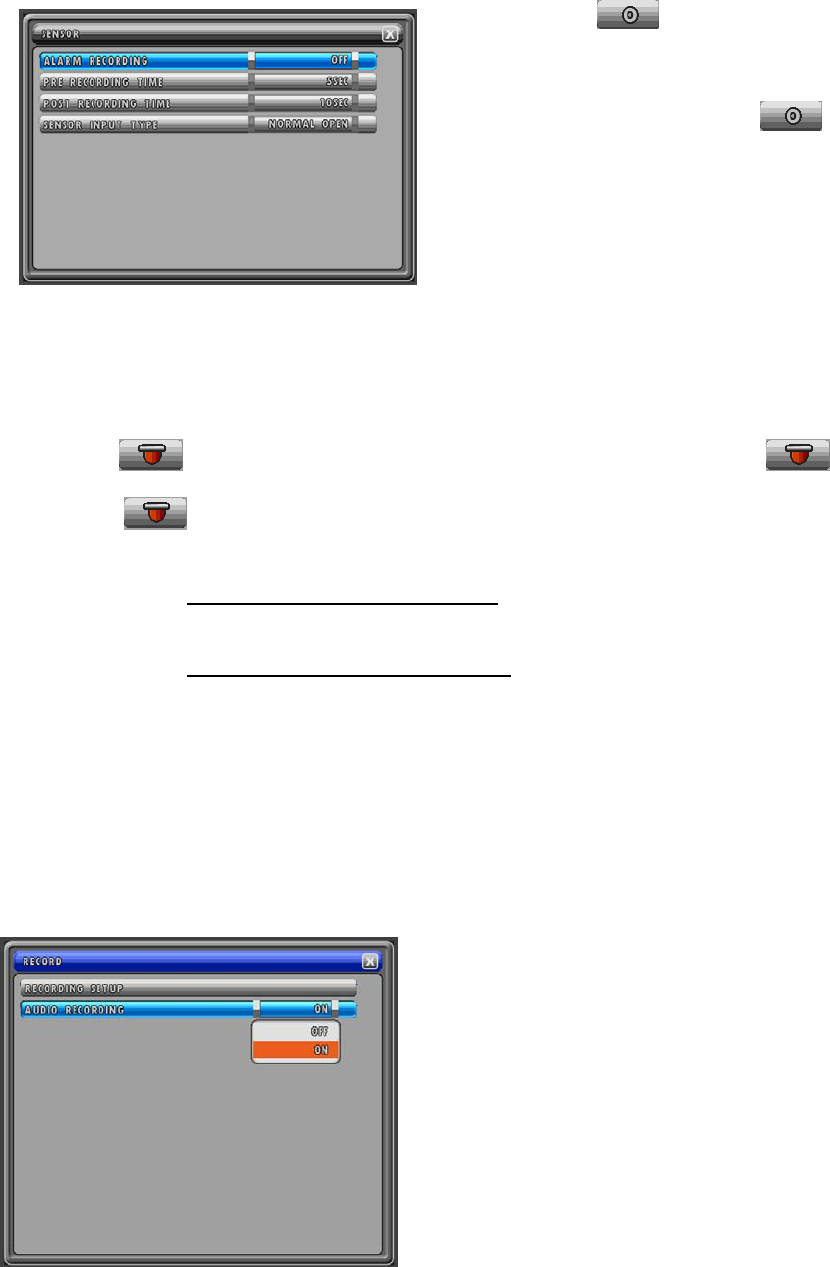
8.2.2. AUDIO RECORDING
User can set the AUDIO RECORDING to either “ON”
or “OFF “by clicking the left button of the mouse on
the value. Or in case of using the remote controller or
the front panel buttons, highlight AUDIO RECORDING
and press the ENTER button and then move the
cursor to the desired value using the ▲, ▼ buttons
and press
the ENTER button. The Default value is
“OFF”
“ON” indicates that the audio will be recorded along
with the Video signal.
“OFF” indicates that the no audio will be recorded
along with the Video signal.