The channels you no longer receive or seldom watch
can be deleted from the memory. (Of course, you
can add the deleted channel into the memory again.)
1 Select “CHANNEL SET UP”
Press the MENU button on the
remote control.
Press the PLAY/
K or STOP/L but-
ton to point to “CHANNEL SET
UP”.
Then press the F.FWD/
B button.
2 Select “ADD/DELETE CH”
Press the PLAY/K or STOP/L but-
ton to point to “ADD/DELETE
CH”.
Press the F.FWD/
B button.
3 Enter the desired channel number
Press the PLAY/K or STOP/L but-
ton until your desired channel num-
ber appears. (You can also use the
number buttons or the CHANNEL
K/L button to enter it) (Example:
CH8)
•
You must precede single-digit channel numbers
with a zero (Example: 02 ... 09).
•
When selecting cable channels which are higher
than 99, press the +100 button first, then press the
last two digits. (Example: to select channel 125,
first press the +100 button then press “2” and “5”).
4 Delete (or add) it from (into) memory
Press the F.FWD/B or REW/s button. The channel
number changes to light red. The channel is deleted
from memory.
•
To delete another channel, repeat steps [3] and [4].
•
If you press the F.FWD/B or REW/s button
again, the channel is memorized again.
5 Exit the channel setup mode
Press the MENU button on the remote control to
return to TV mode.
NOTE: To confirm that channel(s) has been deleted
or added, press the CHANNEL
K or L button.
- 13 - EN
9I03
DELETING (OR ADDING)
CHANNEL(S)
Added channel: Light blue.
Deleted channel: Light red.
CHANNEL SET UP
Make sure ...
•
Press the POWER button to turn on the TV/VCR.
1 Select “CHANNEL SET UP”
Press the MENU button on the
remote control.
Press the PLAY/
K or STOP/L but-
ton to point to “CHANNEL SET
UP”.
Then press the F.FWD/
B button.
2 Begin auto preset
Press the PLAY/K or STOP/L but-
ton to point to “AUTO CH PRO-
GRAMMING”.
Then press the F.FWD/
B button.
The tuner scans and memorizes all
the active channels in your area.
3 After scanning
The tuner stops on the lowest memorized channel.
•
When AUTO CH PROGRAMMING is activated
where there is no TV signal input, “NO TV SIG-
NALS” will appear on the display after the com-
pletion of the channel scanning.
•
The TV/VCR may recognize TV channels to be
CATV channels by the receiving conditions. In this
case, try auto preset again in the fine receiving
conditions.
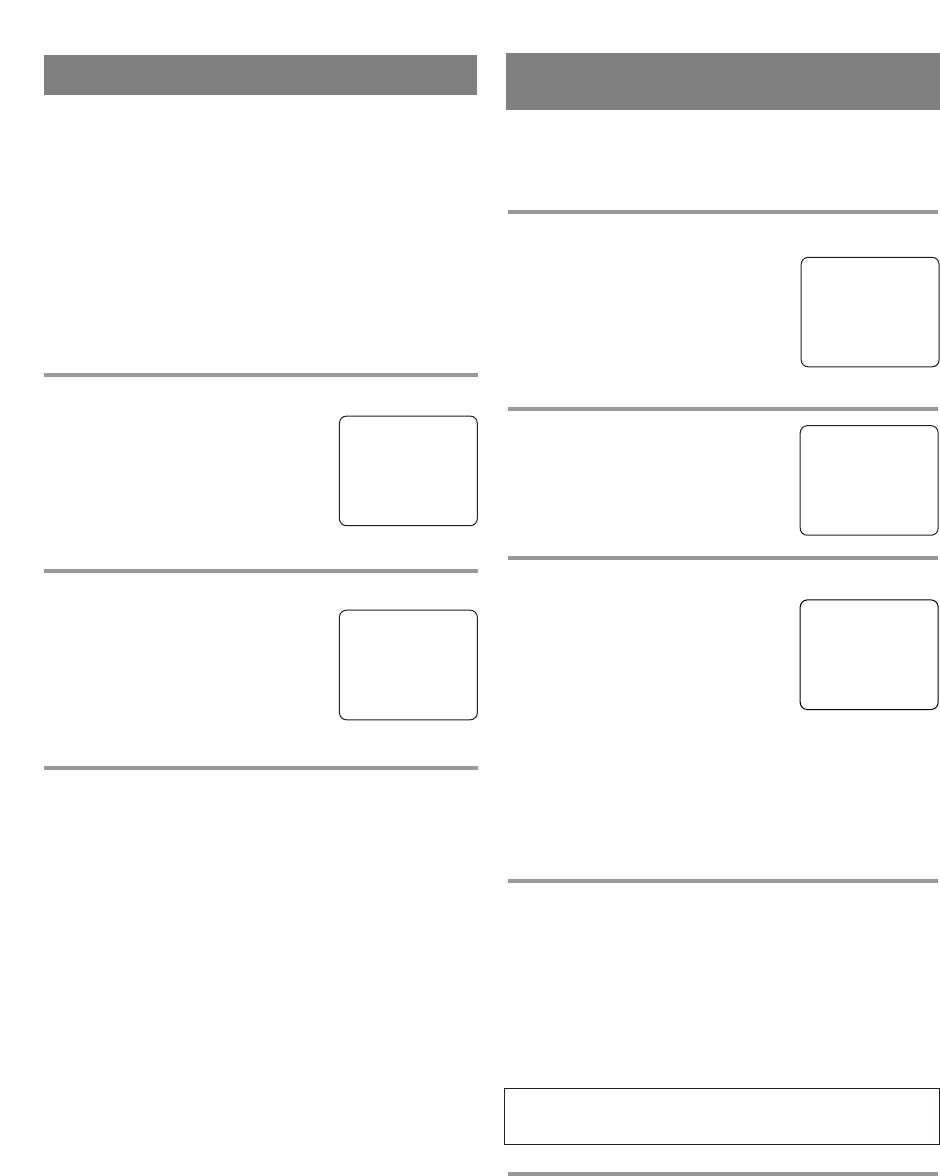
– M E N U –
TIMER PROGRAMMING
PICTURE CONTROL
SETTING CLOCK
B CHANNEL SET UP
USER’S SET UP
V-CHIP SET UP
LANGUAGE [ENGLISH]
CAPTION [OFF]
ZERO RETURN
TIME SEARCH
– CHANNEL SET UP –
B ADD / DELETE CH (CATV)
AUTO CH PROGRAMMING
08
ADD / DELETE
– M E N U –
TIMER PROGRAMMING
PICTURE CONTROL
SETTING CLOCK
B CHANNEL SET UP
USER’S SET UP
V-CHIP SET UP
LANGUAGE [ENGLISH]
CAPTION [OFF]
ZERO RETURN
TIME SEARCH
– CHANNEL SET UP –
ADD / DELETE CH (CATV)
B AUTO CH PROGRAMMING
You can program the tuner to scan all the channels
you receive in your area.
NOTE: Channel setup is NOT needed when connect-
ed to a cable box or satellite box. Just select the
TV/VCR channel selector to the output channel of
the cable box or satellite box (Ex CH3), then select
the channel to be viewed on the Cable Box or
Satellite Box.


