


- 11 - EN
9I03
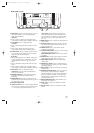
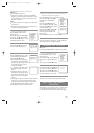
TO SELECT A DESIRED CHANNEL
You can select the desires channel by using the
CHANNEL K or L button on or directly pressing
the number buttons on the remote control.
Note for using the number buttons:
•
When selecting cable channels which are higher
than 99, press the +100 button first, then, press the
last two digits. (Example: to select channel 125,
first press the +100 button then press “2” and “5”).
•
You must proceed single-digit channel numbers
with a zero (Example: 02 ... 09).
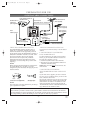
The TV/VCR clock must be set correctly before
VCR timer recording is possible. It is suggested that
the clock be set manually when first setting up the
TV/VCR. Then, setup auto clock correction which
will periodically correct the setting if necessary.
NOTE: If you cannot receive a station with time sig-
nals, auto clock setting cannot be performed. Use
manual setting only.
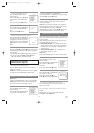
MANUAL CLOCK SETTING
Make sure ...
•
The TV/VCR is turned on.
In the example below, the clock is to be set to:
DATE May 7th, 2002
SETTING TIME 5:40PM
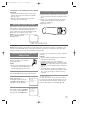
1 Select “SETTING CLOCK”
Press the MENU button on the
remote control.
Press the PLAY/K or STOP/L but-
ton to point to “SETTING
CLOCK”.
Then, press the F.FWD/B button.
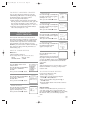
2 Select “MANUAL CLOCK SET”
Press the PLAY/K or STOP/L but-
ton to point to “MANUAL
CLOCK SET”.
Then, press the F.FWD/B button.
3 Select the month
Press the PLAY/K or STOP/L but-
ton until your desired month
appears. (Example: May
→ 05)
Then, press the F.FWD/
B button.
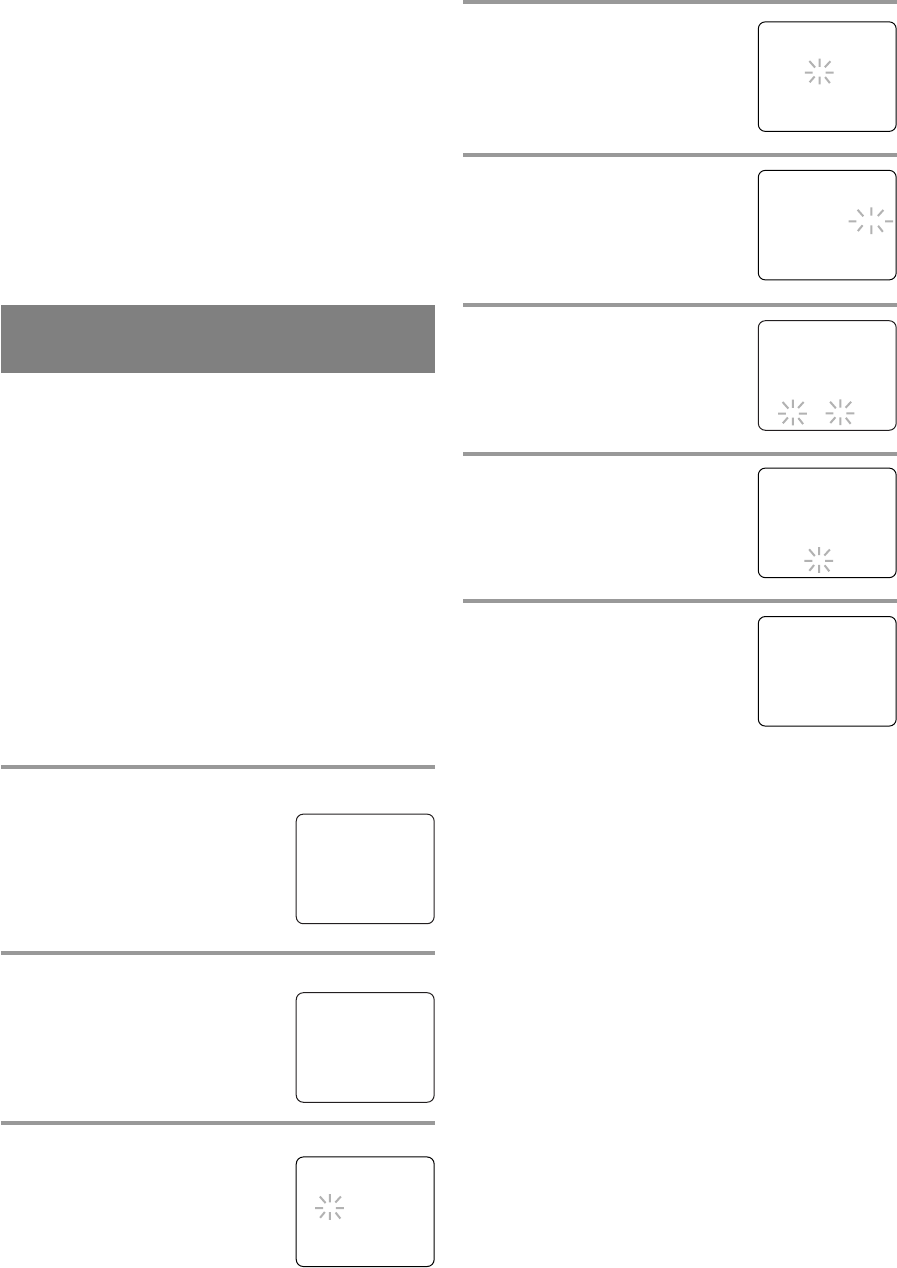
CLOCK SET UP
(AUTO / MANUAL)
– SETTING CLOCK –
AUTO CLOCK [ON]
AUTO CLOCK CH SEARCH
AUTO CLOCK CH [ ]
B MANUAL CLOCK SET
D.S.T. [OFF]
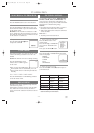
4 Select the day
Press the PLAY/K or STOP/L but-
ton until your desired day appears.
(Example: 7th → 07)
Then, press the F.FWD/B button.
5 Select the year
Press the PLAY/K or STOP/L but-
ton until your desired year appears.
(Example: 2002)
Then, press the F.FWD/
B button.
6 Select the hour
Press the PLAY/K or STOP/L but-
ton until your desired hour appears.
(Example: 5, PM)
Then, press the F.FWD/B button.
7 Select the minute
Press the PLAY/K or STOP/L but-
ton until the desired minute
appears. (Example: 40)
8 Start the clock
Press the MENU button on the
remote control.
Although seconds are not displayed,
they begin counting from 00 when
you press the MENU button on the remote control.
Use this feature to synchronize the clock with the
correct time.
NOTE:
When unplugging the AC cord or if there is a power
failure for more than 3 seconds, you may have to
reset the clock.
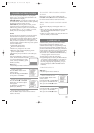
TO CHANGE CLOCK SETTING
If you want to change the clock,
1)Follow steps [1] and [2].
2)Select where you want to change using the
F.FWD/B or REW/s button.
3)Enter correct numbers using the PLAY/
K or
STOP/
L button.
4)Press the MENU button on the remote control to
start the clock.
PLEASE NOTE:
If there is no local PBS station in your area or on
your cable system, select “AUTO CLOCK” and
press the F.FWD/B or REW/s button to turn [OFF]
this function. Then you can manually adjust the
clock.
– MANUAL CLOCK SET –
MONTH DAY YEAR
0 5 / 0 7 TUE 2 0 0 2
HOUR MINUTE
0 5 : – – PM
– MANUAL CLOCK SET –
MONTH DAY YEAR
0 5 / 0 7 TUE 2 0 0 2
HOUR MINUTE
0 5 : 4 0 PM
5:40 PM
– MANUAL CLOCK SET –
MONTH DAY YEAR
0 5 / 0 7 TUE 2 0 0 2
HOUR MINUTE
– – : – –– –
– MANUAL CLOCK SET –
MONTH DAY YEAR
0 5 / – –– – –– – – –
HOUR MINUTE
– – : – –– –
– MANUAL CLOCK SET –
MONTH DAY YEAR
0 5 / 0 7 – – –– – – –
HOUR MINUTE
– – : – –– –
– M E N U –
TIMER PROGRAMMING
PICTURE CONTROL
B SETTING CLOCK
CHANNEL SET UP
USER’S SET UP
V-CHIP SET UP
LANGUAGE [ENGLISH]
CAPTION [OFF]
ZERO RETURN
TIME SEARCH
T5301_7301XB.QX33 02.11.29 13:51 Page 11