


- 18 - EN
9J27
RECORDING
TWO DIFFERENT TAPE SPEEDS
Before recording, select the tape speed from : SP
mode (Standard Play) or SLP mode (Super Long
Play).
The table below shows the maximum recording/play-
back time using T60, T120 or T160 tapes in each
mode.
Note: You can play back a tape recorded in LP mode
(Long Play).
Tape Speed Recording/Playback Time
Type of tape
T60 T120 T160
SP mode 1 hour 2 hours 2-2/3 hours
SLP mode 3 hours 6 hours 8 hours
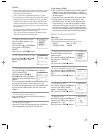
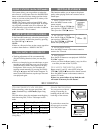
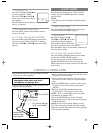
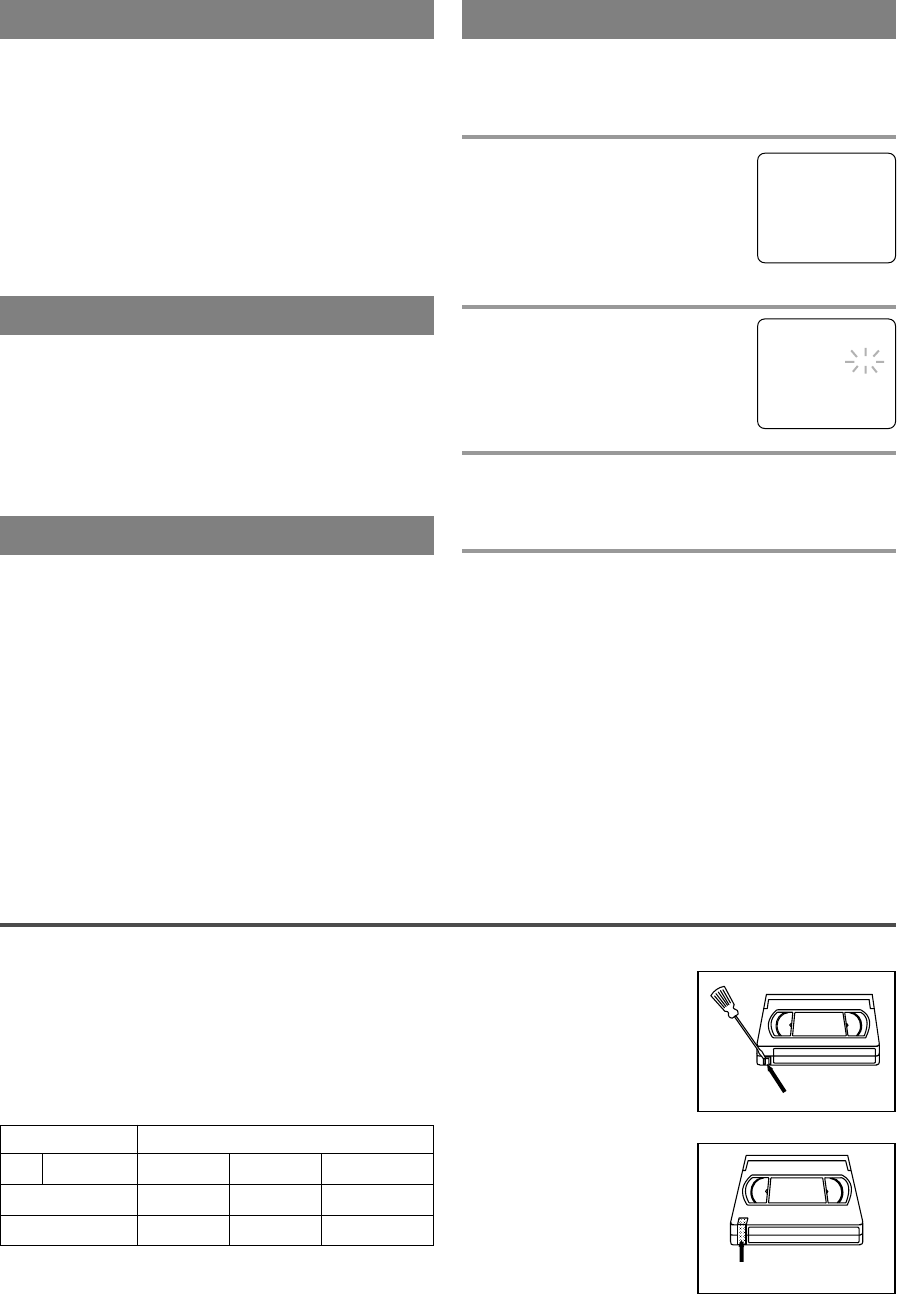
ERASE PREVENTION
You can prevent accidental
erasing of recording by
breaking off the tab on the
back edge of the cassette.
If you decide to record on
the tape again, cover the
hole with plastic tape.
Tab
Plastic Tape
•
Tracking adjustment will be set automatically
(Digital Tracking function) when you start play-
back.
•
However when playing pre-recorded tapes or tapes
recorded on units other than your own, noise lines
(black and white streaks) may appear on the play-
back picture. If this occurs, you can adjust the
tracking control manually by pressing the CHAN-
NEL K or L button until the streaks disappear. To
return to the DTR function, stop the tape once and
start playback again.
This feature allows you to reposition or reduce the
noise lines of a still picture. Press the PAUSE/STILL
button so that the noise lines change position on the
screen so you can see the picture in its entirety with-
out distracting noise lines.
NOTE: This feature can be activated ONLY when
viewing a tape recorded in the SLP mode. If the tape
was originally recorded in the SP or LP mode, the
still picture may revert to black and white in addition
to the “noise bars”. This is normal.
In the Pause/Still mode only, when the picture begins
to vibrate vertically, stabilize the picture by pressing
the CHANNEL K or L button.
NOTE:
If there are video noise lines on the screen, reposition
or reduce them. Refer to “NOISE CANCEL”.
This function enables you to improve the picture
quality when playing back worn cassettes such as
rented tapes.
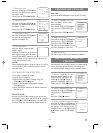
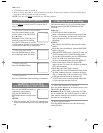
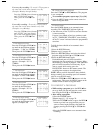
1 Select “USER’S SET UP”
Press the MENU button on the
remote control.
Press the PLAY/K or STOP/L but-
ton to point to “USER’S SET UP”.
Then, press the F.FWD/B button.
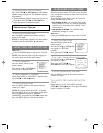
2 Set “RENTAL” to [ON]
Press the PLAY/K or STOP/L but-
ton to point to “RENTAL”.
Press the F.FWD/B or REW/s
button until [ON] appears.
3 Exit the Rental setting
Press the MENU button on the remote control to
return to the TV mode.
4 Start playback
Press the PLAY button to start playback. “RENTAL
PLAY B” appears.
•
Once you select the Rental mode, it stays in effect
even after you turn off the TV/VCR.
TO CANCEL THE RENTAL MODE
Repeat steps [1] and [2], select [OFF] using the
F.FWD/B or REW/s button on the remote control.
Press the MENU button on the remote control to
return to TV mode.
If there is a power failure of any kind, the unit
will retain its memory for this feature.
TRACKING ADJUSTMENT
NOISE CANCEL
(in the Still mode)
VERTICAL HOLD CONTROL
RENTAL PLAYBACK
–
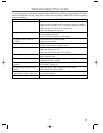
USER’S SET UP
–
B RENTAL [ON]
REPEAT PLAY [OFF]
AUTO RETURN [OFF]
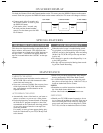
– M E N U –
TIMER PROGRAMMING
PICTURE CONTROL
SETTING CLOCK
CHANNEL SET UP
B USER’S SET UP
LANGUAGE [ENGLISH]
ZERO RETURN
TIME SEARCH