17
EN
WATCHING TV
INTRODUCTION
CONNECTION INITIAL SETTING OPTIONAL SETTING
TROUBLESHOOTING
INFORMATION
Still Mode
You can freeze the image shown on the TV screen.
Press
[STILL] to pause the image shown on the screen.
Still
The sound output will not be paused.
If no signal is detected or protected signal is received
during still mode, the image remains paused and the
sound output will be muted.
The still function will be released after 5 minutes.
To cancel still mode, press any button except [POWER].
Sleep Timer
The sleep timer can be set to automatically turn off the unit after an
incremental period of time.
1
Press [SLEEP] to set the sleep timer.
Sleep
Off
Sleep timer display appears on the TV screen.
2
Press [SLEEP] repeatedly to change the amount of time
until shut off.
Sleep
120min.
You can set your unit to turn off after a set period of
time (from 30 to 120 minutes).
Each press of [SLEEP] will increase the time by 30
minutes.
After set up, the sleep timer display can be called up
for checking by pressing [SLEEP].
To Cancel the Sleep Timer
Press [SLEEP] repeatedly until “Sleep Off” is displayed
on the TV screen.
Note:
• The sleep timer setting display will automatically
disappear in a few seconds.
• When you disconnect the unit from the AC outlet or when
a power failure occurs, the sleep timer setting will be
canceled.
5
•
•
•
5
•
•
•
•
Switching Each Mode
You can easily switch with the remote control to the DTV (ATSC) and TV
(NTSC) or to access an external device when they are connected to the unit.
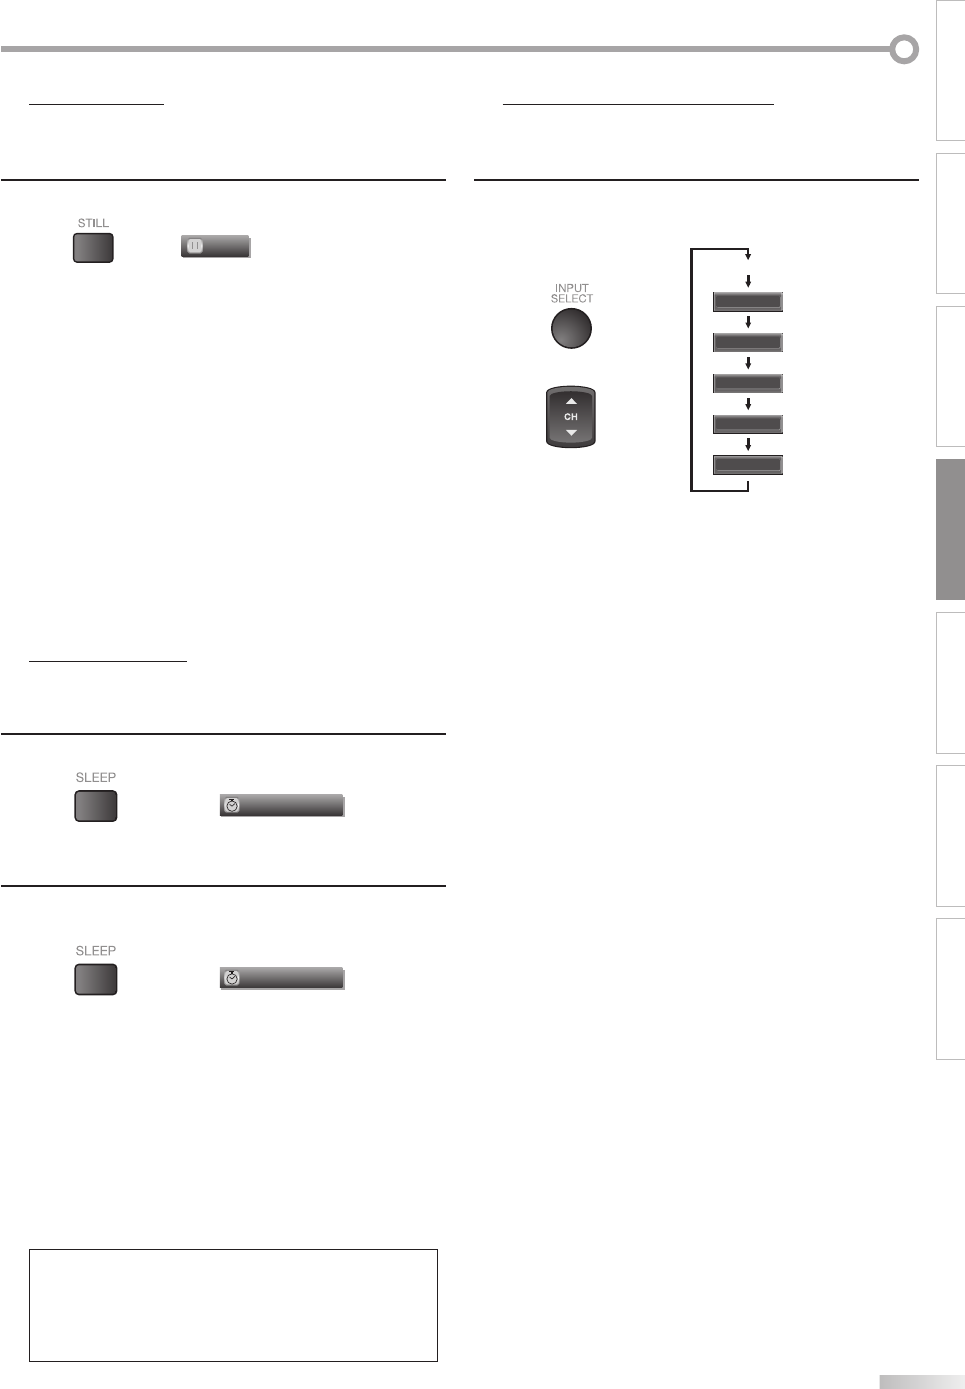
Press [INPUT SELECT] or [CH K] repeatedly to cycle
through the input modes.
or
Video1
Video2
Component1
Component2
HDMI
Pressing [CH L] reverses the direction of the mode.
To use the video or S-video input jack of VIDEO 1 on
the unit, select “Video1”.
To use the video or S-video input jack of VIDEO 2 on
the unit, select “Video2”.
To use the component video input jack of
COMPONENT 1 on the unit, select “Component1”.
To use the component video input jack of
COMPONENT 2 on the unit, select “Component2”.
To use the HDMI - IN jack on the unit, select “HDMI”.
5
•
•
•
•
•
•
TV/DTV channel
A71F6UH_FLX3220F_EN.indd 17A71F6UH_FLX3220F_EN.indd 17 2007/08/08 14:53:192007/08/08 14:53:19
