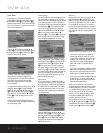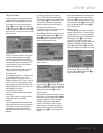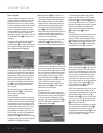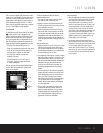
22 PLAYBACK BASICS FOR ALL FORMATS
Loading Discs
To load discs in the DVD 101, first turn the DVD 101
on by pressing in the
Main Power On/Off Switch
0
and then pressing the Power On Button
0
.
Note that the LED indicator surrounding the
Power On
Button
will turn amber when the power is first
applied by pressing in the
Main Power On/Off
Switch
0
. It will turn green when the Power On
Button
is pressed. Once the Main Power On/Off
Switch
0
is turned on, it is normally left in that
position unless you wish to turn the unit completely off
so that the remote control will not be able to turn the
player on.
Next, press the
Eject Button
7
/
2
until the disc
tray opens.
Hold the disc by the edge, and gently place it into the
disc drawer, making certain that the disc is properly
seated in the tray's insert. If the disc is not correctly
centered you may damage both the disc and the player
when the drawer closes. When loading discs, please
note the following:
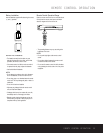
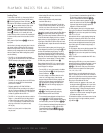
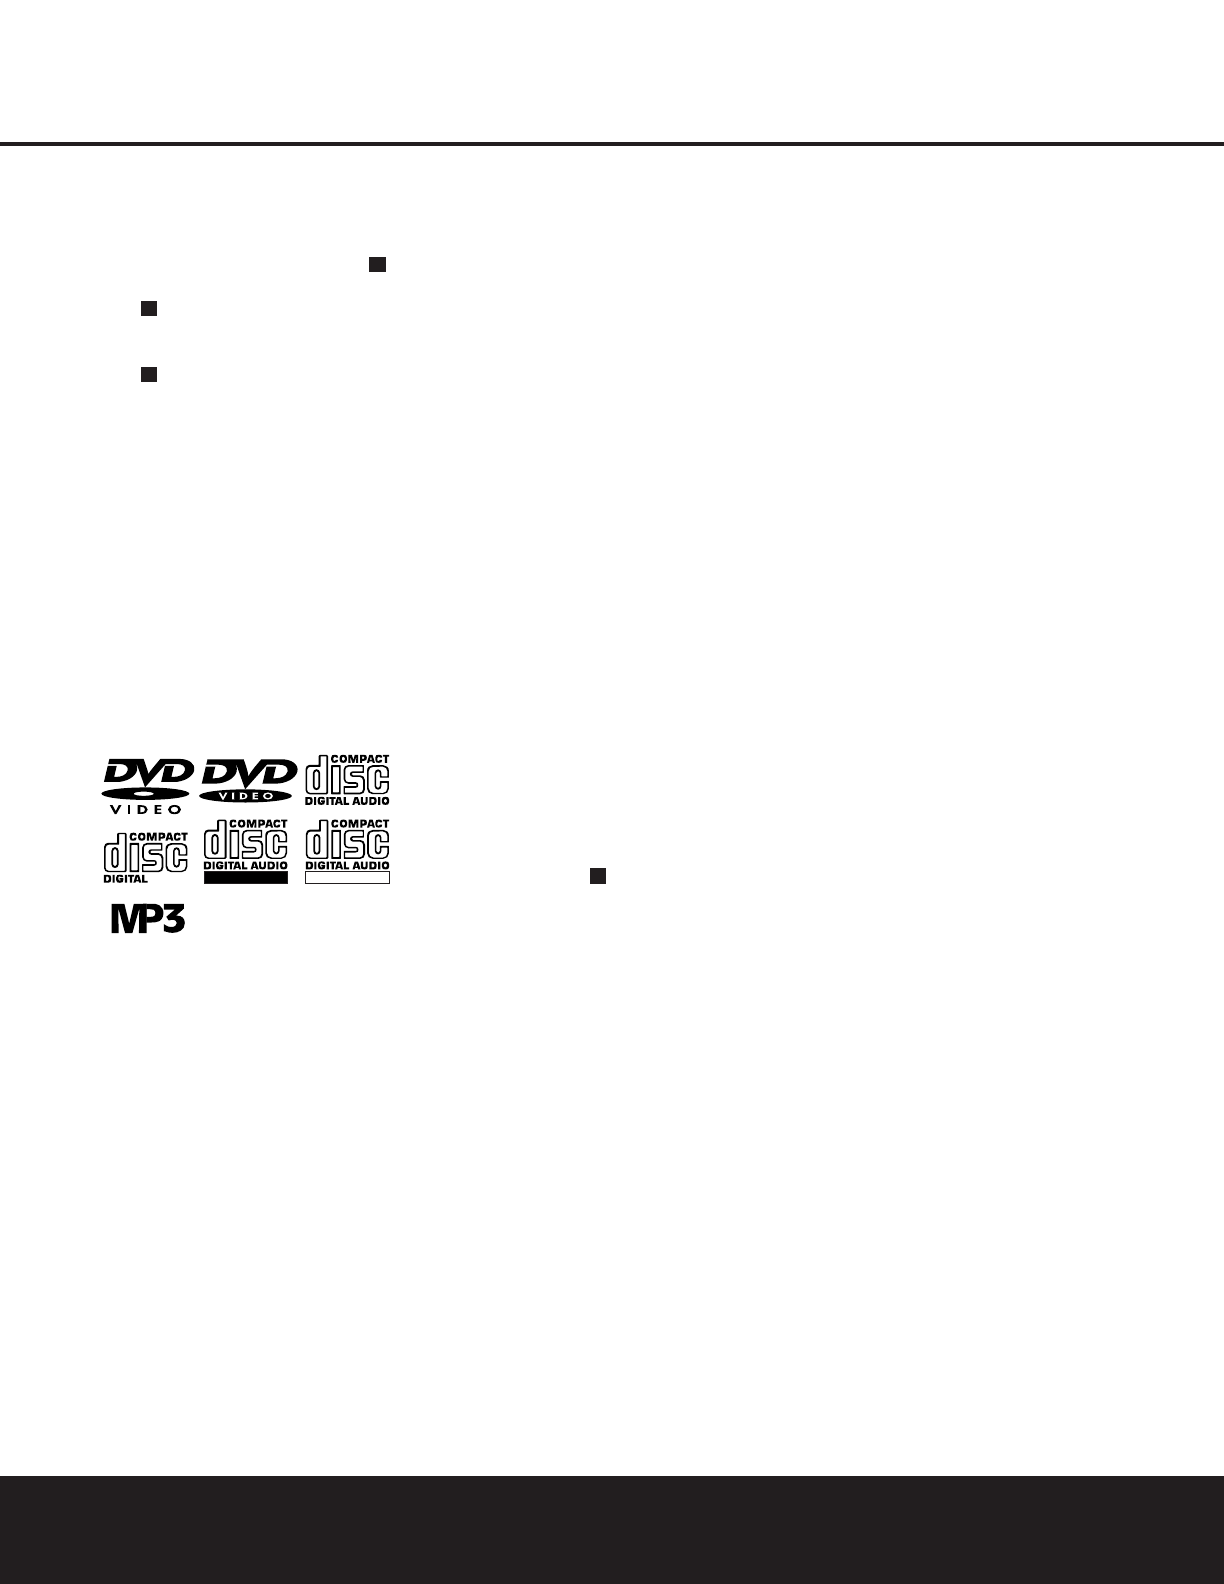
• The DVD 101 will play discs with the following
logos, as well as most DVD-RW or DVD+RW discs.
DO NOT attempt to play another type of disc.
• The DVD 101 will only play discs in the NTSC video
format. It will not play discs for other standards
such as PAL or SECAM.
• Playback capability for CD-RW, DVD-RW or
DVD+RW discs will vary according to the quality of
the disc. On some occasions it is possible that these
discs may not play on the DVD 101.This does not
indicate any problem with the DVD 101.
• The DVD 101 will only play discs that are coded for
Region 1 or discs that are open to being played in
all regions. Discs that contain a Region Code of 2,
3, 4, 5 or 6 (as noted by a number inside a world
map logo on the disc’s cover jacket or case)
will not play.
• Both 5-inch (12cm) and 3-inch (8cm) discs
may be used.
• When loading CD audio discs, load the discs
with the label side up.
• When loading DVD discs with printed labels,
load them label side up.
• Some DVD discs are double-sided. The title infor-
mation for these will be printed on the inner ring of
the disc, very close to the center hole. The title for
the side you wish to play should be facing up.
Once a disc is properly loaded, press the
Eject Button
7
/
2
to close the disc drawer.After the drawer
closes, you will see a brief indication of
Reading
in both the Information Display and in the on-screen
display to alert you to the fact that the unit is determin-
ing the type of disc (DVD,CD,VCD or MP3) and is read-
ing the data for track, chapter, title and other information
about the disc.
Once the disc’s data has been read, the type of disc
will be displayed by the
Disc-Type Indicator A and
the disc will automatically begin playing. The disc’s
track timing information and other relevant data will
appear in the information display. For CD discs only, a
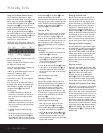
Status Bar (On-Screen Banner Display) will automatically
appear in the on-screen display.To view this display
for DVD discs, press the
Status Button
D
.
Basic playback with the DVD 101 involves functions
similar to those you may be familiar with for conven-
tional CD players or changers:
• Turn the DVD 101 on by first pressing in the
Main
Power On/Off Switch
0
and then pressing the
Power On Button /
0
.
• If a disc is already in the drawer when the unit is
turned on, it will begin playing. If the disc was
stopped using the Resume function, playback will
begin from the point where it was stopped. If the
disc was stopped by pressing the
Stop Button
5
/
I
twice, the disc will begin playing from
its beginning.
• After loading a disc, press the
Eject Button
7
/
2
to close the drawer and begin play.
Playback Features for DVD and CD Discs:
• To momentarily pause playback and freeze the cur-
rent picture frame on a DVD, press the
Pause
Button
4
/
C
.To resume playback after pressing
the Pause button, press the
Play Button
3
/
G
.
• To move forward or backward through the tracks on
a CD or the chapters on a DVD, press the
Skip
Forward/Reverse Buttons
67
on the front
panel or the
Previous/Next Buttons
E
/
F
on the remote.
• To move forward or backward through the DVD or
CD disc being played at fast speed, press the
Search Forward/Reverse Buttons
H
/
J
.
Once one of these buttons is pressed, the fast
search will continue until the
Play Button
3
/
G
is pressed. Note that the fast-play speeds are
different for CD discs and DVDs.
For DVD playback, there are four fast-play speeds.
Each press of the
Search Forward/Reverse Buttons
H
/
J
will cycle to the next speed in the following
order: 2x, 4x, 8x, 16x.
Note that there will be no audio playback during fast-
forward or reverse-play of DVD discs. This is normal
for DVD, as A/V receivers and surround processors
cannot process the digital audio streams during fast-
play modes; audio will be heard during fast-play of
conventional CDs.
For CD playback, there are two fast-play speeds. Each
press of the
Search Forward/Reverse Buttons
H
/
J
will cycle to the next speed in the following
order: 5x, 15x.
NOTE: Fast Search is not available when MP3 discs
are playing.
When playing a DVD disc, you may move forward or
backward through the program being played in one of
four speeds by pressing the
Slow Play Buttons
L
/
N
on the remote. Each press of the buttons
will move to the next speed in the following order:
1/2x, 1/4x, 1/8x, 1/16x.
Note that there is no audio playback during slow-for-
ward or -reverse play of DVD discs. This is normal for
DVD, as A/V receivers and surround processors cannot
process the digital audio streams during slow modes.
Slow-play is not available for CD discs.
• When a camera icon appears on the screen, and
the
Angle Indicator M flashes, this is your indica-
tion that there is multiple-angle information on the
disc being played. To change the angle, press the
Angle Button
4
until the desired angle view
appears. An on-screen banner message will appear
to indicate the angle view in use.
To illuminate the buttons on the remote control so that
they may be seen in low-light conditions, press the
Light Button
X
.
2
ReWritableRecordable
VIDEO
2
2
2
PLAYBACK BASICS FOR ALL FORMATS


