


4
43545-01 • 05/14/09 • Hunter Fan Company
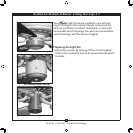
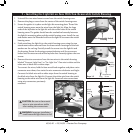
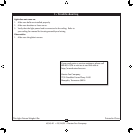
1. Unscrew the three screws from the upper switch housing. Disconnect
the 9-pin plug connectors. Remove the lower switch housing.
2. Push the plug button from inside the lower switch housing to remove
the plug button and switch housing cap.
NOTE: Save the plug button and switch housing cap should you
choose to remove the light xture in the future.
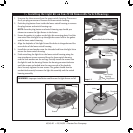
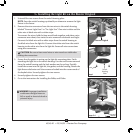
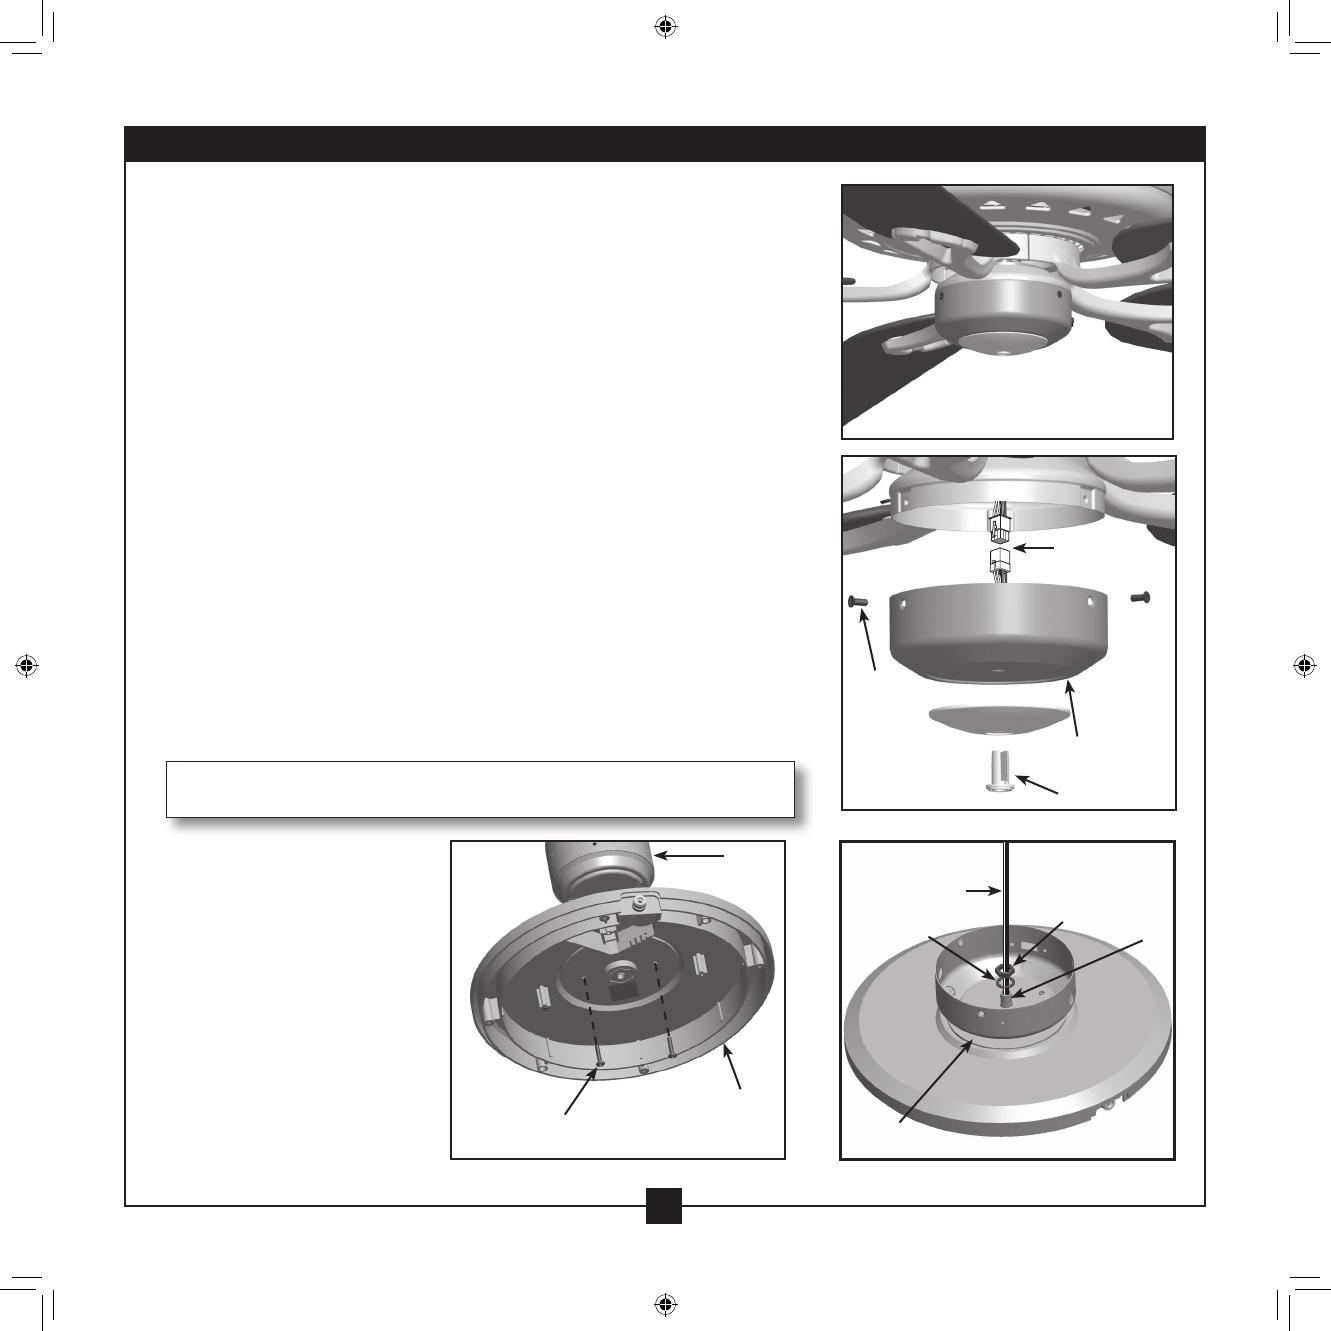
3. Ensure the gasket is in place on the light kit mounting plate. Feed the
two wires from the light kit up through the center hole in the gasket
and the lower switch housing.
4. Align the keyholes of the light kit and the holes in the gasket and the
screw holes of the lower switch housing.
5. Install the nut and washer onto the threaded rod from the light kit to
secure the lower switch housing.
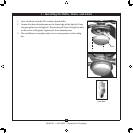
6. Finish attaching the light kit to the lower switch housing using the
two attachment screws removed from the lower switch housing
and the lock washers on the red tag. Partially install the screws into
the light kit and the housing. Rotate the housing counterclockwise
until the screws are locked into the narrow ends of the keyhole
slots. Securely tighten the two screws. e gasket should now be
sandwiched securely between the light kit assembly and the switch
housing assembly.
1 • Installing the Light Kit on Fans With Removable Switch Housings
Removable Switch Housing
9-Pin Plug
Connector
Lower Switch
Housing
Plug Button
Screw
Steps 1-2
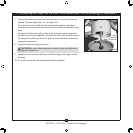
WARNING: Improper installation could cause the light xture to fall.
Washer
Gasket
Wires
Threaded
Rod
Nut
Step 5
Light Kit
Switch
Housing
Screw
Step 6