


20
Problem Actions
page
Is the T-V LINK compatible device connected to EXT-2?
Is the SCART CABLE “Fully Wired”?
Is the T-V LINK compatible device turned on?
After confi rming all the conditions above,
press “OK” button again.
“FEATURE NOT
AVAILABLE” appears
21
21
-
Display
Press to start ACI again.
If you still receive the “ACI ERROR” after numerous tries,
press to cancel ACI.
“ACI ERROR”
appears
-
(continued)
It is not a malfunction. Some functions (dark background)
in the menu do not work depending on the situation.
Some functions
do not work
-
Functions
EXT-4, EXT-6 inputs and PC mode cannot be selected in the
sub-picture.
Some inputs cannot
be selected in the
sub-picture
-
Troubleshooting
The LAMP indicator
blinks rapidly
Keep the TV off for a while and then turn the power on
again. If the TV goes into warning mode, unplug the TV
after the cooling has completed and consult your retailer. (It
may be a malfunction of the internal electrical circuits.)
The power lamp and
LAMP indicator blink
alternately
Keep the TV off for a while and then turn the power on
again. If the TV goes into warning mode, unplug the TV
after the cooling has completed and consult your retailer.
(The inside temperature rises abnormally or the fan may be
blocked.)
The power lamp and
LAMP indicator blink
rapidly simultaneously
If this condition occurs soon after replacing the lamp,
reinstall the new lamp unit. (The lamp unit may not be
inserted into the lamp housing correctly.)
Repeat the lamp installation steps, taking care to observe
all warnings.
- Make sure the lamp sits fl at inside the housing area.
- Make sure the lamp cover is reinstalled.
If this condition occurs except for replpacing the lamp,
keep the TV off for a while and then turn the power on
again. If the TV goes into warning mode, unplug the TV
after the cooling has completed and consult your retailer. (It
may be a lamp malfunction.)
Lamp
6
-
-
-
What is T-V LINK?
What is ACI (Automatic Channel Installation)?
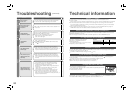
PC Signals that can be displayed
Connect DVI devices
If you accidentally cut the power cord
Licence
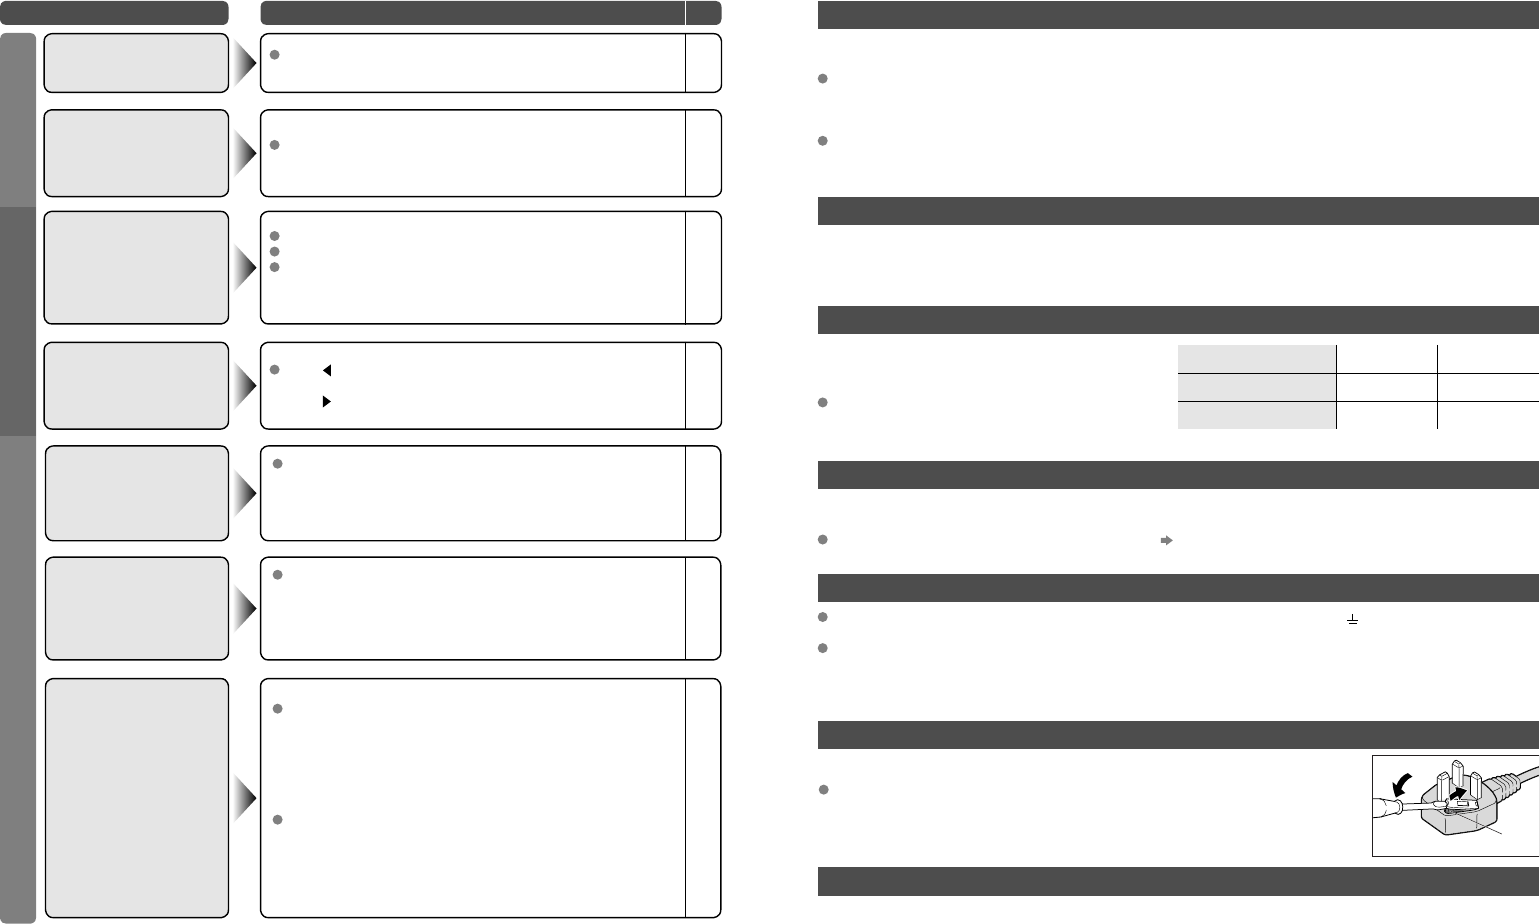
Change the fuse in the plug
T-V LINK allows the TV to share information easily with a connected T-V LINK compatible device.
By using T-V LINK :
*Macintosh* computers are not supported.
(Macintosh is a registered trademark of
Apple Computer, Inc.)
Resolution
640 x 480 (VGA) 1024 x 768 (XGA)
Vertical frequency (Hz)
60.0 60.0
Horizontal frequency (kHz)
31.5 48.4
Technical information
You can send the channel information programmed on the TV to the T-V LINK compatible device, so that both
the TV and the external device have the same channel settings. When connecting a new external device,
channel information is loaded into it, allowing channel setup to be completed very quickly. For more details,
refer to the external device’s manual.
You can easily record the TV programme you are viewing on a T-V LINK compatible device by using the
“DIRECT REC” feature. For more details, refer to the external device’s manual.
Some cable companies transmit a signal called ACI which contains information that allows TV channels to be
registered automatically on your TV.
When an ACI signal is received, “ACI START / ACI SKIP” appears in the “AUTO PROGRAM” screen.
If the signal doesn’t appear, check that the vertical
frequency on the PC is set to 60 Hz.
Connect a DVI device to EXT-6 (HDMI) using DVI-HDMI conversion cable. Connect analogue sound output of
the DVI device to L and R terminals in EXT-4.
Never connect to the larger terminal marked with an “E”, the safety earth symbol “ ” or coloured green or
green-and-yellow.
The wires in the mains lead on this product are coloured with the following code:
1) Blue: Neutral wire (connect to the black terminal,or one marked “N”)
2) Brown: Live wire (connect to the red terminal,or one marked “L”)
Manufactured under license from BBE Sound, Inc. Licensed by BBE Sound, Inc. under USP4638258, 5510752
and 5736897. BBE and BBE symbol are registered trademarks of BBE Sound, Inc.
Open the plug as illustrated on the right.
When replacing the fuse,always use a correctly rated and approved type and re-fit
the fuse cover when finished.
If in doubt,contact your retailer.
Fuse
Set AUDIO in HDMI SETTING to Analogue or AUTO
(P. 17)