36
12
45
3
6
8
0
7
9
1
3
2
6
q
OK
CH SET
NOTE:
First perform step 1 of the above procedure.
Set Stations (B)
%
Perform steps 1 and 2 on page 34 to access the Confirmation
screen before continuing.
Set Stations (A)
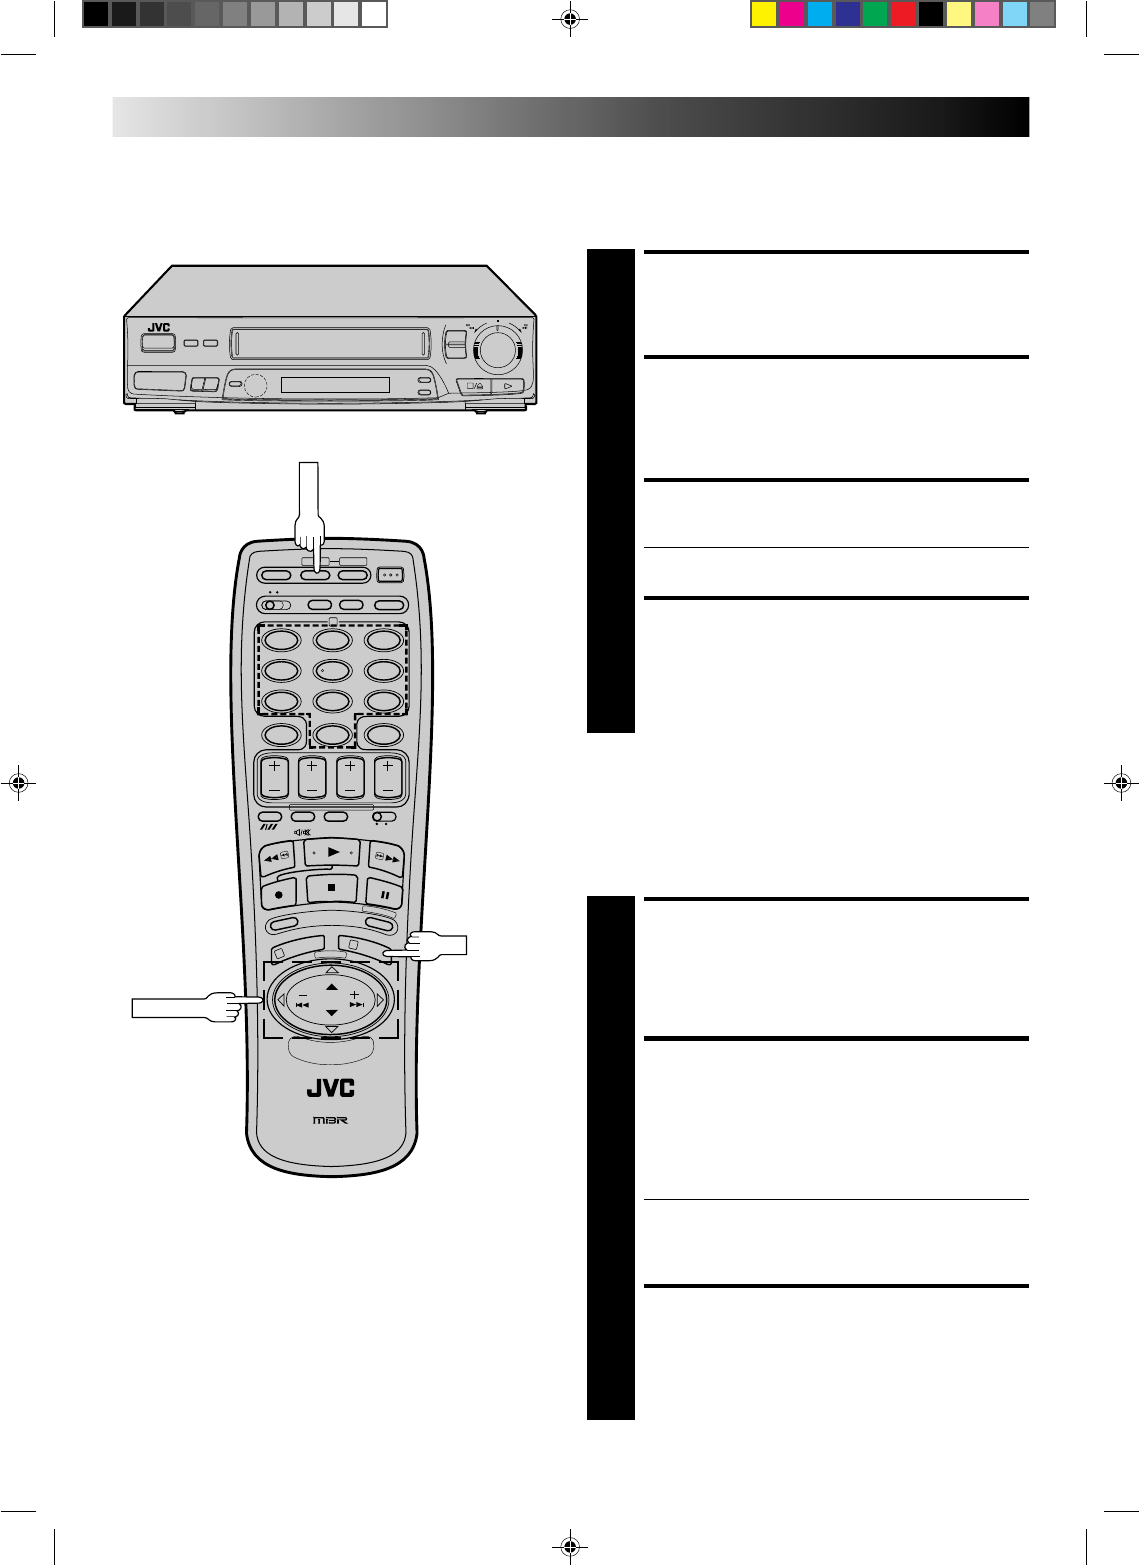
SELECT ITEM
1
Press PUSH JOG
%fi
until the item you want begins
blinking. Then press OK twice and the station’s name
(ID) begins blinking.
SELECT NEW STATION
2
Press PUSH JOG
%fi
until the new station’s name (ID)
you want to store begins blinking.
Registered station names (੬ pg. 38) appear as you
press PUSH JOG
%fi
.
SWITCH STATIONS
3
Press OK.
● Repeat steps 1 through 3 as necessary.
CLOSE CONFIRMATION
SCREEN
4
Press CH SET.
%
%
%
SELECT STATION NAME
CHARACTER
2
Press PUSH JOG
and the first letter of the station
name begins blinking.
ENTER NEW CHARACTER
3
Press PUSH JOG
%fi
to cycle through the characters
(A–Z, 0–9, –,
*
, +, (space) ) and stop when the
desired one is indicated, then press PUSH JOG to
enter. Enter the remaining characters the same way
(maximum of 4).
After entering all characters, press OK.
● Repeat steps 1 through 3 as necessary.
● If you make a mistake, press PUSH JOG until the
incorrect character begins blinking. Then enter the
correct character by pressing PUSH JOG
%fi
.
CLOSE CONFIRMATION
SCREEN
4
Press CH SET.
[
USING THE CONFIRMATION SCREEN (cont.)
%
PUSH JOG


