


24
ADVANCED OPERATIONS (cont.)
0
4
1
3
?
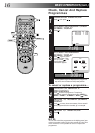
TV PROG
Manual Tracking
Your video recorder is equipped with automatic tracking
control. For most tapes this will automatically adjust the
tracking to suit the particular tape you are playing. In some
circumstances it may be necessary to make manual tracking
adjustments. This is usually only associated with old or worn
tapes or recordings made on old or worn recorders. If the
automatic tracking control fails to operate correctly you will see
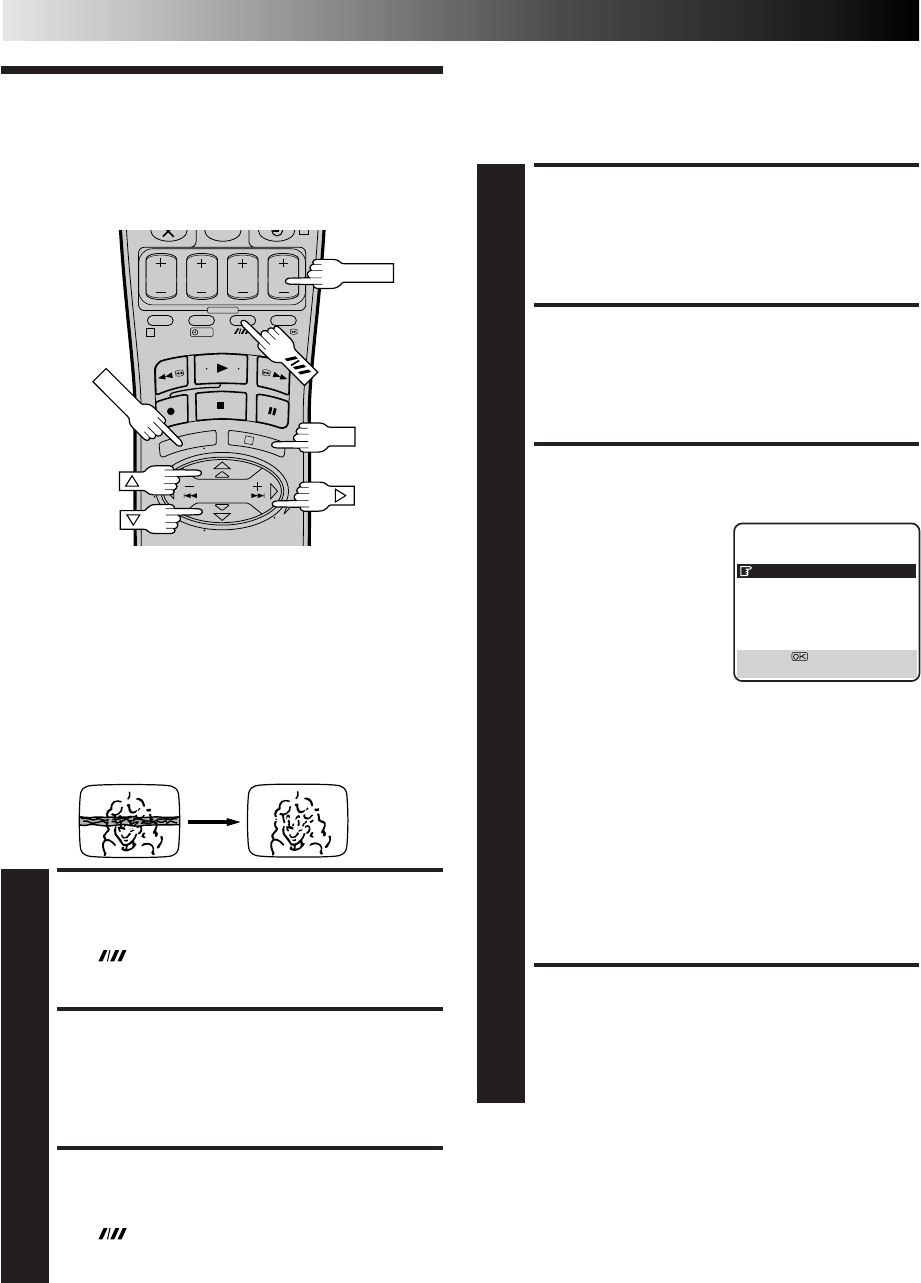
noise bars across the picture as shown on the left below. To
correct this you can override the automatic control and adjust
the tracking manually by pressing the TV PROG buttons.
OVERRIDE AUTOMATIC
TRACKING
1
Press on the remote to engage manual tracking.
ADJUST TRACKING
MANUALLY
2
Press TV PROG + or – to adjust tracking.
RETURN TO AUTOMATIC
TRACKING
3
Press on the remote to re-engage automatic
tracking.
NOTE:
When a new tape is inserted, the recorder returns to the
automatic tracking mode automatically.
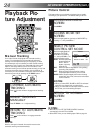
Playback Pic-
ture Adjustment
Picture Control
This feature helps you to adjust the playback picture quality
according to your preference. *The default setting is "AUTO."
ACCESS MAIN MENU
SCREEN
1
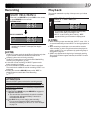
Press MENU.
ACCESS MODE SET
SCREEN
2
Move the highlighted bar (pointer) to "MODE SET" by
pressing %fi, then press OK or
#
.
SELECT PICTURE
CONTROL SET MODE
3
Move the highlighted bar
(pointer) to "PICTURE
CONTROL" by pressing
%fi, then press OK or
#
to
select the desired mode.
AUTO: Provides optimised
picture benefits of
B.E.S.T. Picture
System. Normally
select AUTO.
EDIT: Minimizes picture degradation during editing
(recording and playback).
SOFT: Reduces image coarseness when viewing
overplayed tapes containing a lot of noise.
SHARP:Clearer, sharper-edged picture when viewing
images with lots of flat, same-coloured surfaces
such as cartoons.
NOTES:
●
When you select EDIT, SHARP or SOFT, the selected
mode will not change until you select again.
●
When you select EDIT to dub tapes, be sure to select
AUTO after you finish dubbing the tapes.
RETURN TO NORMAL
SCREEN
4
Press MENU.
NOTES:
●
When B.E.S.T. is OFF, "PICTURE CONTROL" switches
automatically from AUTO to NORM.
●
Select EDIT when you are dubbing tapes. Refer to page 22.
MENU
OK
MODE SET
B. E. S. T. ON
PICTURE CONTROL AUTO
AUTO TIMER OFF
O. S. D. ON
AUTO SP=LP TIMER OFF
[
5
∞
] =
[MENU] : EXIT