


33
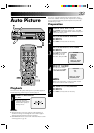
Auto Picture
Your VCR is equipped with the Auto Picture feature, which
checks the condition of the tape and compensates accordingly,
giving you the best-possible playback picture every time. The
default setting is "ON".
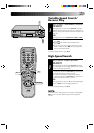
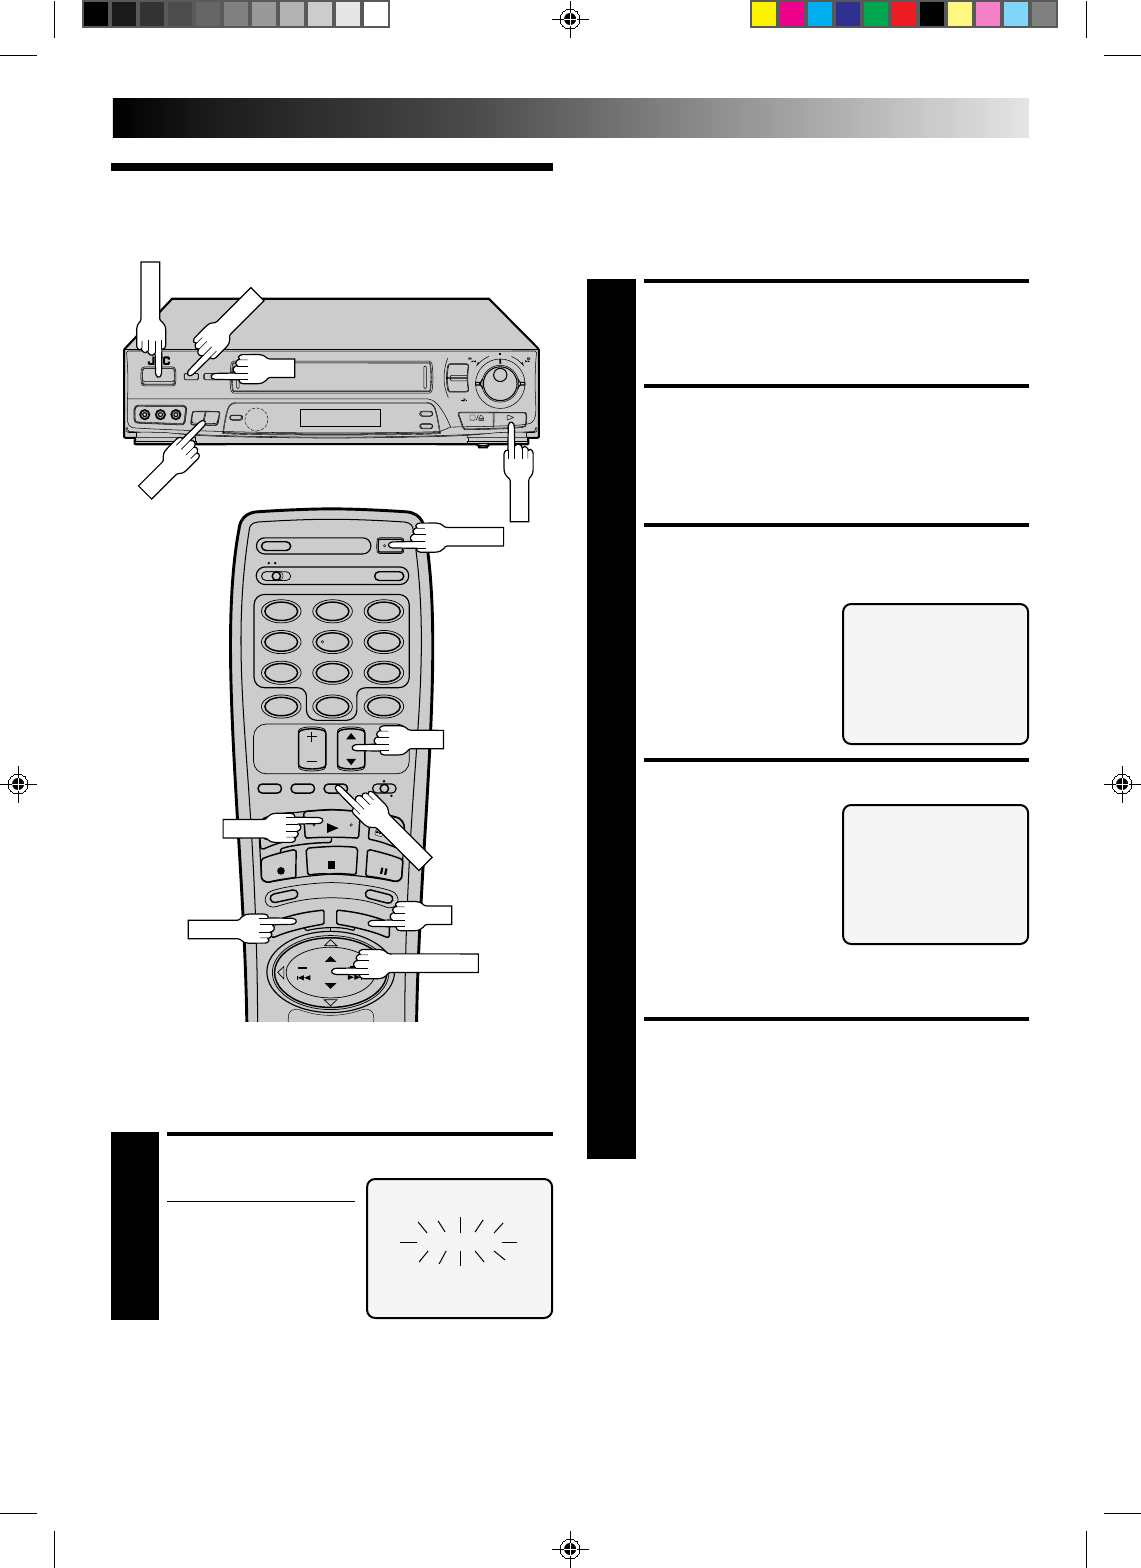
Preparation
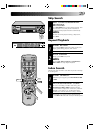
TURN ON THE VCR
1
Press POWER. If watching channel 3 or 4, press TV/
VIDEO to select the VIDEO mode. VIDEO is displayed
on the front display panel.
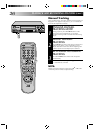
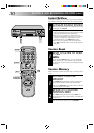
ACCESS MAIN MENU
SCREEN
2
Press MENU as many times as necessary.
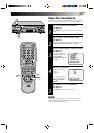
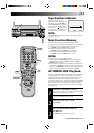
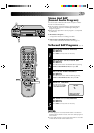
ACCESS AUTO PICTURE
SCREEN
3
Press CH5
∞
or SHUTTLE
PLUS 5
∞
to place the
arrow next to “AUTO
PICTURE”, then press OK.
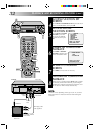
SELECT MODE
4
Place the arrow next to
"ON" by pressing CH5
∞
or SHUTTLE PLUS 5
∞
.
NOTE:
When using rental tapes, or tapes recorded on other
VCRs, select "ON" or "OFF" as desired.
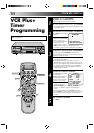
RETURN TO NORMAL
SCREEN
5
Press MENU as many times as necessary.
MAIN MENU
PROGRAM SET
FUNCTION SET
TUNER SET
CUSTOM SET
=AUTO PICTURE
PRESS (5,∞), THEN (OK)
PRESS (MENU) TO END
AUTO PICTURE
=ON
OFF
PRESS (5,∞), TO SELECT
PRESS (MENU) TO END
NOTE:
●
The Auto Picture screen only appears at the beginning of
automatic tracking. Even though the screen doesn't appear
after that, the Auto Picture function is operative.
●
SUPERIMPOSE must be set to "ON" or the Auto Picture screen
will not appear (
੬
pg. 28).
6
q
POWER
MENU
OK
CH
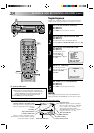
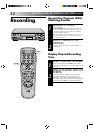
Playback
The VCR assesses the quality of the tape once you initiate playback.
Before beginning, perform steps 1 and 2 on page 22.
START PLAYBACK
1
Press PLAY.
● The VCR adjusts the
playback picture quality
based on the quality of
the tape in use.
AUTO PICTURE
PLAY
12
45
3
6
8
0
7
9
MENU
CH
TV/VIDEO
SHUTTLE PLUS
OK
PLAY
POWER