22
Copying from DVD to VCR
You can copy the contents of a DVD to a VHS tape.
1. Insert the disc you wish to copy into the DVD
deck and close the disc tray.
2. Insert a blank VHS video tape into the VCR deck.
3. Find the place on the DVD from which you want
to start dubbing using the PLAY, FF, REW and
PAUSE functions.
For best results, pause playback at the point from
which you want to record.
4. Press the z (REC). The DVD goes into PLAY
mode and the VCR goes into RECORD mode. If
the DVD disc menu appears, you may need to
press N (PLAY) manually to begin copying.
5. Press X (PAUSE) during dubbing pauses both
DVD play and VCR record functions.
Press X (PAUSE) again or press z (REC) or
N (PLAY), the dubbing is resuming.
6. During dub PAUSING, you could find the wanted
place in the disc for dubbing by using the FF,
REW and SKIP search functions.
7. When the DVD is finished playing, press
x (STOP) to end copying.
Caution
Do not use FF, REW and SKIP search functions dur-
ing dubbing; otherwise you might record the unwant-
ed video with no sound from disc.
Notes:
• You must stop the copy process manually when
the DVD movie ends, or the unit may replay and
record over and over again.
• When you stop the DVD playback during copying,
the recording on VCR is stopped automatically.
• If the DVD disc is copy-protected, you will not be
able to copy it using this unit.
On-Screen Display - VCR
Some of these functions will be displayed every time
the unit is operated.
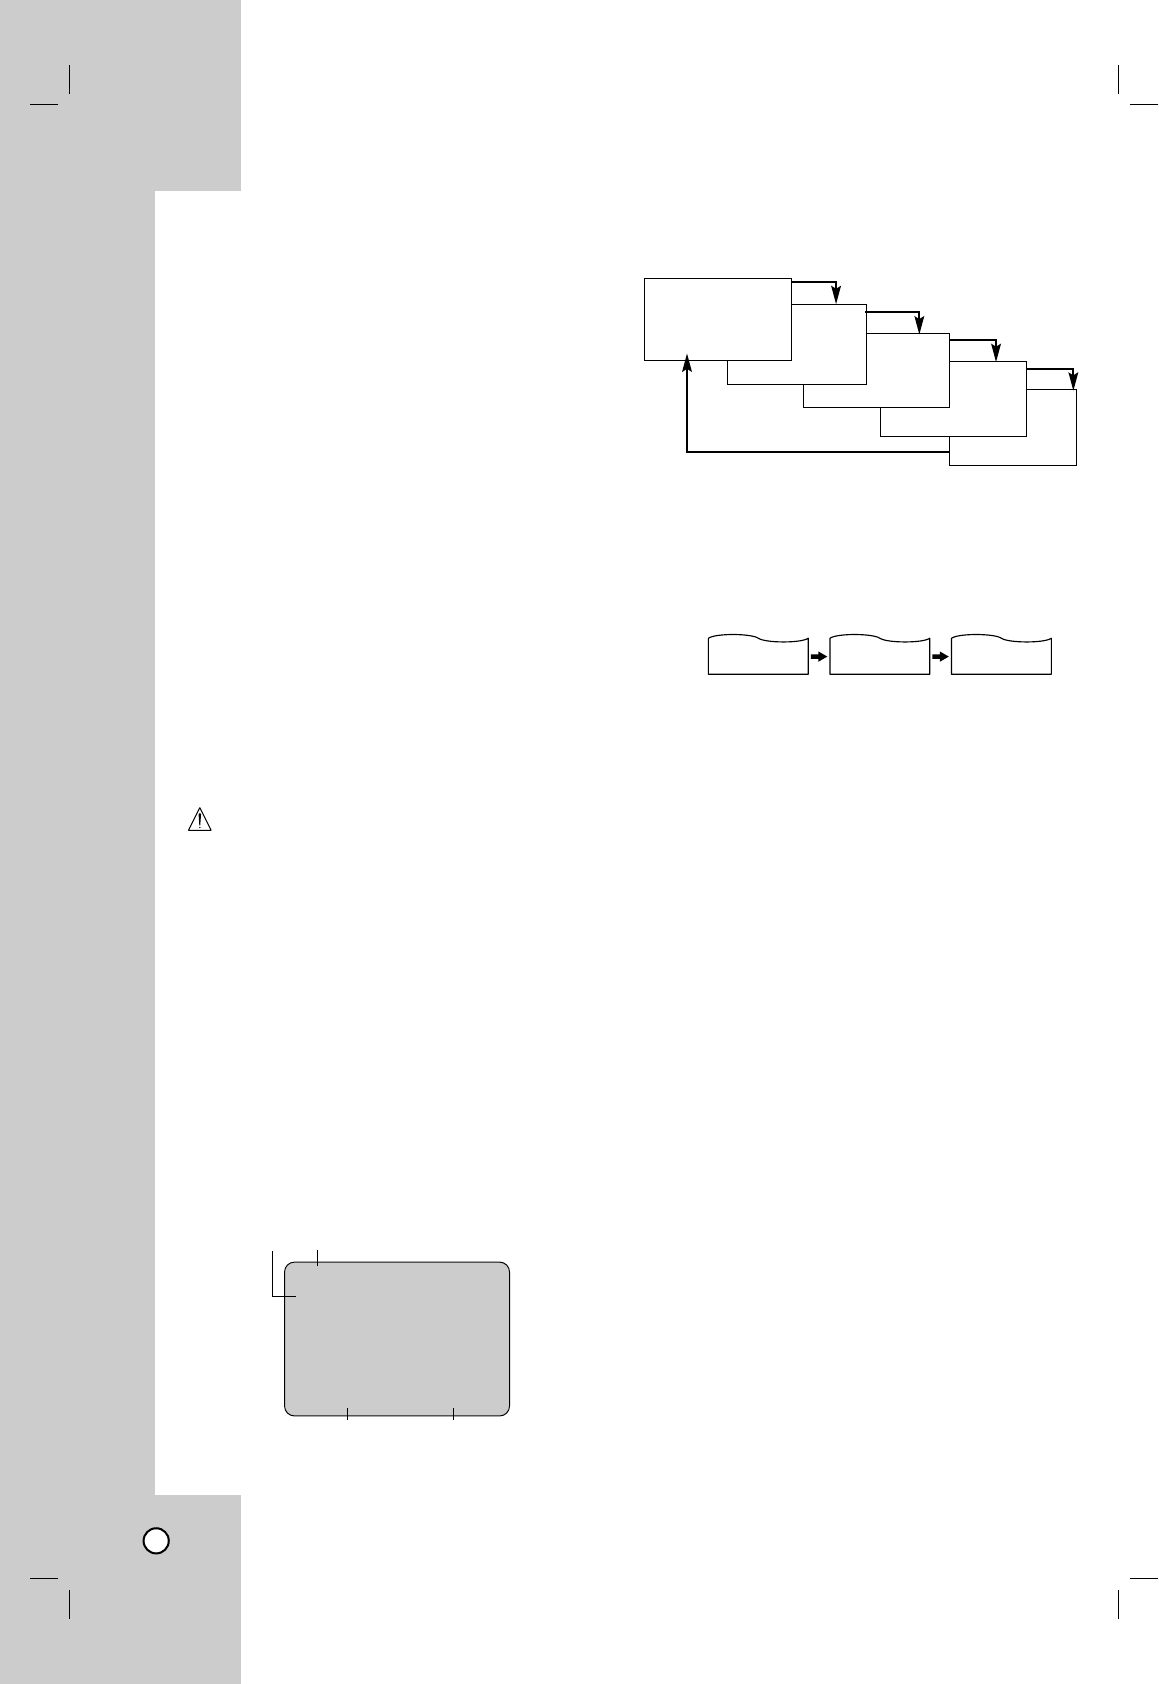
Each press of the ENTER (OK) changes the TV
screen in the following sequence.
Real-Time Counter
If a tape with contents recorded on it is inserted into
the VCR, the real-time counter shows length of the
tape running in hours, minutes, and seconds. Press
DISPLAY to select the real-time counter display.
Every press of DISPLAY changes the TV screen as
illustrated below.
Counter Memory
This feature is useful if there is a section of tape you
want to view immediately after recording or if you
want to return to the same point several times.
1. Begin recording or playing a tape.
2. Press DISPLAY until the real-time counter is dis-
played on the TV screen.
3. At the point that you want to locate later, reset the
real-time counter to “0:00:00” by pressing CLEAR
(0000).
4. Continue to play or record.
5. Press x (STOP) when recording or playback fin-
ishes.
6. Press m (REW). The tape automatically stops
when the tape counter returns to about “0:00:00”.
Tape Remaining
This function displays the amount of time remaining
on the tape during recording or playback.
Press DISPLAY repeatedly until the REM indicator
displays on the TV screen during recording or play-
back. The remaining tape length may not be dis-
played correctly depending on the condition of the
tape and the kind of the tape (T-140, T-160, or T-210
etc.).
Notes:
• The function displays can be seen displayed on
the TV screen for 5 seconds.
• The clock (or tape counter, tape remaining) mode
will be displayed until you press ENTER (OK).
• The tape counter and the remaining tape length
indicator appear only when a cassette is inserted.
Also, the remaining tape length indicator appears
after any tape operation.
PLAY
SP
JAN 1 , MON 2:15 PM
❶❷
❸❹
2:15 AM 0:05:25 REM 1:07
CLOCK COUNTER REMAINING TIME
❶ TAPE SPEED DISPLAY
❷ FUNCTION DISPLAY
❸ DATE DISPLAY
❹ CLOCK/ COUNT/
REMAIN DISPLAY
REM 1:58
0:35:40
2:15 PM
STOP
SP
JAN 1 , MON 2:15 PM


