14
Quick Setup Getting Started
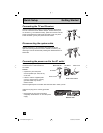
Connecting the TV and Receiver
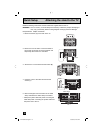
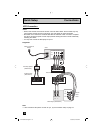
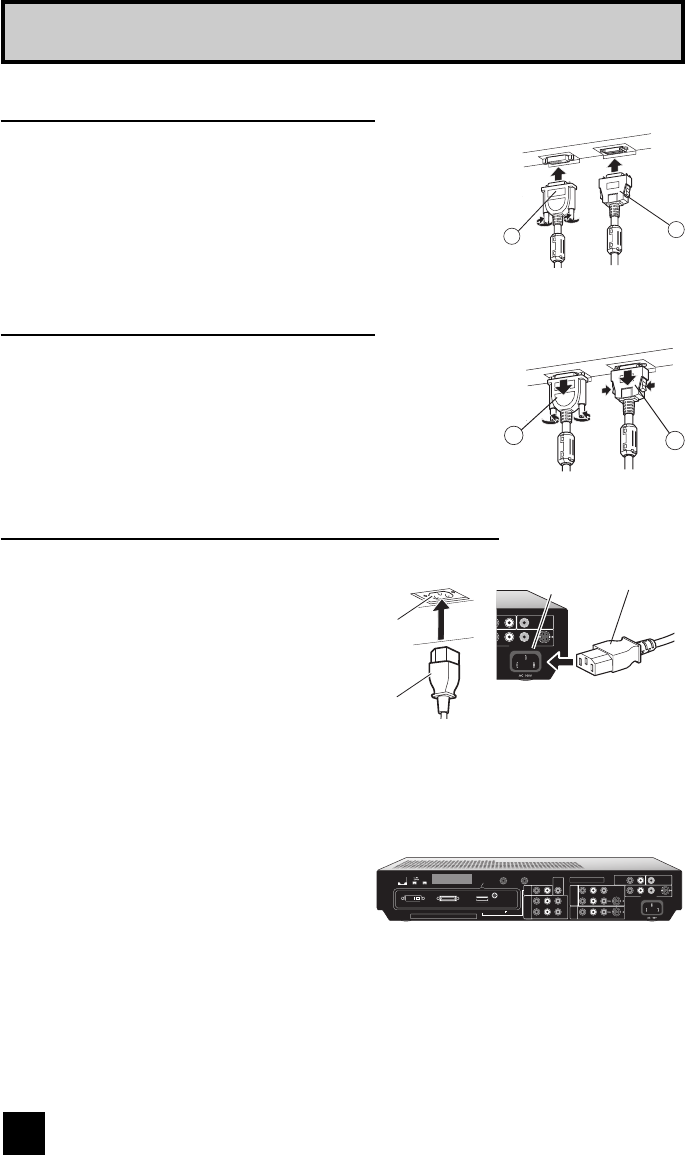
Use the supplied system cable to connect the TV to the receiver.
The two connectors are of different shapes. Ensure that the pins
on connector 1 are oriented correctly, press the connector into the
socket, and tighten the screws at left and right to lock it in place.
Press connector 2 firmly into place until it is locked.
2
1
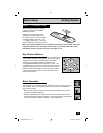
Release connector 1 by unscrewing the screws at left and
right and removing it from the socket. Release connector 2 by
removing it from the socket while pressing the release bottoms on
either side.
Disconnecting the system cable
2
1
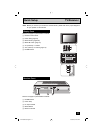
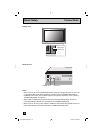
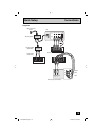
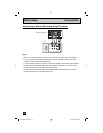
Connecting the power cord to the AC outlet
Insert the AC plugs on the power
cords from the TV and receiver into
AC outlets.
Caution
• Operate only from the power
source specified (AC 120V, 60 Hz)
on the unit.
• Failure to use the supplied power
cord or to insert it into a correctly
grounded outlet may result in
electric shocks.
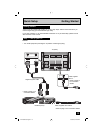
AUDIO L VIDEO
SUB WOOFER
OUT
MONITOR / REC OUT
S-VIDEO
Back of the TV
Back of the receiver
AC INLET
Power cord
AC INLET
Power cord
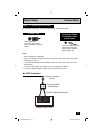
Use the supplied power cord which best suits the area in which you live.
Insert the AC plug into a correctly grounded
outlet.
• Remove the AC plug from the outlet to
completely disconnect the TV from the power
supply.
Receiver rear
CABLE CARD
DISPLAY OUT (SYSTEMCABLE)
Manufactured under license from Dolby Laboratories.
"Dolby"and the double-D symbol are trademarks of Dolby Laboratories.
HDMI AV COMPULINK
VIDEO AUDIO
DIGITAL DIGITAL ATSC/
DIGITAL CABLE IN
75Ω
(VHF/UHF)
CENTER
CHANNEL
INPUT
RL
Pr Pb Y
Pr Pb Y
RAUDIOL VIDEO RAUDIOL VIDEO
RAUDIOL VIDEO
SUB WOOFER
OUT
AUDIO
OUT
MONITOR / REC OUT
RAUDIOL VIDEO
OVER
S-
VIDEO
S-
VIDEO
S-VIDEO
OVER
DVI
ANALOG
AUDIO
IN
INPUT2
INPUT3
INPUT1
OPTICAL OUT
IN/OUT
(TS)
Digital Audio
U.S. Patent Nos. 4,631,603; 4,577,216;
4,819,098; 4,907,093; and 6,516,132.
PD-42\50X795 English 14 10/12/04, 9:24:52 AM


