- 8 -
PREPARATION
Switching on
Turn on your TV set and select the SCART input (with the AV key, or similar, on the television remote control).
Press the [STANDBY] key on the remote control handset. The power lamp change to green and the receiver's
menu will be seen on the TV screen.
If you do not see the receiver's menu on the television screen, press the AV button on your TV remote control
until you see the First Time Installation menu.
Initial settings
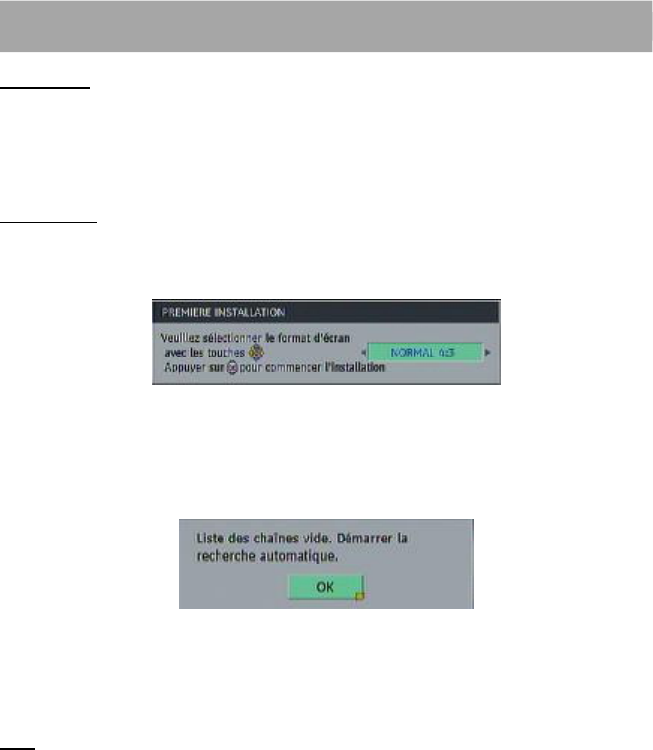
Because this is the first time that the receiver has been used, there are no channels stored in the receiver's
memory and the First Time Installation menu is displayed on the screen.
First you should select the type of TV set you have connected to the STB. Press the [LEFT] or [RIGHT]
keys on the remote control handset to switch the indicator on the screen to show either 16:9, if you have
a 16:9 or 'widescreen' TV, or to 4:3 if you have a standard TV set. Then press [OK] to start the installation
process. The next menu will appear.
Press the [OK] key to start the automatic search.
The receiver will automatically tune to the UHF transmission channels 21 to 68 looking for digital terrestrial
TV broadcasts and displaying the names of channels found. This process will take about five minutes.
When the search is finished, the first channel of the channel list and the information banner is displayed
you can now watch digital terrestrial broadcasting, selecting the channel you require as described in the next
section.
HINT
Depending on the reception conditionsin your particular area, you may find that the list of channels
found includes one or more repeated names. This is because the receiver may detect and store some
channels, including those it cannot receive clearly, from adjacent areas alongside the strong
channels from a transmitter nearby. This is not a problem and the weaker channels can be deleted
from the receiver later, as described in - ADVANCED OPERATION - Editing the channel list/PR list
on page 14.


