


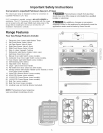


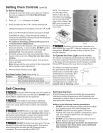

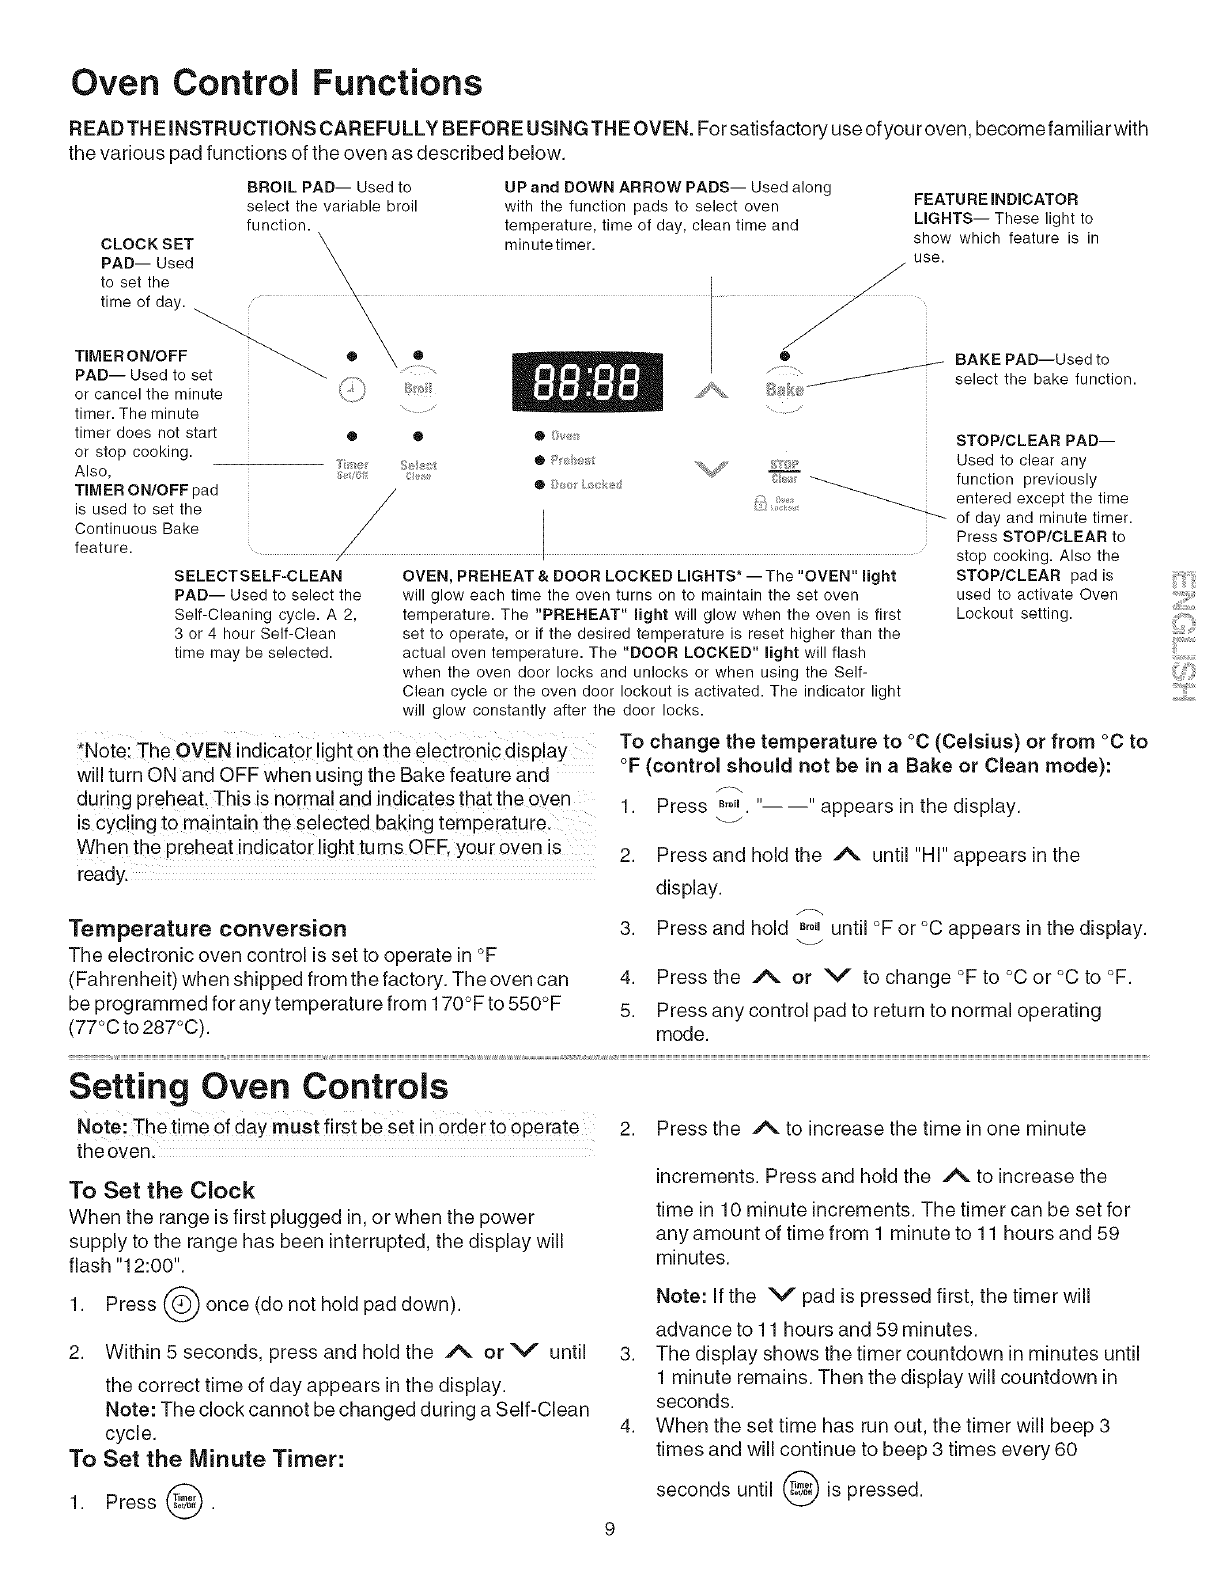
Oven Control Functions
READTHEINSTRUCTIONS CAREFULLY BEFORE USING THE OVEN. Forsatisfactoryuseofyouroven, becomefamiiiarwith
the various pad functions of the oven as described below.
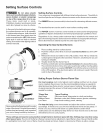
CLOCK SET
PAD Used
to set the
time of day.
TIMER ON/OFF
PAD Used to set
or cancel the minute
timer. The minute
timer aoes nol s_ar_
or stop COOKing.
Also.
TIMER ON/OFF aaa
S usea I( se][ IRe
Continuous Bake
feature.
BROIL PAD Used to UP and DOWN ARROW PADS Used along
select the variable broil with the function pads to select oven
function, temperature, time of day, clean time and
minute timer, use.
0 Q _ •
7
SELECTSELF-CLEAN
PAD-- Used to select the
Self-Cleaning cycle. A 2,
3 or 4 hour Self-Clean
time may be selected.
O
O
I
FEATURE INDICATOR
LIGHTS-- These light to
show which feature is in
BAKE PAD--Used to
select the bake function.
OVEN, PREHEAT & DOOR LOCKED LIGHTS* --The "OVEN" light
will glow each time the oven turns on to maintain the set oven
temperature. The "PREHEAT" light will glow when the oven is first
set to operate, or if the desired temperature is reset higher than the
actual oven temperature. The "DOOR LOCKED" light will flash
when the oven door locks and unlocks or when using the Self-
Clean cycle or the oven door lockout is activated. The indicator light
will glow constantly after the door locks.
*Note: The OVEN indicator light on the electronic display
will turn ON and OFF when using the Bake feature and
during Preheat This is norma! and indicates that the oven
is cyc!ing tOmaintain the selected baking temperatu re.
When the preheat indicator !!ght turns OFF, yaur oven is
ready.
Temperature conversion
The electronic oven control is set to operate in °F
(Fahrenheit) when shipped from the factory. The oven can
be programmed for any temperature from 170°F to 550°F
(77°C to 287°C).
STOP/CLEAR PAD--
Used to clear any
function previously
entered except the time
of day and minute timer.
Press STOP/CLEAR to
stop cooking. Also the
STOP/CLEAR pad is
used to activate Oven
Lockout setting.
To change the temperature to °C (Celsius) or from °C to
°F (control should not be in a Bake or Clean mode):
1. Press ",o_ .... appears in the display.
2. Press and hold the A until "HI" appears in the
display.
3. Press and hold ",o'_until °F or °C appears in the display.
4. Press the A or V to change °F to °C or °C to °F.
5. Press any control pad to return to normal operating
mode.
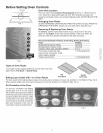
Setting Oven Controls
Note: The time of daY must first beset in order to operate 2.
theoven.
To Set the Clock
When the range is first plugged in, or when the power
supply to the range has been interrupted, the display will
flash "12:00".
Press the A to increase the time in one minute
increments. Press and hold the /% to increase the
time in 10 minute increments. The timer can be set for
any amount of time from 1 minute to 11 hours and 59
minutes.
1. Press @ once (do not hold pad down).
2. Within 5 seconds, press and hold the /_ or V until 3.
the correct time of day appears in the display.
Note: The clock cannot be changed during a Self-Clean
cycle. 4.
To Set the Minute Timer:
1. Press @.
Note: If the V pad is pressed first, the timer will
advance to 11 hours and 59 minutes.
The display shows the timer countdown in minutes until
1 minute remains. Then the display will countdown in
seconds.
When the set time has run out, the timer will beep 3
times and will continue to beep 3 times every 60
seconds until @ is pressed.
.........iiii.....