18
EN
Advanced Operation
Autoscan
(Receiving Channels)
Autoscan receives available digital channels and
stores them in a channel map.
CAUTION:
If autoscan is skipped, digital channels may not
be received correctly.
•
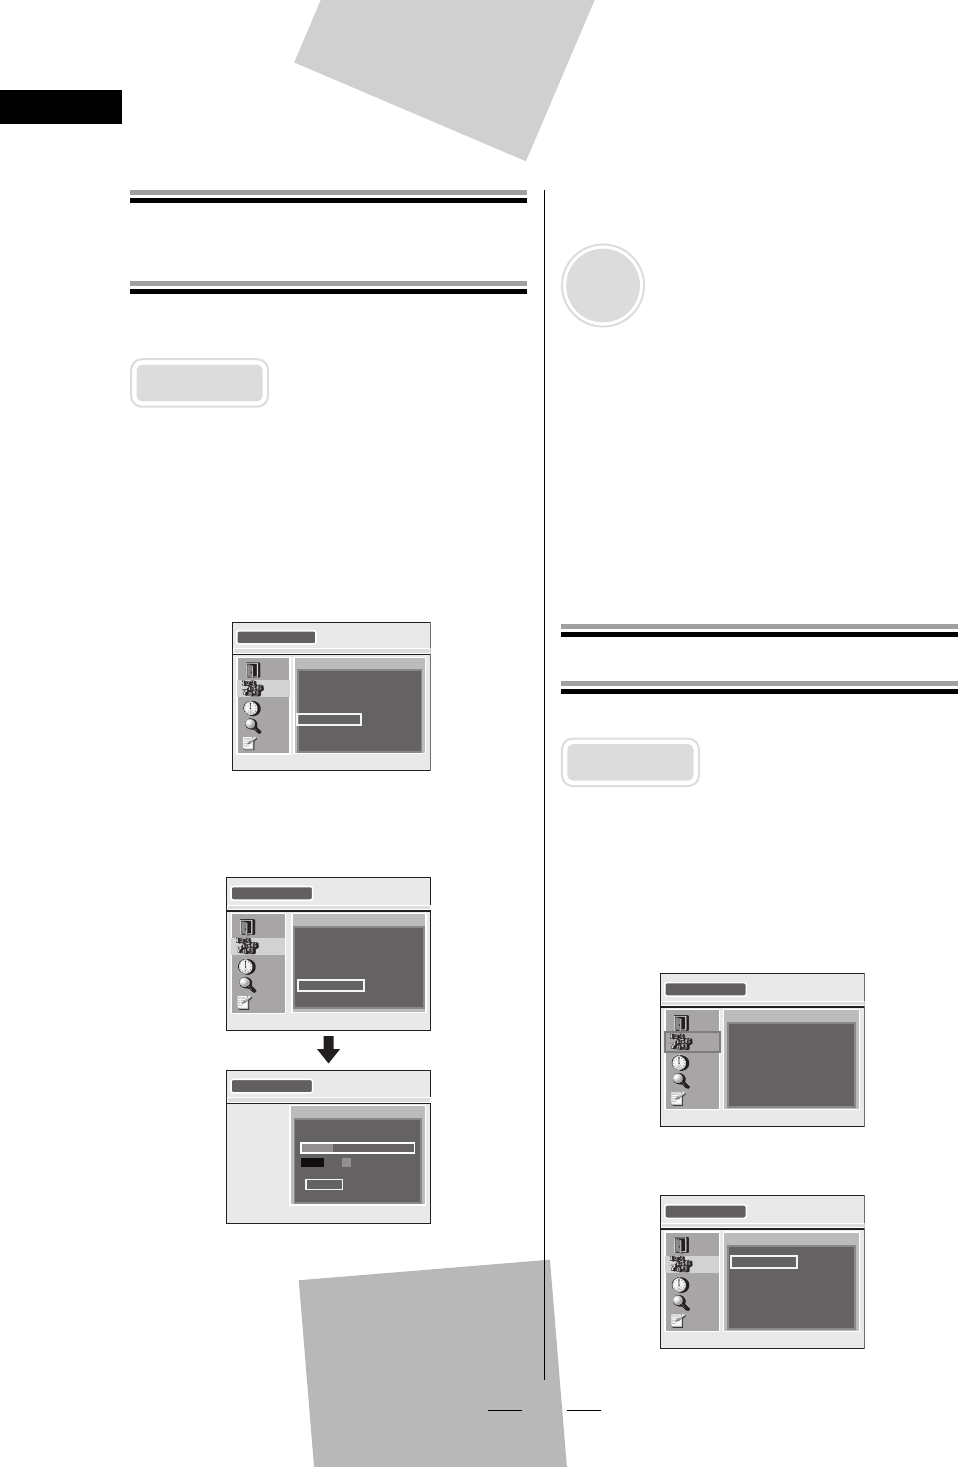
1 Press [SETUP].
2 Select “CHANNEL” using [ K / L ],
then press [OK].
3 Select “AUTOSCAN” using [ K / L ],
then press [OK].
CHANNEL
EXIT
CHANNEL
TIME
DETAIL
INITIAL
ADD/DELETE
ANTENNA
AUTOSCAN
RF OUT
4 Select “AUTOSCAN” using [ K / L ],
then press [OK].
AUTOSCAN
EXIT
CHANNEL
TIME
DETAIL
INITIAL
AUTOSCAN will rescan all channels.
This may take a while to complete.
BACK
AUTOSCAN
AUTOSCAN
The system is now scanning.
12% Channel Found
EXIT
STB starts receiving available digital
channels and stores them in the channel
map.
When the scanning is complete,
“AUTOSCAN COMPLETED” will be indicated.
After autoscan is complete, use [CH K / L ]
to verify whether STB is receiving channels
properly.
•
•
•
To cancel during scanning:
Press [SETUP] or [OK].
NOTE:
If canceled, some channels not yet scanned may
not be received. We recommend completing
autoscan.
When you want to completely refresh the
channel map, delete all the channels, then do
the autoscan again. See “Adding/Deleting
Channels” on this page for details.
•
•
When “NO SIGNAL” appears on the TV screen:
Verify the antenna connection, then scan again.
The STB tunes in channel 2-1 and “NO SIGNAL”
appears if the STB could not receive any channels.
Adding/Deleting Channels
Add or delete desired channels in the channel map.
CAUTION:
You cannot recover the deleted channels once
they are deleted unless you perform the
autoscan again.
•
1 Press [SETUP].
2 Select “CHANNEL” using [ K / L ],
then press [OK].
SETUP
EXIT
CHANNEL
TIME
DETAIL
INITIAL
ADD/DELETE
ANTENNA
AUTOSCAN
RF OUT
3 Select “ADD/ DELETE” using [ K / L ],
then press [OK].
CHANNEL
EXIT
CHANNEL
TIME
DETAIL
INITIAL
ADD/DELETE
ANTENNA
AUTOSCAN
RF OUT
X6043UD_TB110MW.indd 18X6043UD_TB110MW.indd 18 2008/05/29 14:28:372008/05/29 14:28:37
