


mermaid ventura 213/240 - Users manual Version 3.0
___________________________________________________________________________________
Page 4 of 18
3. Content of the Box:
• ventura 213T (21”) or ventura 240T (24”) monitor
• PSU (80 Watt)
• Powercord
• HQ VGA cable 1,8 meter
• Users manual
• ”Quickstart” card
• Glass cleaner & screen wiping cloth
4. Unpacking, placement and setup. (PC)
After the box has been opened the monitor and side packing can be lifted out.
21”- First remove the outer two side pieces. Then remove the two inner side pieces from the monitor and carefully lift the
monitor out of box.
24”- It will be necessary to lift the monitor and support material out in one operation.
The monitor needs to be placed on a smooth and stable surface. This surface must be able to safely support 25 kg (213T)
or 30 kg (240T).
Your monitor has been delivered with a standard VGA cable of high quality, intended to be used with standard graphic
boards (analog RGB). If you wish to use DVI, a suitable cable will need to be purchased separately.
Make sure the computer is turned off before connecting the monitor.
• Connect the monitor to the computer, by means of the supplied VGA cable or by means of DVI.
• Connect the PSU to the monitor and AC outlet.
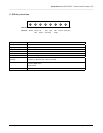
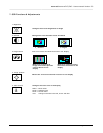
• Turn on the computer and monitor. If nothing happens within approx. 5 seconds, press the OSD button #2 (OSD
counted from the right) until the textbox shown at the upper right corner describes the input of your choice.
• mermaid 213T and 240T monitors are plug & play compatible via VESA DDC1/2B. Windows 98, ME and XP will
recognise this and self configure.
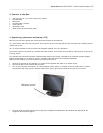
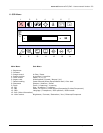
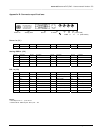
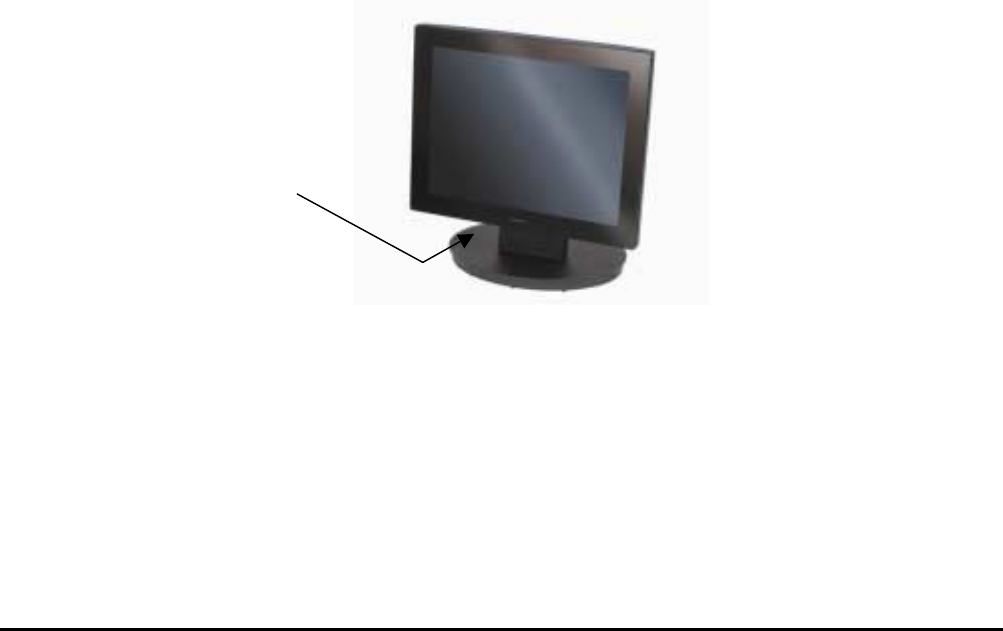
OSD panel is located
beneath the monitor