27
1
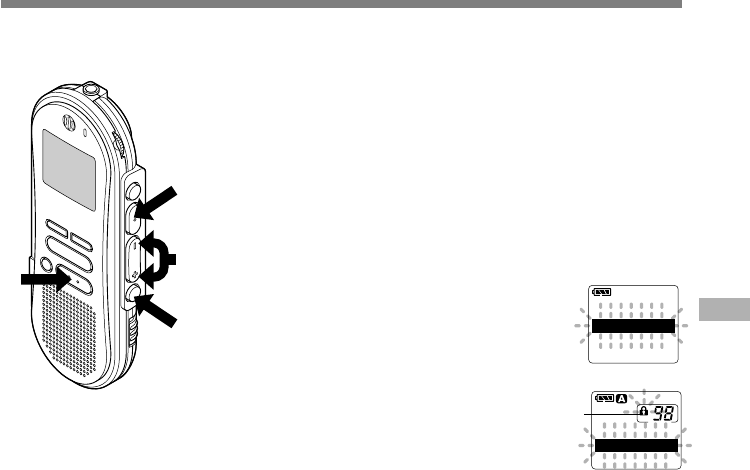
Press the FOLDER/MENU button
to choose a folder.
2
Press the FF/+ or REW/– button
to choose the file you want to lock.
3
Press and hold the FOLDER/
MENU button for 1 second or
longer.
The menu opens (☞ P.37).
4
Press the FF/+ or REW/– button
until “LOCK” flashes on the display.
5
Press the REC/SET button.
The file locking setup process begins.
6
Press the FF/+ or REW/– button
to choose between ON and OFF.
ON: Locks the file and prevents it from
being erased.
OFF:Unlocks the file and allows it to be
erased.
a Erase lock indicator
7
Press the REC/SET button to
complete the setup screen.
8
Press the STOP button to close the
menu.
Locking Files (LOCK)
Locking a file keeps important data from being accidentally erased.
Locked files are not erased when you choose to erase all files from a folder (☞ P.23).
5,7
1,3
2,4,6
8
ALL PLAY
LOCK
ALARM
.......................................................................................................
Notes
• You cannot append, overwrite, or insert recordings into locked files
(☞ P.12-15).
• You cannot set index marks in locked files(☞ P.28).
• Any locked files are erased when you format the recorder (☞ P.36).
Locking Files (LOCK)
