


ENGLISH-29
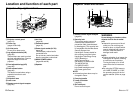
Basic Operation
28-ENGLISH
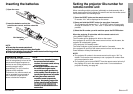
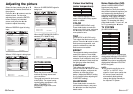
*
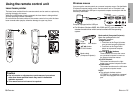
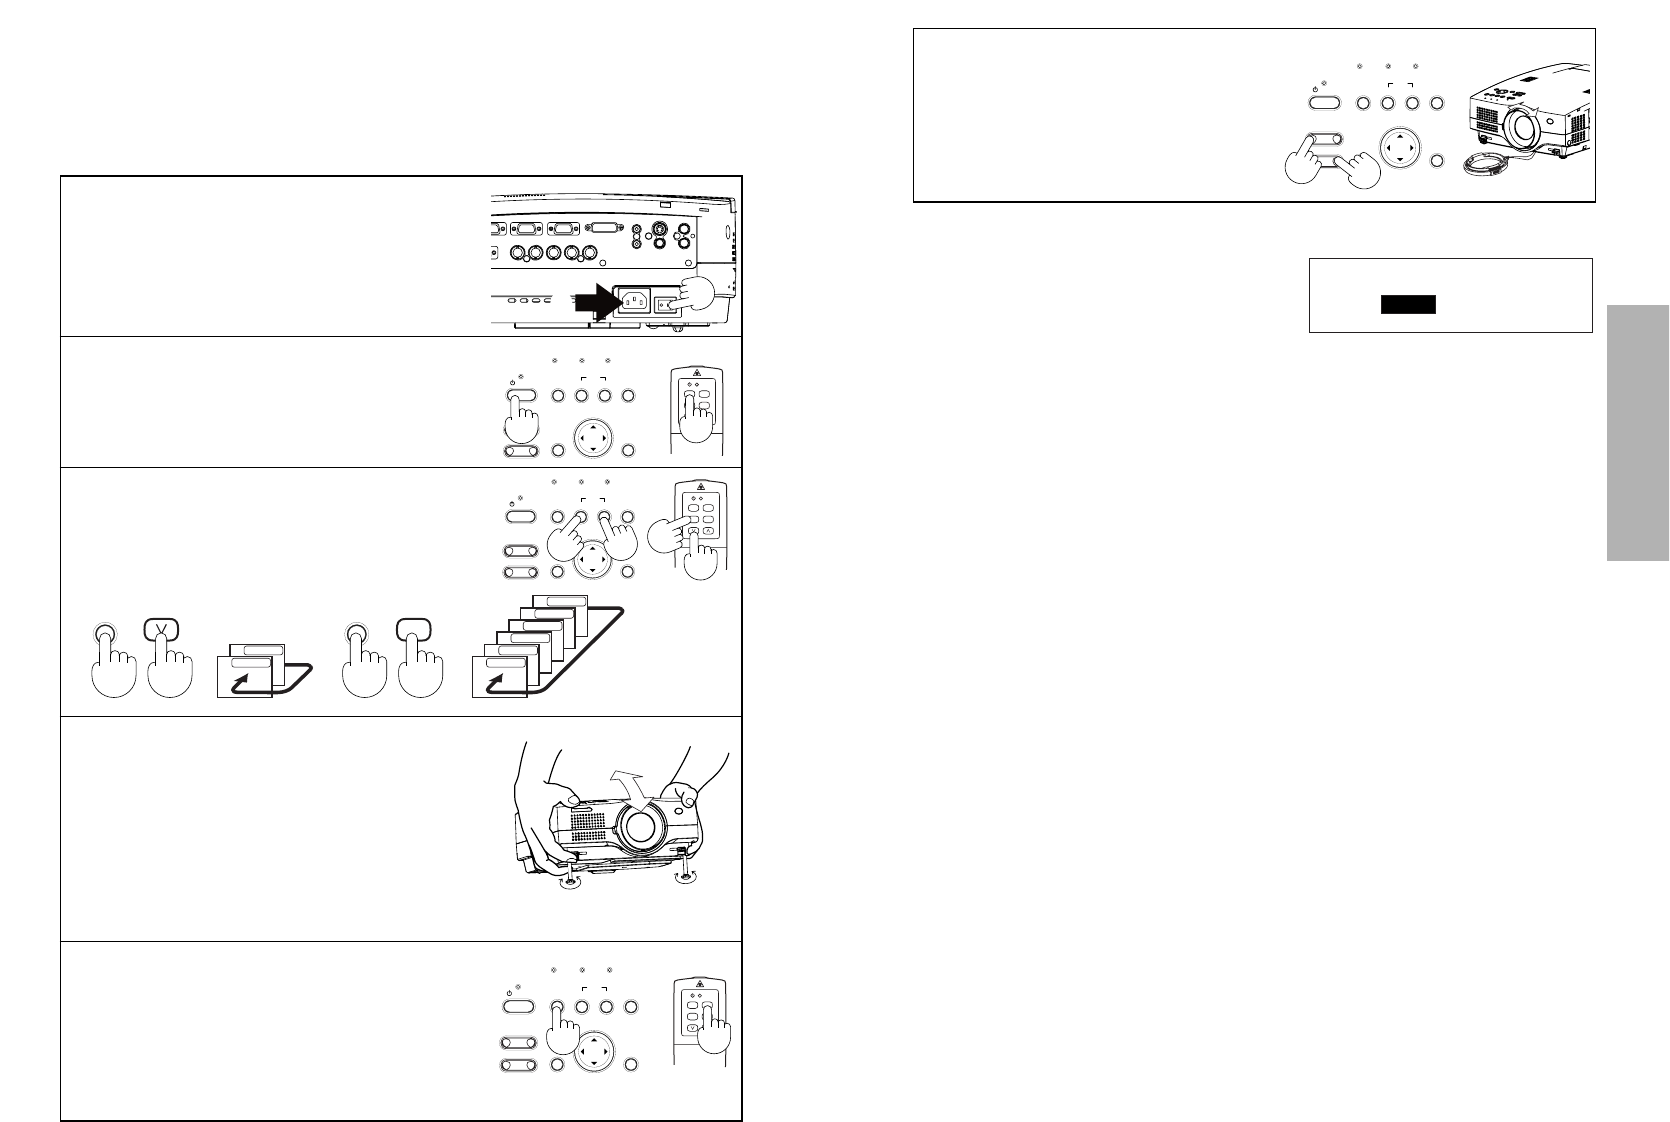
Press the FOCUS +/- or ZOOM +/-
buttons to adjust the projected
image focus and size.
The projected image focus can also be
adjusted by turning the focus ring. To
make fine adjustments to the projected
image focus, use the FOCUS +/- buttons.
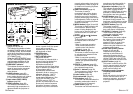
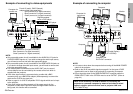
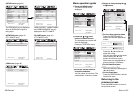
Turning off the power
#Press the POWER button. “Power
OFF” is displayed on the screen.
$Select “OK” using the
II
and
HH
buttons and press the ENTER button.
The lamp unit will switch off and the picture will stop being projected. (The
power indicator on the projector will illuminate orange.)
%Wait until the power indicator on the projector illuminates red (until
the cooling fan stops).
Do not in any way cut power to the projector while the cooling fan is still
operating. Be careful not to switch off the MAIN POWER switch of the
projector, unplug the mains lead from the electrical outlet or turn off in-line
switches such as tabletop power switches.
&Press the MAIN POWER switch to the “O” side to turn off the power.
NOTE:
BAfter the power is turned off, the lamp unit will take some time to cool
down. If you turn the power back on again before the lamp unit has cooled
down, the lamp unit may not turn on straight away, but it will turn on
automatically after a short period. (During this time, the power indicator on
the projector will flash orange.)
BWhen the projector is in standby mode (the power indicator on the
projector is illuminated red), the projector will still draw a maximum 3.5 W
of power, even when the cooling fan has stopped.
BIf the MAIN POWER switch is accidentally turned off while the projector is
being used, the lamp unit may not turn on straight away after the power is
turned back on. In such cases, the lamp unit will turn back on
automatically after a short period. (During this time, the power indicator on
the projector will flash green.)
BA tinkling sound may be heard while the power indicator is turned off, but
this is not a sign of a malfunction.
BYou can also turn off the power by pressing the POWER button twice.
B
When the WEB STANDBY is set to “ON”, the cooling fan operates and
the power indicator on the projector flashes slowly in red and the projector
draw a maximum 43 W of power. (page 45) (PT-L780NTE only)
BDo not turn off the power while the SD card is being accessed and “SD
card is in use.” is displayed on the screen. (PT-L780NTE only)
Power OFF
OK CANCEL
POWER
RGB
VIDEO
LASER
MENU
PAG E
SETUP
AUTO
RGBVIDEOAUTO SETUP
ON(G)
STANDBY(R)
ENTER
MENU
POWER SHUTTER
INPUT
TEMP
LAMPRGB INPUT
– FOCUS +
–
ZOOM +
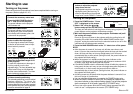
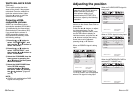
Starting to use
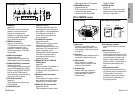
Turning on the power
Please ensure that all preparations have been completed before turning on
the power. (Refer to pages 22 – 27.)
$
%
POWER
RGB
VIDEO
LASER
MENU
PAG E
SETUP
AUTO
RGBVIDEOAUTO SETUP
ON(G)
STANDBY(R)
ENTER
MENU
POWER SHUTTER
INPUT
TEMP
LAMPRGB INPUT
– FOCUS +
–
ZOOM +
POWER
RGB
VIDEO
LASER
MENU
PAG E
SETUP
AUTO
RGBVIDEOAUTO SETUP
ON(G)
STANDBY(R)
ENTER
MENU
POWER SHUTTER
INPUT
TEMP
LAMPRGB INPUT
– FOCUS +
–
ZOOM +
#Remove the lens cover.
$Connect the accessory mains lead.
%Press the MAIN POWER switch to
the “l” side to turn on the power.
The power indicator on the projector
will illuminate red.
&Press the POWER button.
The power indicator on the projector
will flash green. After a short period,
the indicator will illuminate green, and
a picture will be projected.
'Press the input select (RGB, VIDEO)
button to select the input signal.
The input signal selected will change
as shown at below each time an input
select button is pressed.
(While pressing the adjuster buttons,
adjust the forward/back angle of tilt
of the projector.
To make fine adjustments to the angle of
tilt of the projector, turn the front
adjustable legs. (The front adjustable legs
will be locked if they are fully extended
and then turned anticlockwise. Turn them
back clockwise to release the lock.)
RGBVIDEO
S-VIDEO
VIDEO
RGB
VIDEO
SD CARD
NETWORK
DVI
RGB3
RGB2
RGB1
)Press the AUTO SETUP button to
initiate automatic positioning.
The automatic positioning is only for vertical
keystone distortion. To correct the
horizontal keystone distortion or when
keystone distortion has not been corrected
to the optimum level, carry out the keystone
correction as described on page 40.
RGBVIDEOAUTO SETUP
ON(G)
STANDBY(R)
ENTER
MENU
POWER SHUTTER
INPUT
TEMP
LAMPRGB INPUT
– FOCUS +
–
ZOOM +
Focus