


26
RQTX0105
Using the VIERA Link
TM
“HDAVI Control
TM
”
Using the VIERA Link
TM
“HDAVI Control
TM
”
VIERA Link “HDAVI Control”
VIERA Link
TM
is a new name for EZ Sync
TM
.
VIERA Link “HDAVI Control” is a convenient function that offers linked
operations of this unit, and a Panasonic TV (VIERA) under “HDAVI
Control”. You can use this function by connecting the equipment with the
HDMI cable. See the operating instructions for connected equipment for
operational details.
≥VIERA Link “HDAVI Control”, based on the control functions provided by
HDMI which is an industry standard known as HDMI CEC (Consumer
Electronics Control), is a unique function that we have developed and
added. As such, its operation with other manufacturers’ equipment that
supports HDMI CEC cannot be guaranteed.
≥This unit supports “HDAVI Control 3” function.
“HDAVI Control 3” is the newest standard (current as of December,
2007) for Panasonic’s HDAVI Control compatible equipment. This
standard is compatible with Panasonic’s conventional HDAVI
equipment.
≥Please refer to individual manuals for other manufacturers’ equipment
supporting VIERA Link function.
The TV with “HDAVI Control 2 (or later)” function enables the following
operation: VIERA Link Control only with TV’s remote control [for
“HDAVI Control 2 (or later)”] (➜ 27).
Preparation
≥Confirm that the HDMI connection has been made (➜ 8).
≥Set “VIERA Link” to “ON” (➜ 24, “HDMI” menu).
≥To complete and activate the connection correctly, turn on all VIERA
Link “HDAVI Control” compatible equipment and set the TV to the
corresponding HDMI input mode for this unit.
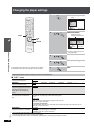
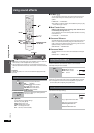
Setting the TV audio for VIERA Link “HDAVI Control”
Select between “
AUX
” and “D-IN” to work with the linked operations.
Confirm the audio connection to the
AUX
terminal (for “
AUX
”) (➜ 8) or
OPTICAL IN terminal (for “D-IN”) (➜ 9).
1 Press [N, O SELECT] to select
“AUX”
or “D-IN”.
2 Press [SETUP] to select “TV AUDIO”, then press [3, 4] to switch
“
AUX
” or “D-IN”.
Whenever the connection or settings are changed, reconfirm the points
above.
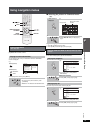
∫ Auto setup
The settings for “TV ASPECT”
§1
(➜ 23, “VIDEO” menu) and
“LANGUAGE”
§2
(➜ 24, “DISPLAY” menu) will automatically follow to
the settings of the TV.
(This may not work if the corresponding setting you have made for
your TV is not available on this unit.)
§1
When using VIERA Link “HDAVI Control” with “HDAVI Control 3”
compatible TV
§2
When using VIERA Link “HDAVI Control” with “HDAVI Control 2
(or later)” compatible TV
∫ Auto lip sync
(Available when using VIERA Link “HDAVI Control” with
“HDAVI Control 3” compatible TV)
This function automatically provides synchronised audio and video
output. (This works only when the source is “DVD/CD”, “
AUX
” or
“D-IN”.)
≥When using “DVD/CD” as the source, set “TIME DELAY” in
“VIDEO” menu to “0 ms/AUTO” (➜ 23).
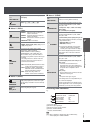
You can turn on this unit and the TV, and start playing the disc with a
single press of a button.
This function also works if you press [1 PLAY] on this unit’s remote
control when this unit is in standby mode.
[Note]
Playback may not be immediately displayed on the TV. If you miss the
beginning portion of playback, press [:] or [6] to go back to where
playback started.
≥When you switch the TV input to TV tuner mode, this unit will
automatically switch to
“AUX”
§
or “D-IN”
§
. (This does not work when this
unit is in “IPOD” mode.)
≥When you start disc play, the TV will automatically switch its input mode
for this unit.
When the TV is turned off, this unit goes into standby mode automatically.
≥This function works only when “DVD/CD”,
“AUX
”
§
or “D-IN
”
§
is selected
as the source on this unit.
≥When the TV is turned on, this unit does not turn on automatically.
(Power on link is not available.)
[Note]
When you press [Í], only this unit turns off. Other connected equipment
compatible with VIERA Link “HDAVI Control” stays on.
§
“AUX” or “D-IN” (“DIGITAL IN”) works depending on the “TV AUDIO”
setting (➜ above, Setting the TV audio for VIERA Link “HDAVI
Control”).
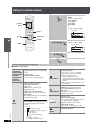
PLAY
SKIP SLOW/SEARCH
SOUND
-
SLEEP
-
CH SELECT
W.S.
FL DISPLAY
PLAY
LIST
MENU
RETURN
ONE TOUCH PLAY
SETUP
VOL
VOL
1
PAU SE
2
3
5
6
8 9
0
10
4
7
DISC
DVD
-
2ND SELECT
FM/AM
iPod
TV
TV
/
VIDEO
PL
SELECT
SUBWOOFER
LEVEL MUTING
S
T
A
R
T
SKIP
SLOW
/
SEARCH
F
U
N
C
T
I
O
N
S
-
CD MODE
-
PLAY MODE
-
REPEAT
CANCEL
STOP
PLAY
OK
T
O
P
M
E
N
U
SETUP ONE TOUCH PLAY
&
+
4
'
%
6
0
#
8
+
)
#
6
1
4
SELECT
,
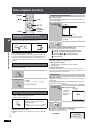
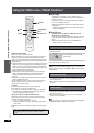
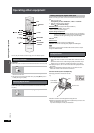
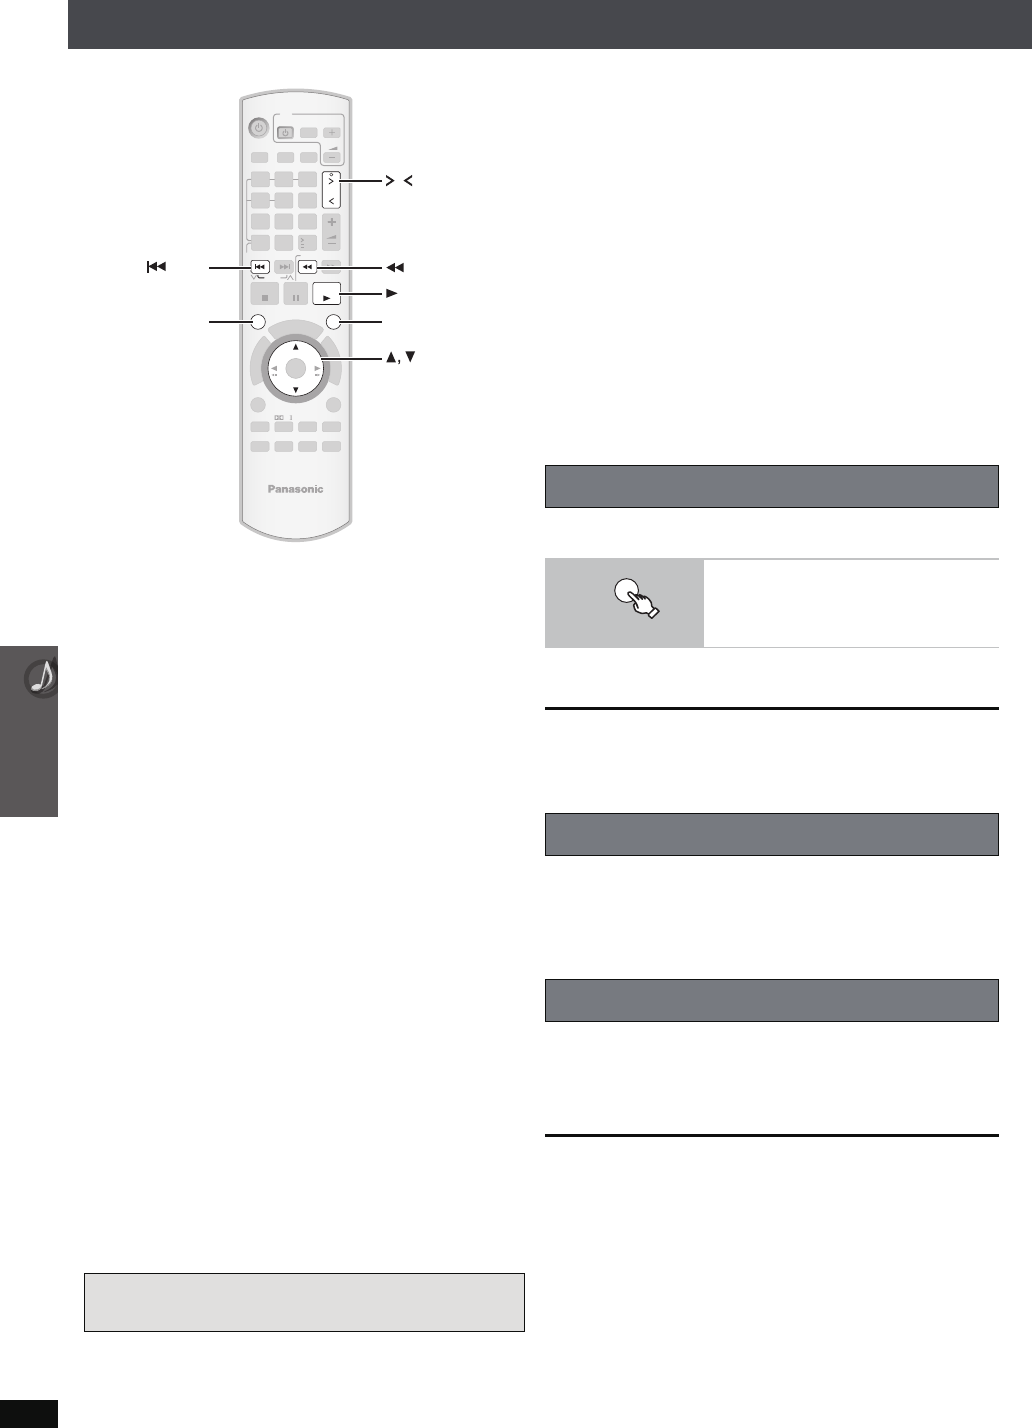
One touch play
To start disc playback.
≥This unit’s speakers will be automatically
activated (➜ 27).
Auto input switching
Power off link
ONE TOUCH PLAY