10 C2647M (10/06)
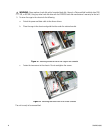
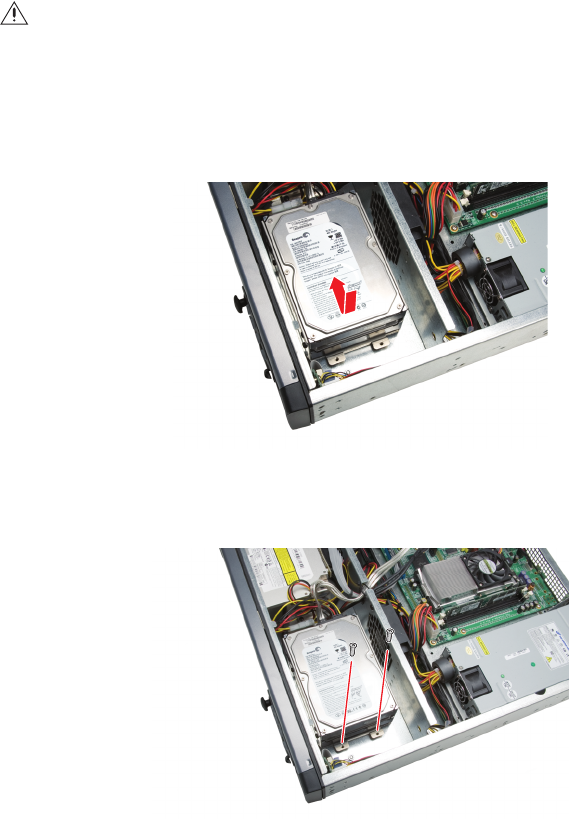
5. To return the cage to the chassis do the following:
a. Attach the power and data cable to the drive or drives.
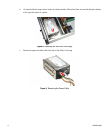
b. Place the cage in the chassis and guide the tabs under the retainer bracket.
Figure 12. Inserting the Hard Disk Drive Cage in the Chassis
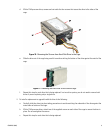
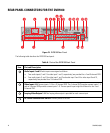
c. Fasten the two screws to the chassis. Do not overtighten the screws.
Figure 13. Securing the Hard Disk Drive in the Chassis
The unit is ready to be reassembled.
WARNING: Never replace a hard disk with a formatted hard disk. Use only a Pelco-certified hard disk drive (250,
400, or 500 GB). Using any other hard disk drive with the DVR5100 voids the manufacturer's warranty for the unit.


