46 C1570M-E (4/07)
Controlling Recorded Video with the Joystick
Many of the joystick movements described below operate in both momentary and latching modes. These modes are defined as follows:
• Momentary mode: The operation is activated until you release the joystick. Moving the joystick a small distance from center triggers
momentary mode.
• Latching mode: The operation remains activated after you release the joystick, until you move the joystick again. Moving the joystick as
far from center as possible triggers latching mode.
Play Recorded Video
Move the joystick all the way up. The video resumes playing at normal speed.
NOTE: This function returns the video to normal speed, no matter what mode the playback is in at the time.
Pause Recorded Video
Move the joystick all the way down.
Play Recorded Video in Fast Forward
NOTE: You can fast forward only to the end of the recorded video, which includes recorded video up to the present.
Move the joystick to the right. The speed and mode depends on the current mode and the distance from center that you move the joystick, as
follows (refer to Playback Speed on page 47 for an explanation of the abbreviations used in this section):
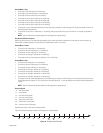
Current Mode = Pause:
• To the right a little: video plays at
1
⁄2x (momentary).
• To the right a little more: video plays at 1x (momentary).
• To the right all the way: video plays at 2x (latching).
• To the right all the way again: video plays at 4x (latching).
• To the left all the way: video decreases speed from 4x to 2x (latching).
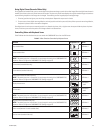
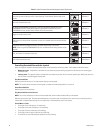
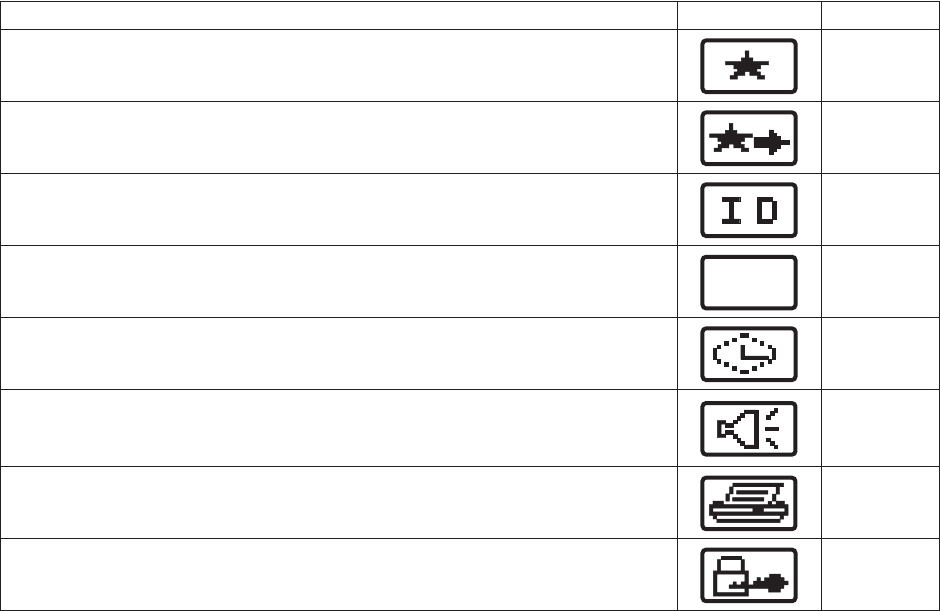
Mark event; this feature allows the operator to mark the currently viewed video as an event. Press the
icon when you want to define an event. A label displaying “Event Marked” flashes briefly on the
monitor.
DVR Menu 2
Next event (recorded video only). DVR Menu 2
ID: Identify the CM9700MDD-EVS currently in use; when the operator presses this icon the
CM9700MDD-EVS unit’s Friendly Name appears on the monitor and the first LED on the
CM9700MDD-EVS unit (the Unit Status Indicator LED) blinks momentarily.
DVR Menu 3
Toggle the monitor text (on or off). DVR Menu 3
Seek by time; this feature allows the operator to search for recorded video from the specified date
and time.
DVR Menu 3
Change the audio setting (toggle off and on). The default audio setting is off (muted).
NOTE: When using multiple CM9700MDD-EVS units, an additional audio routing solution may be
required.
DVR Menu 3
Print; this function is reserved for future use. DVR Menu 3
Lock video (recorded video only). Define Menu 2
Table E. Video Functions Controlled by Keyboard Icons (Continued)
Function Keyboard Icon Menu
ABC


