


Tech
Tech
Tips
Helpful Tips for Pelco Products
World Headquarters
3500 Pelco Way, Clovis, California 93612 USA
USA & Canada Tel: 800/289-9100 Fax: 800/289-9150
International Tel: 1-559/292-1981 Fax: 1-559/348-1120
www.pelco.com
Pelco and the Pelco logo are registered trademarks of Pelco, Inc.
Information subject to change without notice.
©Copyright 2008, Pelco, Inc. All rights reserved.
Page 2 of 2 DX4500_4600_NO-IP.COM.fm
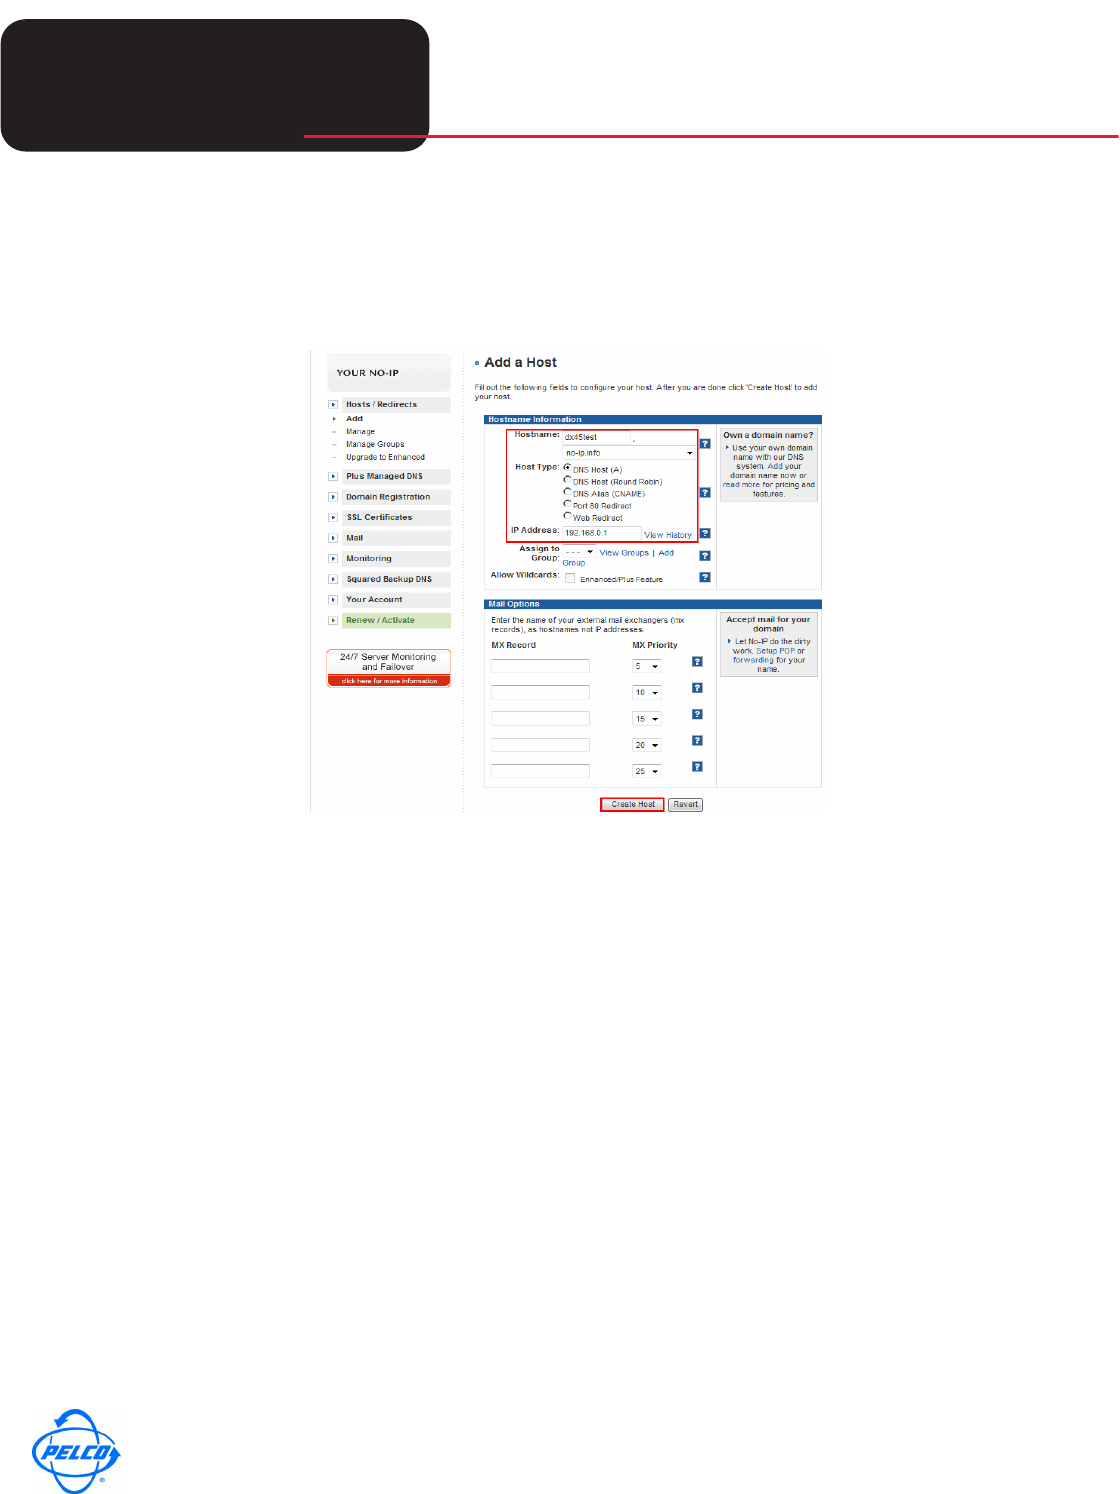
3. Select a name for Hostname.
4. Under Host Type, choose the option DNS Host (A).
5. Under IP Address, insert current IP Address of the DX45_46 Server.
6. Click the Create Host button.
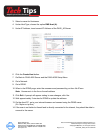
7. Go Back to DX45-4600 Server and the DX45-4600 Setup Menu.
8. Go to Network.
9. Go to DDNS.
10. When in the DDNS page, enter the username and password log on from No-IP.com.
Note: Username is in the form of email address.
11. Click Exit. A prompt will appear stating to save changes, click Yes.
12. Wait approximately 2 minutes for DDNS to update the address.
13. On the client PC, go to your internet browser and connect using the DDNS name.
(Ex. Mydvr.no-ip.com)
14. If the user is not behind a firewall and is directly connected to the internet, they should be able to
connect to the server.