8 C641M (11/03)
Power
Analog (spot) Monitor
Network
1
1
2
2
3
3
4
4
5
5
NOTE: A standard European
plug is attached to the
power adapter. To convert
the adapter to the USA
standard, loosen the Phillips
head screw and remove
the European plug.
RXTX TX
-+-
RXRXTX TX
+-+-
RXRXTX TX
+-+-
PTZ
RX
+
PTZ
PTZ
THE LAST PTZ IN
SERIES TERMINATE
SUPPORTS UP TO 16 PTZ
MAXIMUM: 4,000 FEET
(
1,219M
)
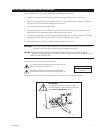
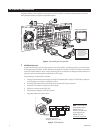
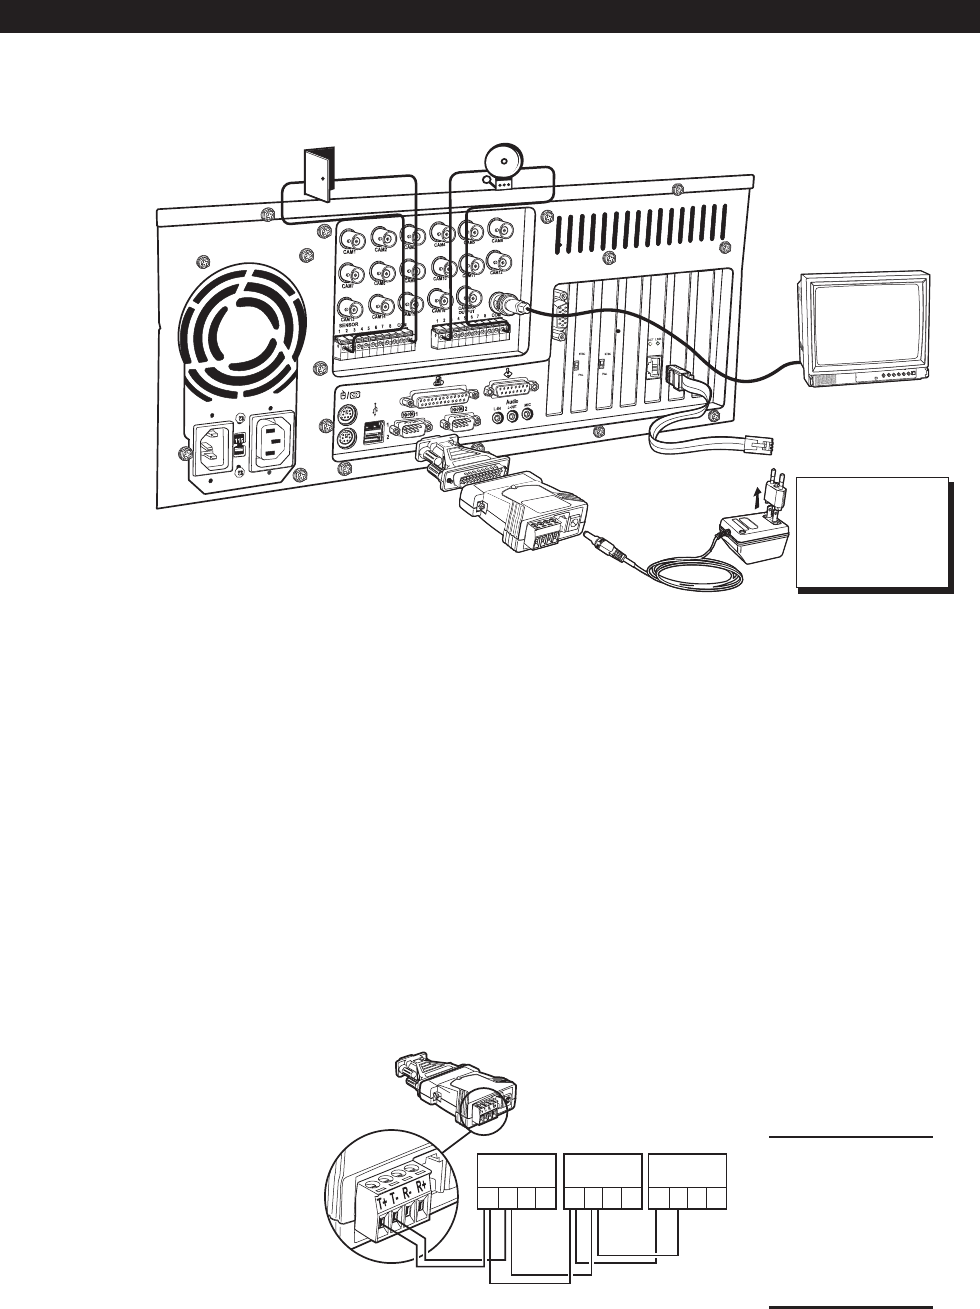
Figure 4. Extended Equipment Installation
1 PTZ (RS-422 Converter)
To control receivers with pan/tilt and zoom functions, such as Pelco’s Esprit
®
and Spectra
®
systems, you must install the
RS-422 communication converter. The DX7100 DVR cannot operate PTZ receivers if the RS-422 converter is not installed
and the PTZ receiver address is not set to accept D protocol control. For information on setting the receiver address for D-
type control, refer to the documentation supplied with the PTZ receiver.
Do the following to install the RS-422 converter:
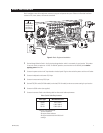
a. Connect the control wires from the receiver to the RS-422 converter (refer to Figure 5). The DX7100 can support up
to 16 PTZ devices, at a maximum of 4,000 feet (1,219 m).
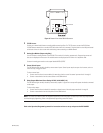
b. Set the DTE/DCE switch located on the bottom of the converter to DCE (refer to Figure 6).
c. Plug the RS-422 converter into the 9-pin to 25-pin adapter.
d. Plug the pin converter into the COM 1 Port.
e. Attach the power adapter to the RS-422 converter.
f. Plug power adapter into a power source.
EXTENDED INSTALLATION
Extended installation covers installation of accessories for the DX7100. Refer to the
Basic Installation
section to install the
basic equipment necessary to program and operate the system.
Figure 5. PTZ Installation
NOTE: The DX7100 may
be connected to Pelco’s
CM9760-CXT-A for
Coaxitron
®
control. Refer
to the manual for the
CM9760-CXT-A for
installation instructions.


