Instruction Manual Swivel Stand
5
DISPLAY INSTALLATION PROCEDURES
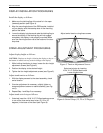
Install the display as follows:
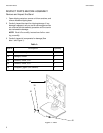
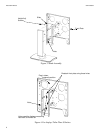
1. Make sure the latching flag of the stand is in the open
(lowered) position (see Figure 4).
2. Align the mounting buttons of the PSB bracket, installed
on your display, with the teardrop slots in the mounting
plate of the stand.
3. Lower the display into place and raise the latching flag to
secure the display. If the latching flag will not engage
completely, the display is not properly mounted. Make
sure the mounting buttons rest at the bottom of the tear-
drop slots.
STAND ADJUSTMENT PROCEDURES
Adjust display height as follows:
CAUTION: Displays are fragile. Allowing the display to drop to
the bottom of stand travel may result in damage to the display.
1. While holding the display in place, loosen the four height
adjustment screws (see Figure 2).
2. Position the display to the desired height.
3. Tighten the four height adjustment screws (see Figure 2).
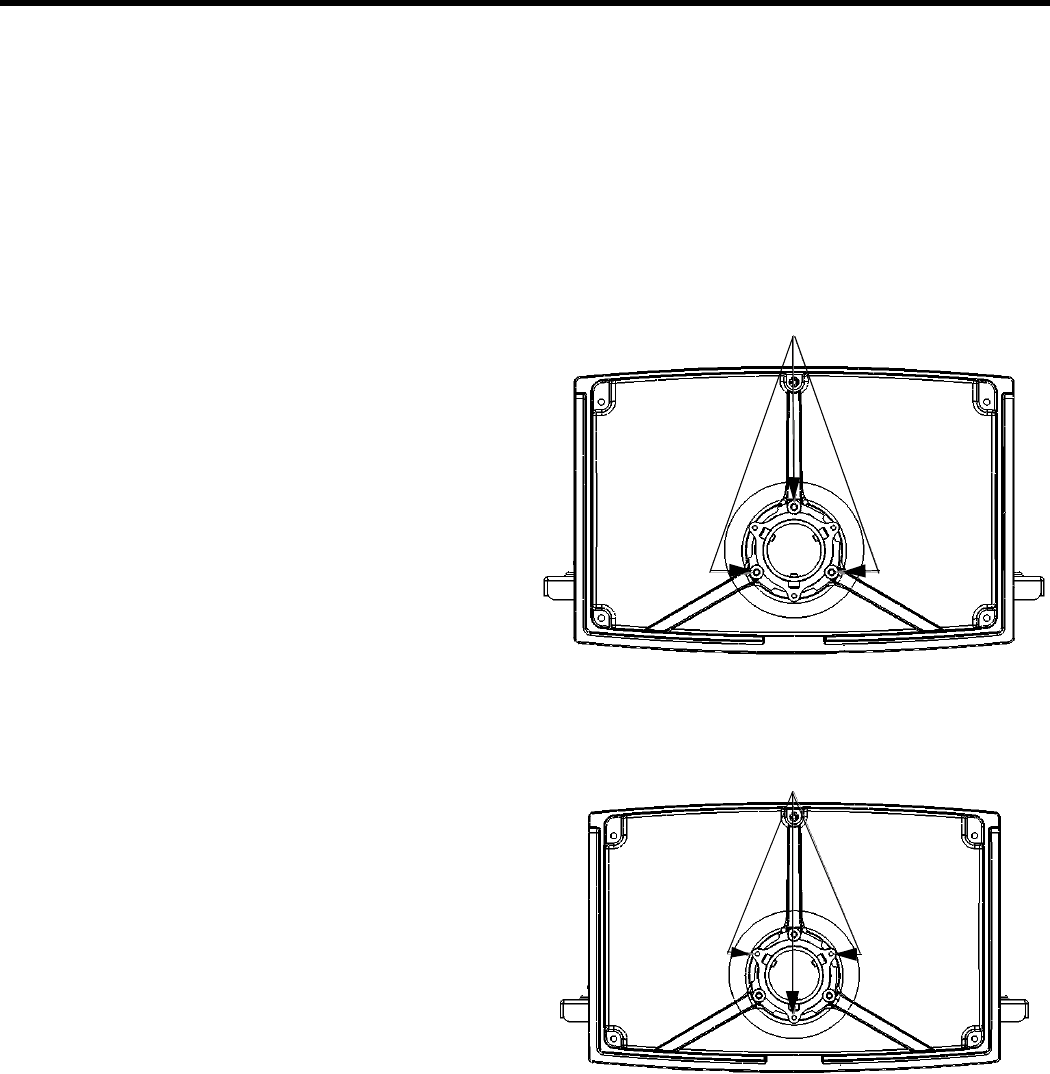
Adjust stand tension as follows:
1. With the display secured to the stand assembly, check
swivel tension.
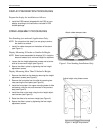
2. If tension adjustment is necessary, slightly tighten or
loosen adjustment screws on stand assembly (see Fig-
ure 5).
3. Repeat Step 1 and Step 2 as necessary.
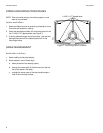
Adjust stand swivel stop as follows:
1. If desired, insert the 10-24 X 1/2” Phillips head cap screw
in one of the three swivel stop holes (15, 25 or 35
degrees) in the base of the stand (see Figure 6).
Figure 5. Tension Adjustment Screws
Adjust swivel tension using these screws
Figure 6. Swivel Stops (15, 25 or 35 Degrees)
Select swivel stop by inserting
10-24 X 1/2” Phillips head screw
in one of these holes


